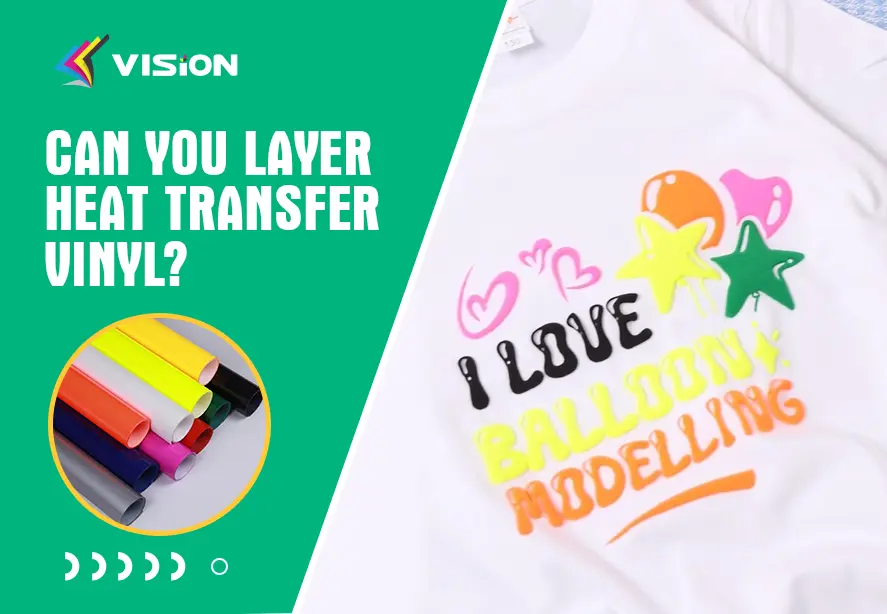
Yes, you can layer heat transfer vinyl, and it is one of the most powerful techniques for creating multi-color, highly detailed, and professional-quality designs on apparel and textiles. Layering HTV allows designers, small business owners, and hobby crafters to combine multiple colors, textures, and effects into a single cohesive design.
However, successful layering requires a deep understanding of heat, pressure, timing, vinyl compatibility, and design structure. When done correctly, layered HTV can produce vibrant, long-lasting prints that withstand washing, stretching, and daily wear.
What Is Heat Transfer Vinyl Layering?
Heat transfer vinyl layering is the process of applying multiple layers of vinyl on top of each other using a heat press or iron. Each layer contributes a different part of the final design—such as colors, outlines, shadows, or special effects.
For example:
- Base layer: solid color background
- Middle layer: main design element
- Top layer: details, outlines, or accents
This method is widely used for:
- Custom T-shirts
- Sports jerseys
- Hoodies and sweatshirts
- Promotional merchandise
- Personalized gifts
Types of Heat Transfer Vinyl Suitable for Layering
Not all HTV materials are designed for stacking. Choosing the correct type is essential for durability and appearance.
1. Standard PU Heat Transfer Vinyl
This is the most commonly used vinyl for layering. It is thin, flexible, and easy to cut and press.
Advantages:
- Excellent layering compatibility
- Soft finish on fabric
- Easy to weed and apply
2. Matte and Gloss HTV
Both matte and gloss finishes can be layered, but consistency is key.
Best practice: Keep finish types consistent within one design for best adhesion.
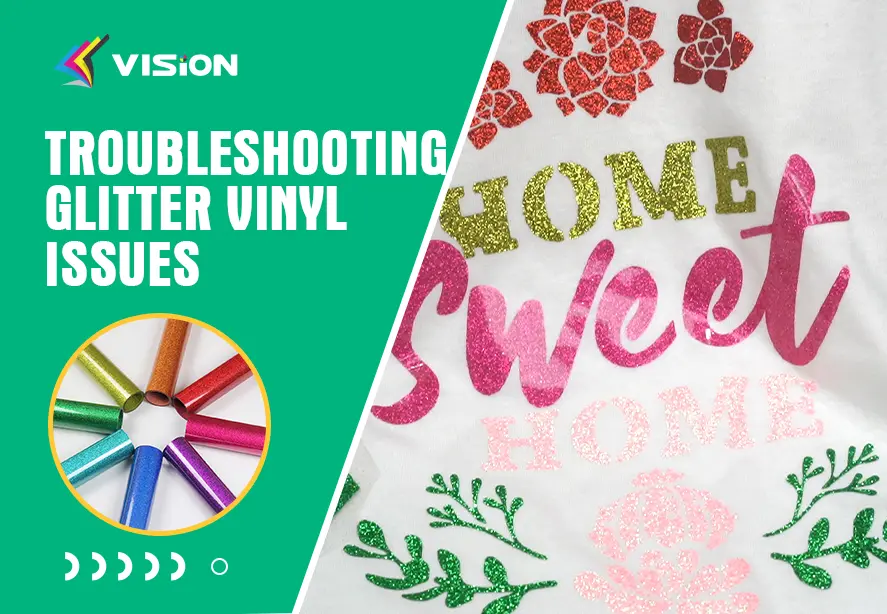
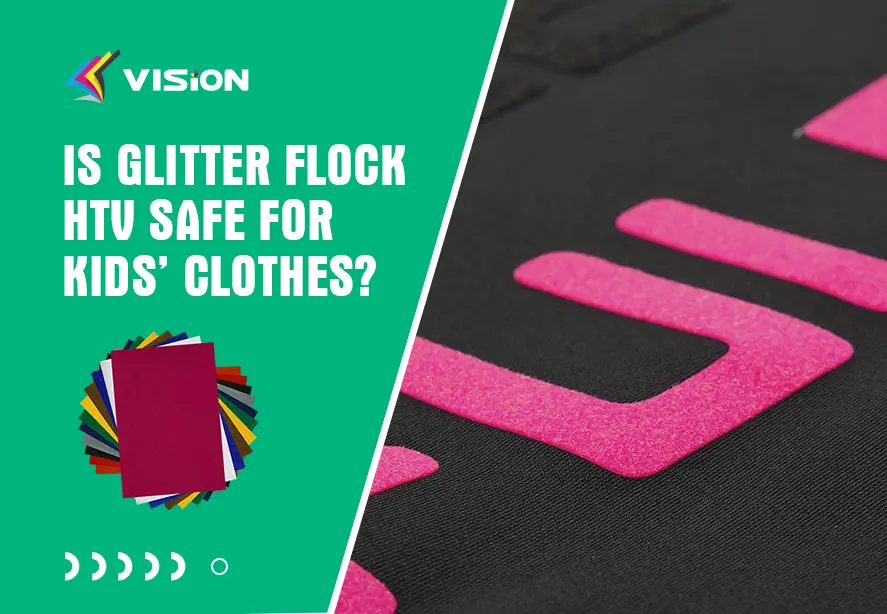
3. Specialty HTV (Glitter, Flock, Metallic)
Specialty vinyl can be layered, but it should usually be placed on the top layer only.
Important rule: Do NOT place other vinyl on top of glitter or textured HTV.
4. Stretchable HTV
Ideal for sportswear and performance fabrics.
Benefits:
- Maintains elasticity after layering
- Prevents cracking or peeling
Key Rules for Layering Heat Transfer Vinyl Successfully
1. Limit the Number of Layers
We recommend:
- 2–3 layers maximum for best durability
Too many layers can lead to:
- Thick, stiff designs
- Poor adhesion
- Cracking after washing
2. Always Use Lower Heat for Final Layers
- Base layer: full heat press (150–160°C)
- Middle layer: slightly reduced heat
- Top layer: lowest safe heat setting
3. Use “Tack Press” Method
- Press each layer for 2–5 seconds only
- Final press for full adhesion (10–15 seconds)
This prevents over-melting and ensures proper bonding.
4. Avoid Layering on Glitter or Textured Vinyl
Glitter and flock vinyl have uneven surfaces that prevent proper adhesion of additional layers.
5. Align Layers Carefully
Use tools such as:
- Heat-resistant tape
- Alignment rulers
- Registration marks
Precision is critical for professional results.
Step-by-Step Guide: How to Layer Heat Transfer Vinyl Like a Pro
Step 1: Prepare Your Design
Use design software to separate each color layer. Each layer should be cut individually.
Pro tip: Avoid overlapping complex shapes unless necessary.
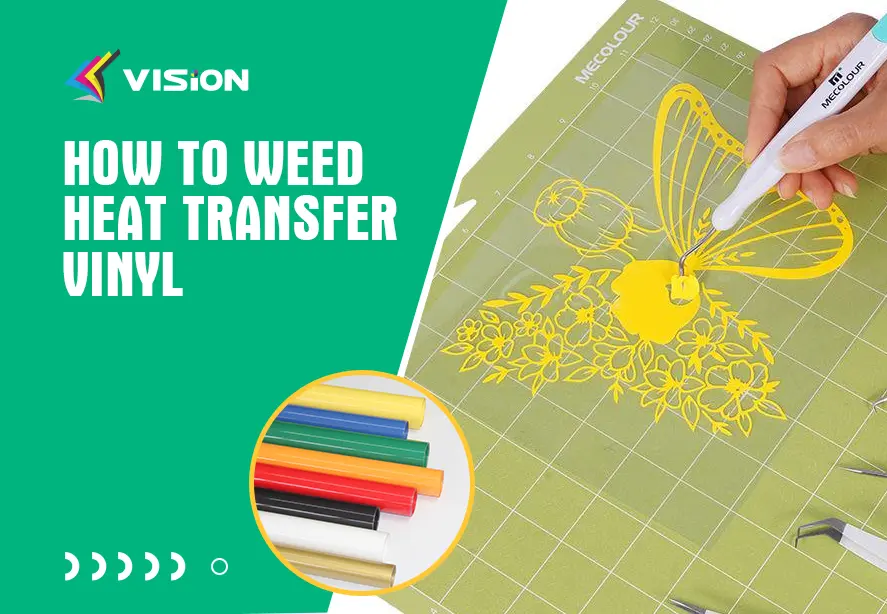
Step 2: Cut and Weed Each Layer
- Weed excess vinyl carefully
- Keep all layers organized in order
Step 3: Pre-Press the Fabric
- Press fabric for 3–5 seconds
- Remove moisture and wrinkles
Step 4: Apply the First Layer
- Temperature: 150–160°C
- Time: 10–15 seconds
- Medium pressure
Peel carrier sheet as directed (hot or cold peel depending on vinyl type).
Step 5: Add Additional Layers Using Tack Press Method
- 2–5 seconds only
- No full pressure needed yet
Repeat for each layer.
Step 6: Final Press
- Cover design with Teflon sheet or parchment paper
- Press for 10–15 seconds
This locks all layers together permanently.
Common Mistakes When Layering HTV
1. Overheating the Vinyl
- Shrinking layers
- Color distortion
- Weak adhesion
2. Using Too Many Layers
More layers = more stiffness and reduced flexibility.
3. Incorrect Layer Order
- Light colors on top
- Dark colors at bottom
4. Pressing Too Long Between Layers
Over-pressing reduces bonding strength between layers.
5. Mixing Incompatible Vinyl Brands
Different adhesives may react poorly when layered.
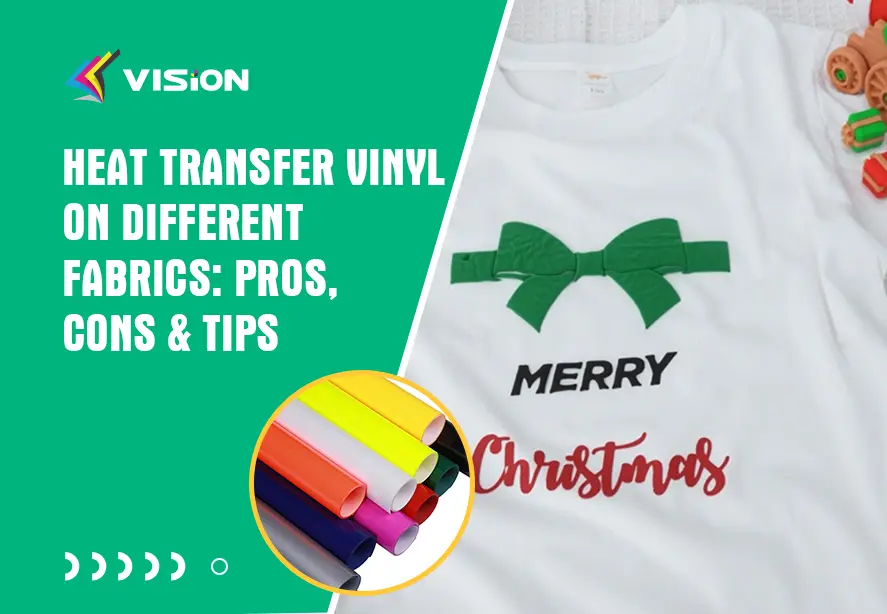
Best Fabrics for Layered HTV Applications
- 100% cotton
- Polyester blends
- Cotton-polyester fabrics
Avoid:
- Waterproof or coated fabrics
- Highly stretchy nylon (unless using stretch HTV)
Advanced Professional Tips for Perfect HTV Layering
1. Use Knockout Design Technique
Cut “holes” in top layers so they fit into the base layer, reducing thickness.
2. Prioritize Thin Vinyl
Thinner vinyl improves flexibility and durability.
3. Use Heat-Resistant Masking Tape
Helps maintain perfect alignment during pressing.
4. Mirror Cutting for Accuracy
Always mirror your design before cutting HTV.
5. Test Before Production
Always test a sample before full production.
How Long Does Layered HTV Last?
- 50+ washes
- Several years of wear
- High resistance to cracking and peeling
Longevity depends on:
- Fabric type
- Washing conditions
- Pressing quality
Washing and Care Instructions
- Wash inside out
- Use cold water
- Avoid bleach
- Do not tumble dry on high heat
- Avoid ironing directly on design
Layering heat transfer vinyl is a highly effective technique for producing multi-color, professional-grade apparel designs. When executed correctly, it delivers durable, visually striking results suitable for both personal crafting and commercial production.
By following proper techniques such as controlled heat pressing, correct layer sequencing, and material compatibility, anyone can achieve high-quality outcomes that rival professional printing methods.
Related:
How To Layer PU Heat Transfer Vinyl?
How to Layer Chameleon Heat Transfer Vinyl?
9 Do’s and 9 Don’ts of Layering Heat Transfer Vinyl