Blog
How to Weed Heat Transfer Vinyl
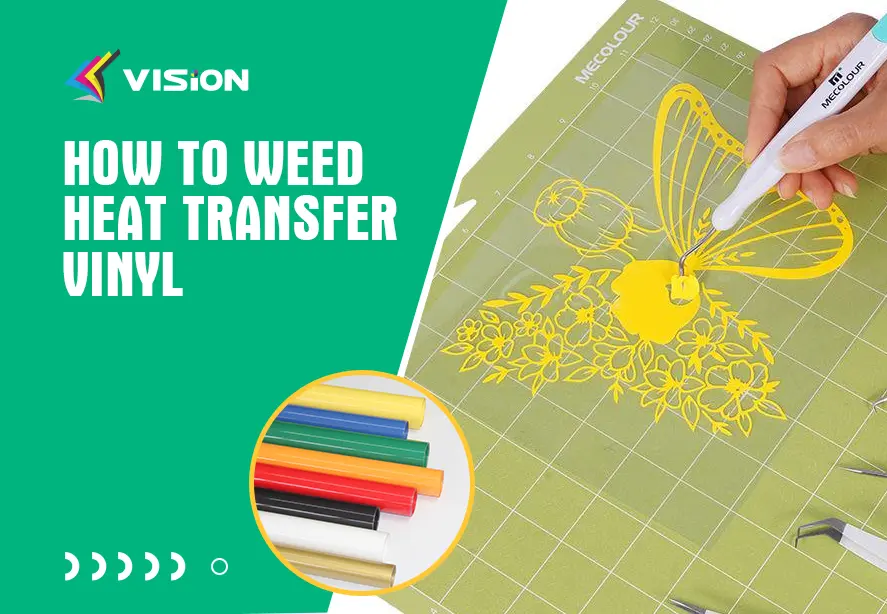
Heat Transfer Vinyl has become one of the most popular materials for creating custom apparel, promotional products, tote bags, hats, and personalized gifts. Whether we are producing a single custom T-shirt or running a small business, mastering the process to weed heat transfer vinyl is essential for achieving professional-looking results.
Many beginners find weeding to be the most challenging part of the HTV application process. Tiny letters, intricate designs, and delicate details can easily tear or lift if handled incorrectly. Fortunately, with the right techniques, tools, and workflow, we can weed HTV efficiently and accurately every time.
What Is Weeding Heat Transfer Vinyl?
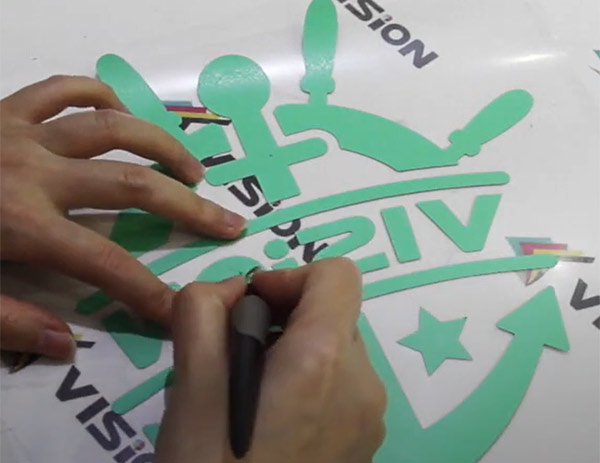
Weeding heat transfer vinyl refers to the process of removing unwanted vinyl from a cut design before heat pressing it onto a substrate.
After an HTV design is cut using a vinyl cutter, the material still contains excess vinyl surrounding the artwork. Weeding removes these unnecessary sections while leaving the desired design attached to the carrier sheet.
The cleaner the weeding process, the more professional the final product will appear.
Why Proper HTV Weeding Matters
Proper weeding provides several important benefits:
- Creates crisp and clean graphics
- Prevents accidental transfer of unwanted vinyl pieces
- Improves overall product quality
- Reduces material waste
- Speeds up production workflow
- Enhances customer satisfaction
Poorly weeded designs often result in missing details, distorted graphics, or unwanted vinyl transferring onto garments.
Essential Tools for Weeding Heat Transfer Vinyl
Before beginning the weeding process, we should gather the appropriate tools.
1. Weeding Hook Tool
A weeding hook is the most commonly used tool for removing excess HTV. The sharp point allows precise lifting of small vinyl pieces and intricate design elements.
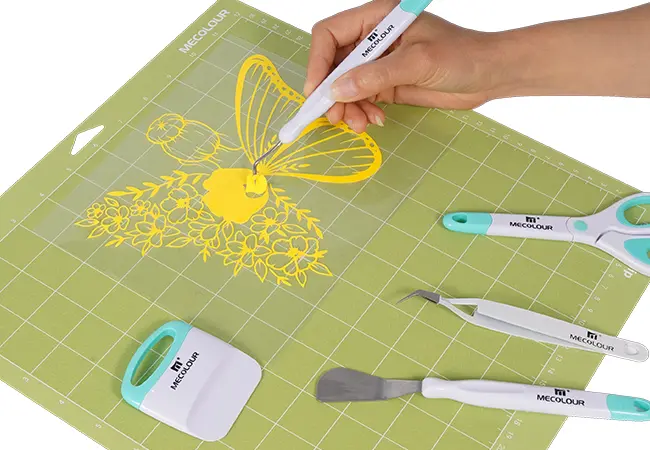
Weeding Tools
2. Precision Tweezers
Fine-point tweezers help remove tiny vinyl fragments, especially in detailed logos and lettering.
3. LED Light Pad
An illuminated light pad makes cut lines more visible, significantly improving accuracy during weeding.
4. Magnifying Lamp
For highly detailed graphics and small fonts, a magnifying lamp reduces eye strain and increases precision.
5. Craft Knife
A sharp craft knife can help separate difficult sections without damaging the design.
6. Scraper Tool
A scraper helps flatten the carrier sheet and identify cut lines more easily.
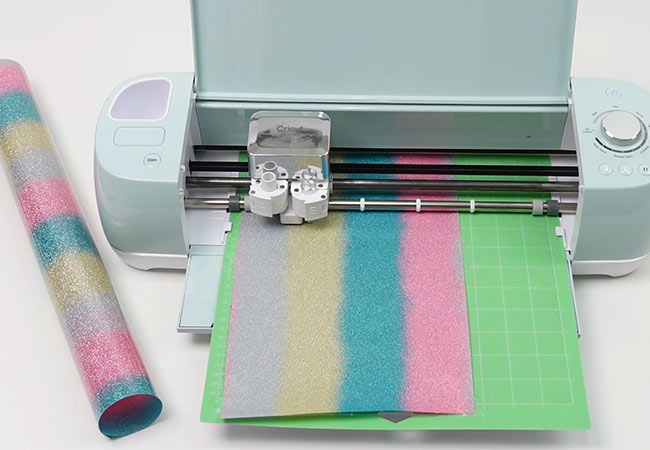
Preparing Your HTV for Easy Weeding
Proper preparation can make the entire process much easier.
Use Correct Cutting Settings
Incorrect blade depth or pressure often causes weeding problems.
If cuts are too shallow:
- Vinyl may not separate properly
- Edges can tear
- Small details become difficult to remove
If cuts are too deep:
- Carrier sheets may be damaged
- Designs may lift unintentionally
Always perform a test cut before running production jobs.
Mirror Your Design
HTV designs must be mirrored before cutting because they are applied face-down onto the garment.
Failing to mirror the design results in reversed graphics after pressing.
Allow Vinyl to Relax
After cutting, allow the HTV sheet to rest for a few minutes. This can make the cut lines more visible and reduce static buildup.
Step-by-Step Guide: How to Weed Heat Transfer Vinyl
Step 1: Inspect the Cut Design
Place the HTV sheet under adequate lighting and inspect the cut lines.
Check for:
- Complete cuts
- Missing details
- Incomplete sections
- Blade drag marks
Identifying issues early prevents mistakes during weeding.
Step 2: Start from a Corner
Begin at one corner of the design.
Using a weeding hook, gently lift the excess vinyl while keeping the carrier sheet flat on the work surface.
Pull slowly and consistently.
Step 3: Remove Large Sections First
Peel away larger areas before focusing on small details.
This approach allows the design to become more visible and reduces confusion during intricate work.
Step 4: Weed Internal Elements
After removing the outer vinyl, focus on internal sections such as:
- Centers of letters
- Small decorative shapes
- Fine design details
Carefully remove these interior pieces without lifting surrounding vinyl.
Step 5: Check for Missed Pieces
Examine the design thoroughly.
Use a light pad or bright lighting to identify:
- Tiny vinyl fragments
- Unweeded centers
- Small defects
Removing missed pieces now prevents costly mistakes later.
Best Techniques for Weeding Small Letters
Small text is often the most difficult aspect of HTV weeding.
Use Reverse Weeding
Reverse weeding involves applying transfer tape before removing excess vinyl.
This technique helps preserve:
- Fine script fonts
- Tiny text
- Intricate logos
Reverse weeding minimizes the risk of lifting delicate design elements.
Work Slowly
Rushing increases the likelihood of tearing.
For fonts smaller than 0.5 inches, slow and controlled movements produce the best results.
Use Sharp Tools
Dull tools can snag vinyl and distort small details.
Replace worn tools regularly for consistent performance.
weed
Hot Weeding vs. Cold Weeding HTV
Different HTV products require different weeding approaches.
Hot Weeding
Some vinyls are designed to be weeded while warm.
Advantages include:
- Faster production
- Easier removal
- Improved workflow
Cold Weeding
Other materials perform best when allowed to cool completely.
Benefits include:
- Greater stability
- Reduced stretching
- Improved detail retention
Always follow the manufacturer’s recommendations for specific HTV products.
Common HTV Weeding Mistakes to Avoid
Pulling Too Fast
Fast pulling can lift desired elements and ruin the design.
Maintain steady, controlled tension throughout the process.
Using Excessive Force
Aggressive weeding often damages small details.
Allow the cut lines to guide the removal process naturally.
Ignoring Test Cuts
Skipping test cuts can lead to poor cut quality and difficult weeding.
A 30-second test cut can save significant time and material.
Poor Lighting
Insufficient lighting makes cut lines difficult to see.
Investing in a quality light pad dramatically improves accuracy.
Not Organizing Designs
For large production runs, label and organize designs immediately after cutting.
This reduces errors and speeds up workflow.
Advanced Weeding Tips for Professional Results
Use a Light Box
Professional decorators often weed directly on illuminated surfaces.
The enhanced visibility helps identify intricate cut paths instantly.
Weed Immediately After Cutting
Freshly cut vinyl often weeds more easily because the material has not fully settled.
Create Weeding Boxes
Adding a weeding box around the design during setup simplifies excess vinyl removal.
Benefits include:
- Cleaner peeling
- Faster production
- Reduced waste
Optimize Design Complexity
Whenever possible, simplify artwork before cutting.
Reducing unnecessary nodes and details improves both cutting and weeding efficiency.
How to Speed Up HTV Weeding for Business Production
For businesses producing custom apparel, efficiency is critical.
Consider these strategies:
Batch Similar Jobs
Group designs with similar materials and settings.
This streamlines production and reduces setup time.
Invest in Professional Tools
High-quality tools improve speed, precision, and operator comfort.
Train Consistent Techniques
Standardized workflows produce consistent results across multiple operators.
Use Premium HTV Materials
Higher-quality vinyl generally weeds more cleanly and predictably.
The reduced labor often offsets the higher material cost.

Troubleshooting Difficult HTV Weeding Problems
Vinyl Tearing During Weeding
Possible causes:
- Excessive blade depth
- Dull blade
- Low-quality vinyl
Design Lifting from Carrier Sheet
Possible causes:
- Incorrect cut settings
- Pulling too aggressively
- Excessively intricate artwork
Cut Lines Not Visible
Possible causes:
- Insufficient cutting pressure
- Poor lighting
- Worn cutting blade
Addressing these issues systematically improves future production runs.
Whether working with simple graphics, detailed logos, custom T-shirts, tote bags, or large-scale production orders, a consistent HTV weeding process ensures cleaner transfers, reduced waste, and superior finished products. With practice and attention to detail, even the most intricate heat transfer vinyl designs can be weeded quickly and accurately, helping create products that stand out in a competitive marketplace.
Related:
5 Essential Tools for Perfect Heat Transfer Vinyl Application
10 Pro Tips for Perfect Heat Transfer Vinyl Application
How to choose the perfect Heat Transfer Vinyl for T-Shirts?
10 Tips for Cutting Heat Transfer Vinyl Perfectly: Expert Guide