Blog
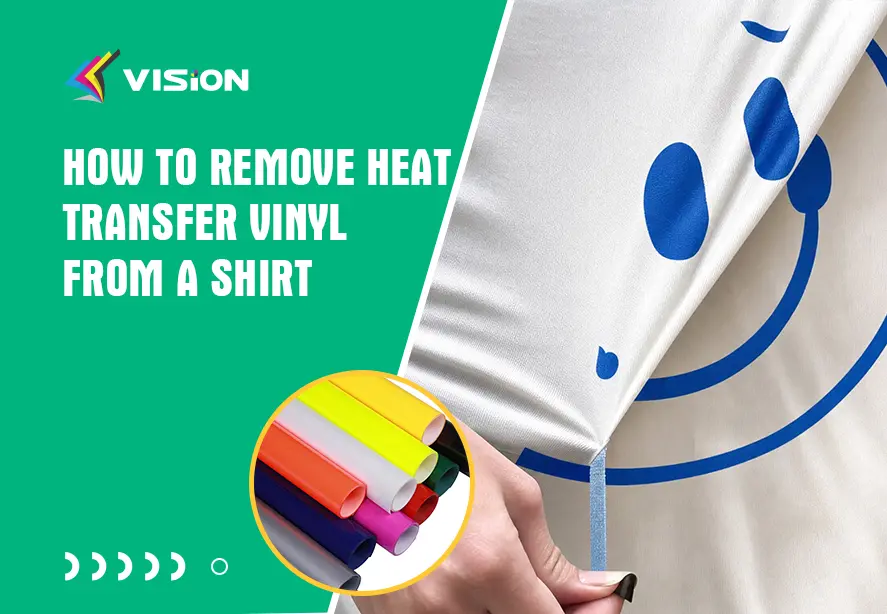
How to Remove Heat Transfer Vinyl from a Shirt
Heat transfer vinyl can inspire DIY lovers with many ideas and creative ways to print T-shirts. But in real practice, it’s inevitable to run into various “disasters,” such as when the design doesn’t look as good as expected, the color combinations aren’t satisfying, wrinkles or lifting edges appear during pressing, and the most common issue—incorrect alignment—causes the text to shift. It’s tricky to remove heat transfer vinyl because the adhesive is designed to bond strongly with fabric under heat.
Why Heat Transfer Vinyl Is Hard to Remove
HTV is engineered for strong adhesion under heat and pressure, which is exactly why removal becomes difficult. Once applied, the adhesive bonds deeply with fabric fibers.
Key challenges:
- High-temperature adhesive activation
- Fabric penetration
- Aging over time (becomes harder to remove)
Best Methods to Remove Heat Transfer Vinyl from Shirt
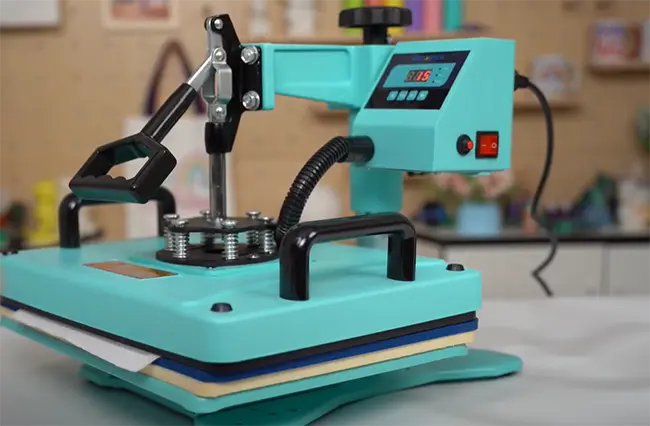
1. Heat and Peel Method (Most Recommended)
This is the safest and most widely used method.
Steps:
- Place the shirt on a flat surface
- Use a heat press or household iron to reheat the vinyl (150–180°C / 300–350°F)
- Gently lift the edge using tweezers
- Peel slowly while the vinyl is still warm
Why it works:
Heat reactivates the adhesive, making it easier to release.
2. Using HTV Remover (Professional Solution)
For businesses or frequent users, this is the most efficient method.
Steps:
- Turn the shirt inside out
- Apply HTV remover solution to the back of the vinyl
- Gently stretch the fabric
- Peel off the vinyl from the front
Advantages:
- Fast and clean removal
- Minimal fabric damage
- Ideal for bulk corrections
3. Household Solvent Method (Alternative Option)
Common solutions include:
- Rubbing alcohol
- Acetone (nail polish remover)
Steps:
- Test on a small area first
- Apply solvent to the adhesive side
- Wait a few seconds
- Peel gently
Warning:
This method may damage delicate fabrics or cause discoloration.
How to Remove Adhesive Residue
After removing HTV, residue is a major user complaint.
Solutions:
- Reapply heat and wipe with cloth
- Use adhesive remover or alcohol
- Wash the garment after treatment
remove htv
Common Mistakes Users Make
From our production and customer feedback data, the most frequent mistakes include:
- Peeling vinyl when cold (causes tearing)
- Using excessive force
- Overheating fabric (burn marks)
- Using low-quality vinyl initially
How Manufacturers Help Solve These Problems
As a manufacturer, we focus on reducing removal difficulty by improving:
1. Balanced Adhesive Formulation
- Strong enough for durability
- Removable when reheated
2. Consistent Film Thickness
- Ensures even heat distribution
- Prevents partial peeling
3. High-Quality Release Layer
- Improves application and removal control
Preventing Removal Issues from the Start
The best solution is prevention.
- Use high-quality HTV materials
- Apply with correct temperature, pressure, and time
- Avoid over-pressing
- Test before mass production
Who Needs This Guide Most
- Custom apparel businesses
- Print-on-demand sellers
- DIY creators
- Heat press machine users
- Brand owners managing quality control
Removing heat transfer vinyl doesn’t have to be a frustrating process. With the right technique, tools, and materials, users can achieve clean, damage-free results.
From a manufacturer’s standpoint, the goal is not only to provide durable products but also to ensure they are user-friendly, correctable, and efficient in real-world applications.
Related:
Best Temperature and Pressure Settings for Heat Transfer Vinyl
5 Essential Tools for Perfect Heat Transfer Vinyl Application
Why Your Heat Transfer Vinyl Is Lifting – How to Fix It Fast
How to Prevent Peeling and Cracking with Heat Transfer Vinyl?
What fabric is best for heat transfer vinyl?
Best Heat Settings for PU Heat Transfer Vinyl
How to choose the perfect Heat Transfer Vinyl for T-Shirts?
9 Do’s and 9 Don’ts of Layering Heat Transfer Vinyl