Blog
9 Do’s and 9 Don’ts of Layering Heat Transfer Vinyl
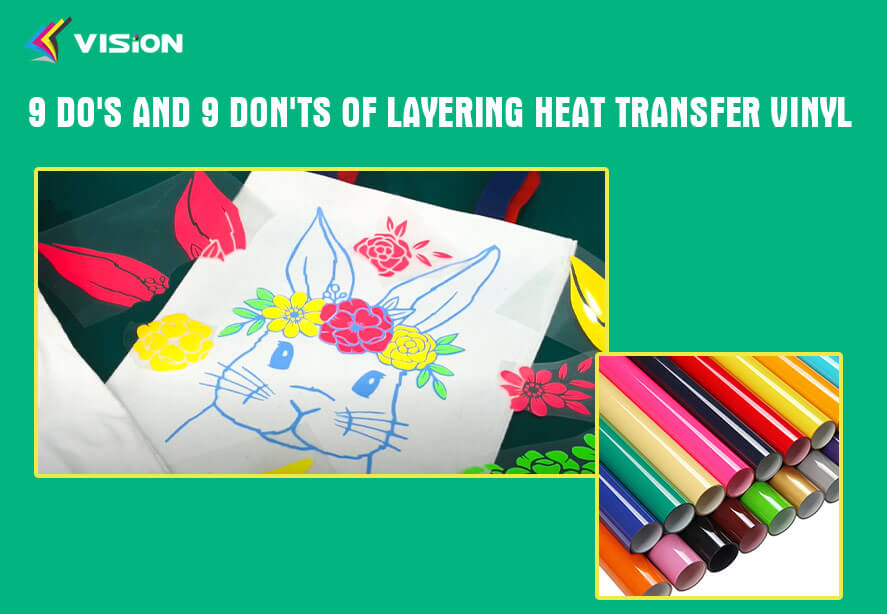
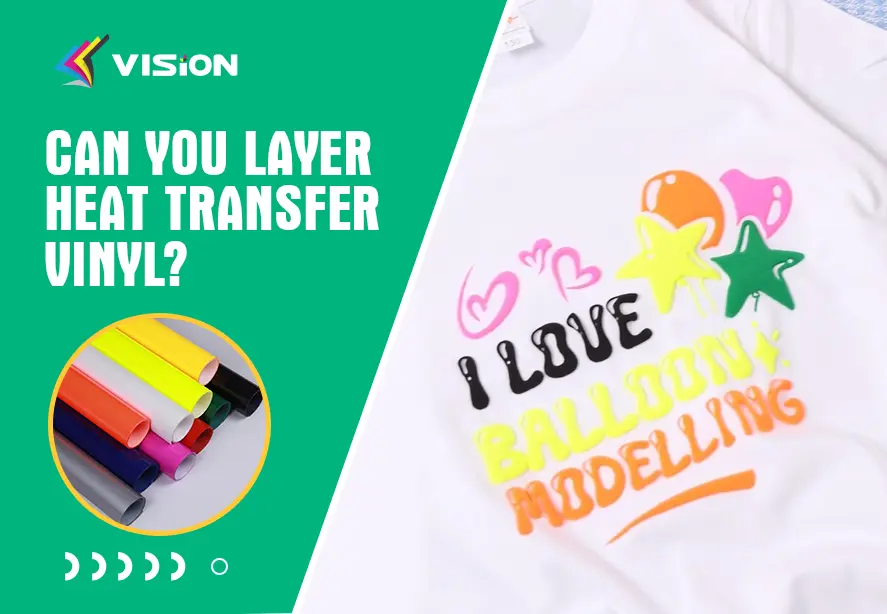
Layering heat transfer vinyl (HTV) is a popular technique used by crafters, designers, and businesses to create intricate and multi-colored designs on various surfaces, such as t-shirts, bags, and apparel. However, mastering the art of layering HTV requires a combination of skill, patience, and adherence to best practices. In this comprehensive guide, we’ll explore the do’s and don’ts of layering heat transfer vinyl, ensuring that your projects turn out flawless and professional.
The Do’s of Layering Heat Transfer Vinyl
Test Before Layering: Always perform a test run on scrap fabric or a sample piece before layering HTV on your final project. This allows you to assess the compatibility of different vinyl types and ensure that the layers adhere properly.
Invest in High-Quality Materials: Start with premium-quality heat transfer vinyl from reputable brands like VISION factory. High-quality HTV ensures vibrant colors, durability, and ease of application.
Follow the Manufacturer’s Instructions: Carefully read and follow the instructions provided by the HTV manufacturer. Different types of vinyl may require specific temperature, pressure, and application time settings.
Use a Heat Press or EasyPress: While it’s possible to use a household iron for small projects, a dedicated heat press or EasyPress machine is recommended for larger or more complex designs. These tools provide consistent heat and pressure, ensuring optimal adhesion.
Mirror Your Design: When layering HTV, it’s essential to mirror your design before cutting or weeding. This step ensures that the layers align correctly when applied to the substrate.
Remove Excess Vinyl Between Layers: Before applying a new layer of HTV, carefully remove any excess vinyl from the previous layer. This prevents overlapping and maintains the clarity of the design.
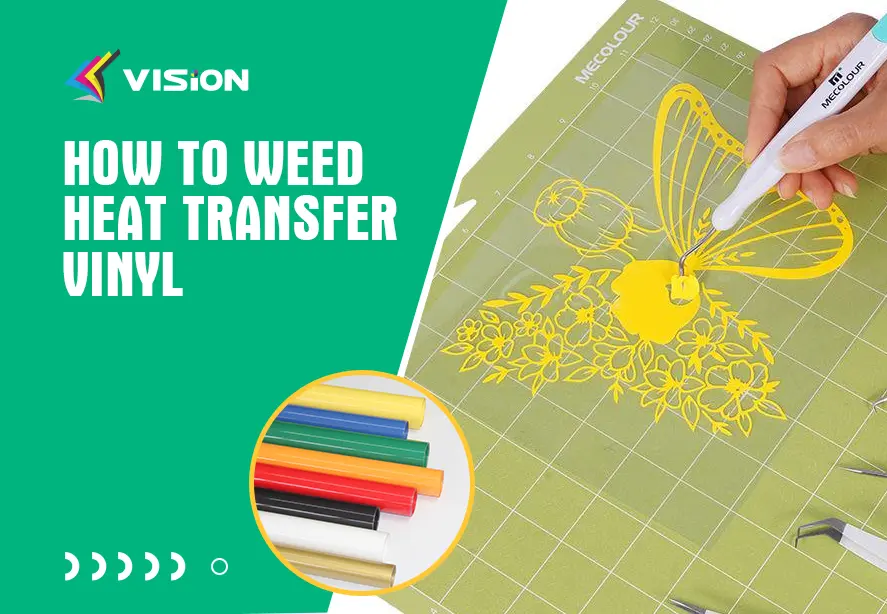
Weed Carefully: Weeding, or removing the excess vinyl from the carrier sheet, is a crucial step. Take your time and use a weeding tool or tweezers to ensure that all unwanted vinyl is removed, leaving only the desired design.
Layer in the Correct Order: When layering multiple colors, start with the bottom layer and work your way up. This approach ensures that each layer adheres correctly and prevents the design from shifting or peeling.
Use a Cover Sheet: A cover sheet, such as a Teflon sheet or a thin cloth. Not only does it help protect the top layer of vinyl and prevent it from sticking to the heat press or EasyPress. It also prevents the vinyl from melting into each other and ensures clean and crisp edges for each layer.
How To Layer Flock Heat Transfer Vinyl?
More videos about our heat transfer vinyl poducts, please follow up the youtube to learn.
The Don’ts of Layering Heat Transfer Vinyl
Don’t Rush the Process: Layering HTV requires patience and attention to detail. Rushing through the process can lead to misalignment, peeling, or incomplete adhesion.
Avoid Layering Too Many Times: Layering HTV multiple times can lead to excessive thickness and reduce the flexibility of the garment. Ideally, limit the number of layers to two or three for optimal results.
Don’t Overheat the Vinyl: Excessive heat can cause the vinyl to shrink, distort, or become brittle. Always follow the recommended temperature settings for the specific type of HTV you’re using.
Don’t Neglect Preheating: Preheating the substrate (e.g., t-shirt or bag) is essential for ensuring proper adhesion. Skipping this step can result in the vinyl not sticking correctly or peeling off over time.
Don’t Forget to Preheat the Heat Press: Preheating the heat press or EasyPress is equally important. A cold surface can lead to uneven heat distribution and poor adhesion.
Don’t Overstretch the Vinyl: While applying pressure, avoid stretching or distorting the vinyl. This can cause the design to appear distorted or create gaps between the layers.
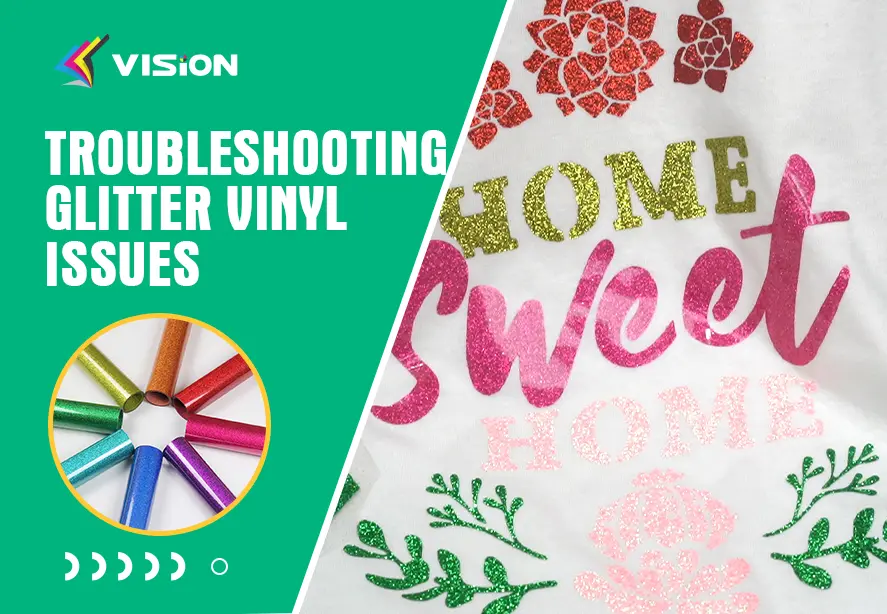
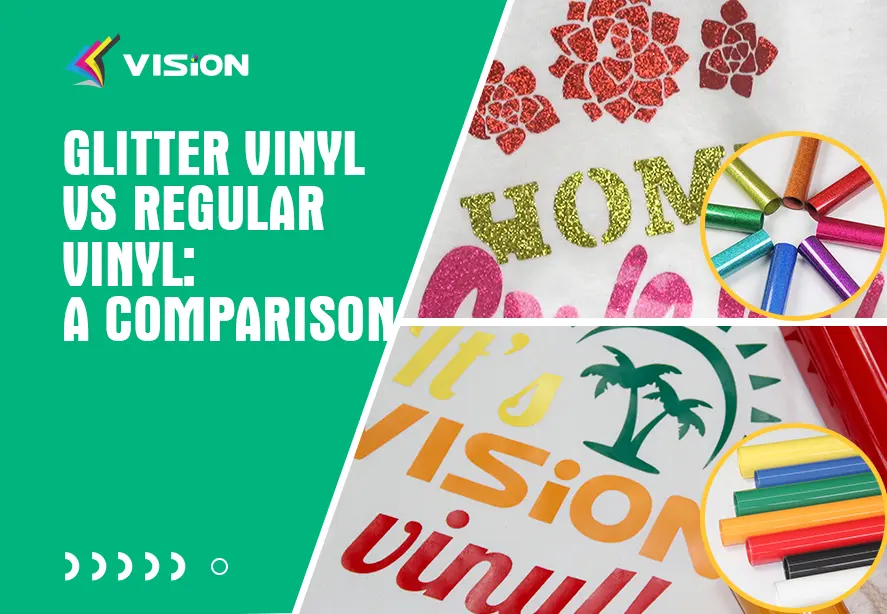
Don’t Layer Certain Specialty Vinyls: Maybe some specialty HTV vinyls, such as glitter or holographic, may not layer well due to their unique textures. Check the manufacturer’s guidelines to determine if layering is recommended for specific vinyl types. However, You can layer with confidence with glitter and holographic heat transfer vinyl by VISION manufacturer.
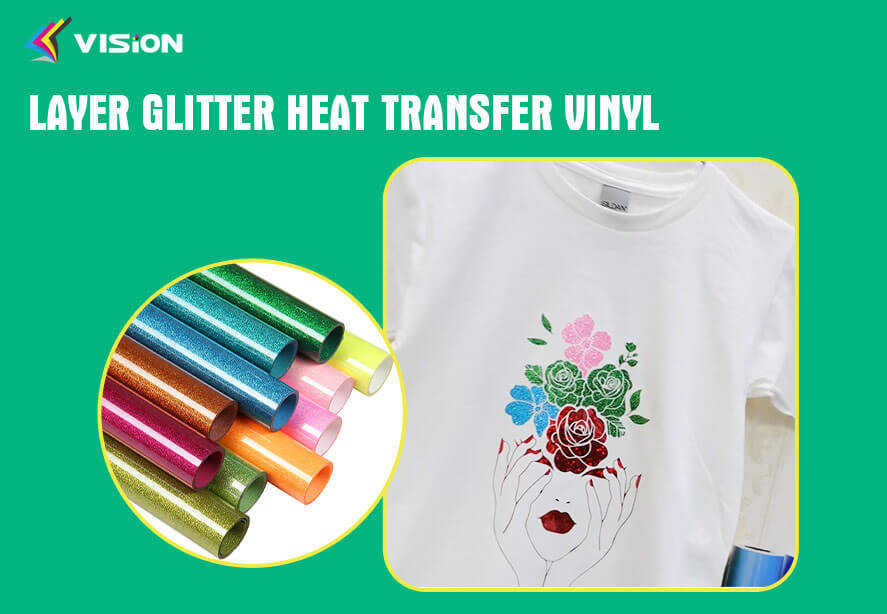
Layer Glitter Heat Transfer Vinyl
Avoid Layering on Stretchy Fabrics: Layering HTV on highly stretchable fabrics, such as spandex or Lycra, can cause the layers to crack or peel over time. Consider using alternative application methods like sublimation or screen printing for such fabrics.
Don’t Ignore Proper Cooling: After pressing, allow the substrate to cool completely before removing the cover sheet or carrier sheet. Premature removal can cause the vinyl to lift or peel.
Layering heat transfer vinyl can elevate your designs and create visually stunning apparel. By following the do’s and don’ts of layering HTV, you can achieve professional-looking results. Remember to test, use a Teflon sheet or parchment paper, cut designs in mirror image, remove excess vinyl, and apply proper heat and pressure. Avoid excessive layering, overheating, layering certain specialty vinyls, and layering on stretchy fabrics. With careful attention to these guidelines, you’ll be able to create layered HTV designs that are durable, visually appealing, and sure to impress.
Related:
How To Layer PU Heat Transfer Vinyl?
How to Layer Chameleon Heat Transfer Vinyl?