Blog
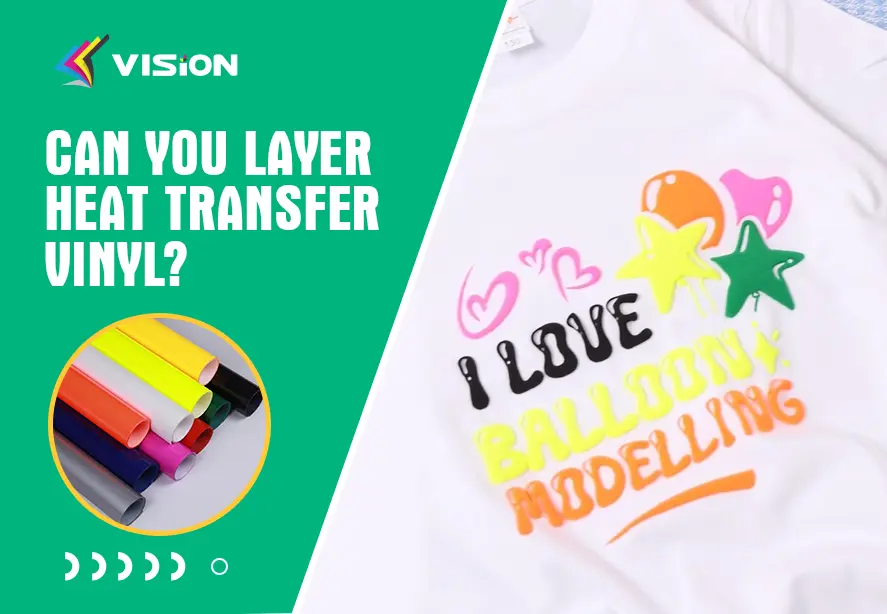
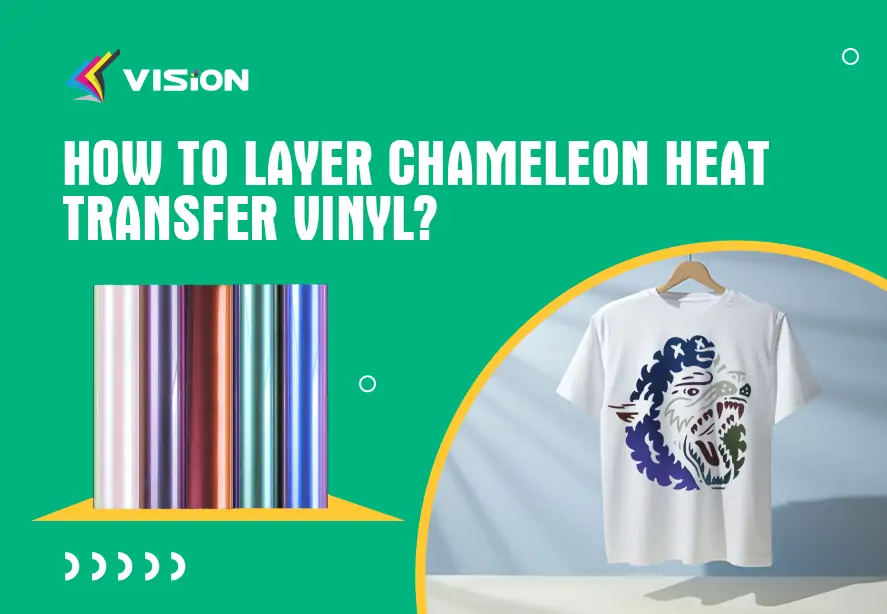
How to Layer Chameleon Heat Transfer Vinyl?
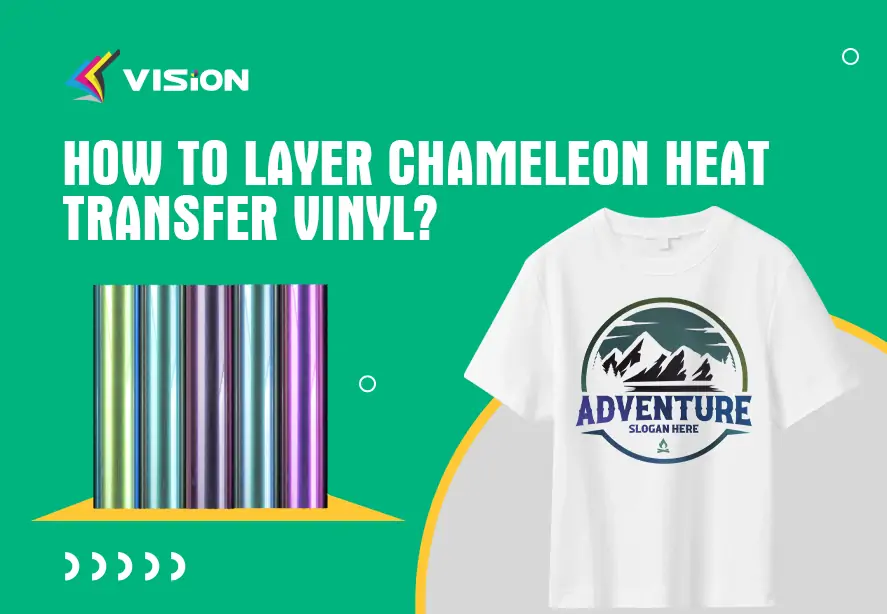
Layering chameleon heat transfer vinyl can create stunning and unique designs on your garments. Chameleon heat transfer vinyl is known for its color-changing properties, which can add depth and dimension to your designs. Layering multiple colors of HTV in one design can be intimidating. Here’s a step-by-step guide on how to layer chameleon heat transfer vinyl effectively:
There are two layer solutions available for reference: Designs side-by-side and Designs stacked up and down.
Designs side-by-side on garment
If you have multiple designs that are stacked side by side, you can certainly place all the designs on your garment at once and then press them. Here’s a modified step-by-step guide for this method:
Design and Prepare Your Artwork:
Use design software or a cutting machine software to create your desired designs.
Adjust the size, orientation, and position of the designs according to your garment.
Cut the Designs:
Cut each design separately using a cutting machine.
Make sure to mirror the designs horizontally before cutting.
Weed the Vinyl:
Carefully remove the excess vinyl from each design using a weeding tool.
Take your time to ensure all the intricate parts of the designs are properly weeded.
Preheat Your Heat Press:
Set your heat press to the recommended temperature for the specific type of heat transfer vinyl you are using.
Preheat the heat press for a few seconds to ensure even heat distribution.
Position the Designs:
Lay your garment on the heat press and pre-press it for a few seconds to remove any moisture or wrinkles.
Position all the designs side by side on the garment, ensuring they are centered and aligned correctly.
Use heat-resistant tape or a heat transfer cover sheet to secure the designs in place if necessary.
Press the Designs:
Cover the entire area with a Teflon sheet or parchment paper to protect the designs during the heat application.
Apply firm pressure and press the designs using the recommended time and temperature for the specific heat transfer vinyl you are using.
Make sure to follow the manufacturer’s instructions for the best results.
Peel the Carrier Sheets:
After the pressing time is complete, carefully peel off the carrier sheets from each design while they are still hot.
If any part of the vinyl sticks to the carrier sheets, lay it back down and press it for a few more seconds.
Cooling and Finishing:
Allow the garment to cool down completely before handling or wearing.
Once cooled, inspect the designs for any loose edges or areas that may need additional pressing.
Trim any excess vinyl if necessary.
Remember to adjust the pressing time and temperature based on the specific heat transfer vinyl you are using. It’s always recommended to test a small area or scrap fabric before applying the designs to your final garment.
How To Layer Chameleon Heat Transfer Vinyl?
Designs stacked up and down on garment
Design and Prepare Your Artwork:
Use design software or a cutting machine software to create your desired design.
Adjust the size, orientation, and position of the design according to your garment.
Cut the Layers:
Determine how many layers you want to create and cut each layer separately using a cutting machine.
Make sure to mirror the design horizontally before cutting.
Weed the Vinyl:
Carefully remove the excess vinyl from each layer using a weeding tool.
Be precise and take your time to ensure the intricate parts of the design are properly weeded.
Preheat Your Heat Press:
Set your heat press to the recommended temperature for Chameleon heat transfer vinyl (typically around 300°F).
Preheat the heat press for a few seconds to ensure even heat distribution.
Position and Press the Base Layer:
Place your garment on the heat press and pre-press it for a few seconds to remove any moisture or wrinkles.
Position the base layer of Chameleon heat transfer vinyl on the garment, ensuring it is centered and aligned correctly.
Cover the vinyl with a teflon sheet or parchment paper to protect it during the heat application.
Press the base layer using firm pressure for the recommended time (typically around 10-15 seconds).
Peel the Carrier Sheet:
After the pressing time is complete, carefully peel off the carrier sheet while it’s still hot.
If any part of the vinyl sticks to the carrier sheet, lay it back down and press it for a few more seconds.
Position and Layer the Additional Vinyl:
Once the base layer has cooled down, position the next layer of chameleon heat transfer vinyl on top of it.
Ensure the layers align perfectly and that the edges match up accurately.
Cover the layers with a Teflon sheet or parchment paper before pressing.
Press and Peel Each Layer:
Press the layered vinyl using firm pressure for the recommended time (typically around 10-15 seconds).
Peel off the carrier sheet while the vinyl is still hot, making sure not to disturb the alignment of the layers.
Repeat this process for each additional layer until all layers are applied.
Final Pressing:
After all the layers are applied, cover the entire design with a Teflon sheet or parchment paper.
Press the entire design one final time using firm pressure for the recommended time (typically around 10-15 seconds).
This step helps to ensure the layers adhere properly and create a seamless finish.
Layer Chameleon Heat Transfer Vinyl
Cooling and Finishing:
Allow the garment to cool down completely before handling or wearing.
Once cooled, inspect the design for any loose edges or areas that may need additional pressing.
Trim any excess vinyl if necessary.
Remember to always follow the manufacturer’s instructions for the specific Chameleon heat transfer vinyl you are using, as temperature and pressing times may vary. Experiment with different color combinations and layering techniques to create unique and eye-catching designs.