Blog
How To Layer PU Heat Transfer Vinyl?
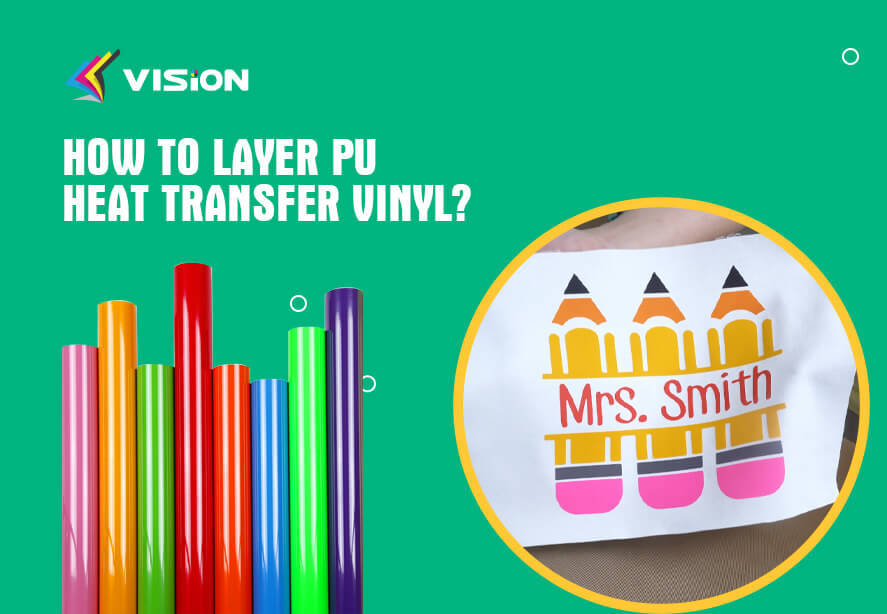
Layering PU heat transfer vinyl (HTV) is a common technique used to create intricate and multi-colored designs on fabrics. Layering allows you to add depth and complexity to your designs by combining different colors and textures of vinyl. In this article, we will guide you through the process of layering PU HTV to achieve professional and long-lasting results.
Understanding PU Heat Transfer Vinyl
Before we dive into the layering process, it’s essential to understand what PU HTV is and how it works. PU HTV is a type of vinyl that is specifically designed for heat transfer applications. It comes in a variety of colors, finishes, and textures, allowing you to create customized designs on fabric.
PU HTV consists of three layers: the carrier sheet, the vinyl layer, and the adhesive layer. The carrier sheet is the clear sheet that holds the vinyl and adhesive layers together. The vinyl layer is the colored or textured part that will be transferred onto the fabric. The adhesive layer is the heat-activated glue that adheres the vinyl to the fabric when heat is applied.
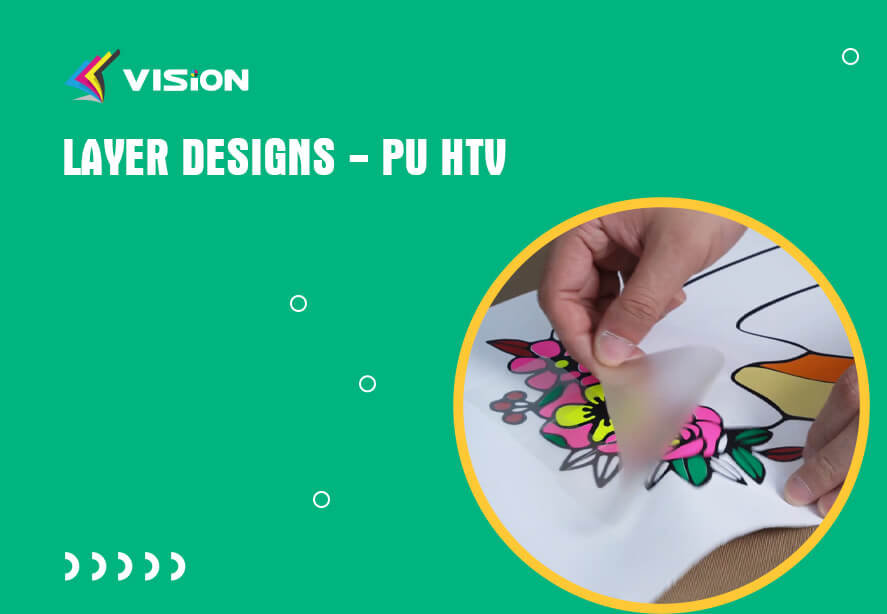
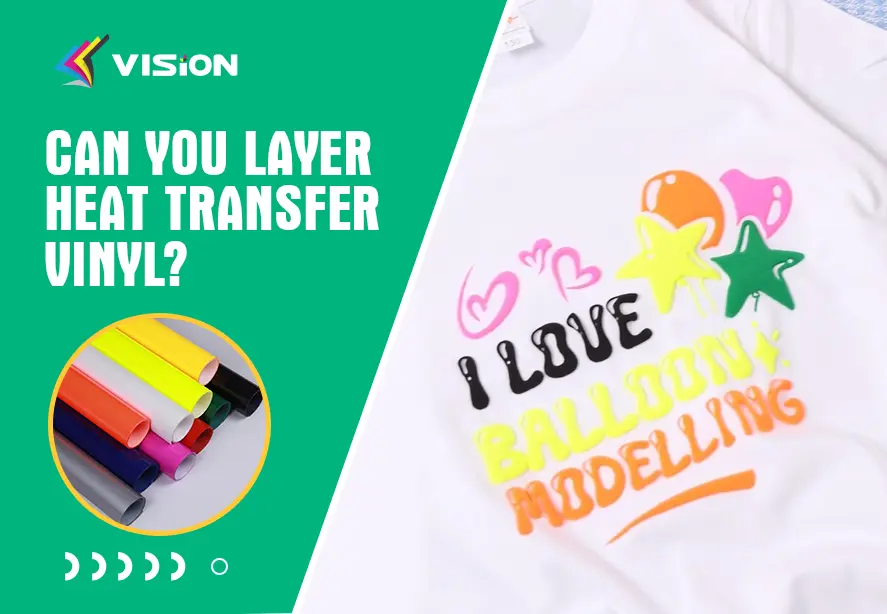
Layer designs – PU HTV
Layering PU Heat Transfer Vinyl
Layering PU HTV involves applying multiple layers of vinyl onto your fabric. Here are the steps to successfully layer PU HTV:
Design your artwork: Start by designing your artwork on a computer using design software or by hand-drawing your design. Keep in mind that layering works best with designs that have distinct layers or sections.
Cut the vinyl: Once your design is ready, use a cutting machine (such as a Cricut or Silhouette or Mecolour) to cut each layer of vinyl according to your design. Remember to mirror your design before cutting, especially if it contains text or any directional elements.
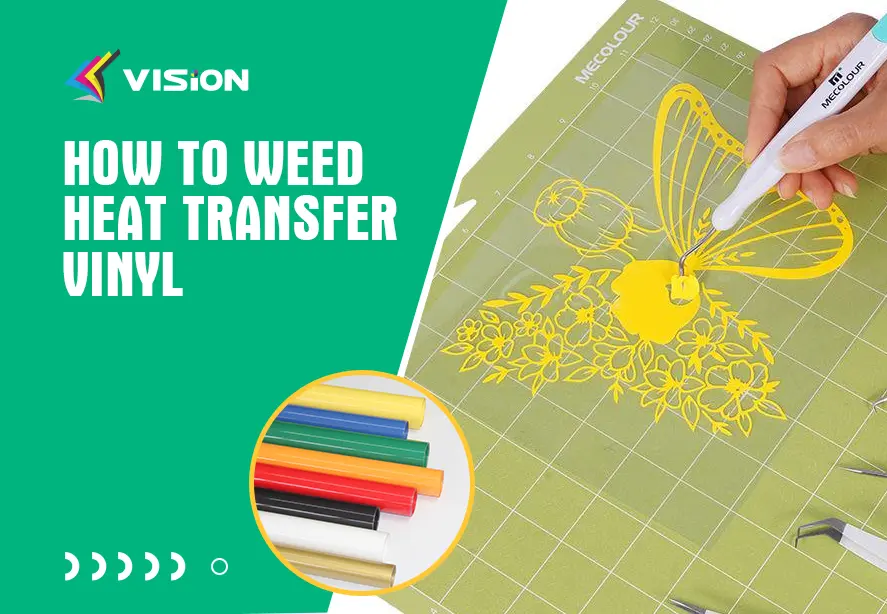
Weed the vinyl: After cutting, weed away the excess vinyl using a weeding tool. This process involves removing the parts of the vinyl that you don’t want to transfer onto your fabric. Be careful not to remove any essential parts of your design.
Prepare your fabric: Preheat your heat press or iron to the recommended temperature for the PU HTV you are using. It’s crucial to use the correct temperature and pressure settings to ensure proper adhesion.
Apply the base layer: Start by applying the bottommost layer of your design onto the fabric. Place the vinyl with the carrier sheet facing up on the fabric in the desired position.
Heat press or iron: Using your heat press or iron, apply heat and pressure to the base layer of vinyl according to the manufacturer’s instructions. This will activate the adhesive layer and adhere the vinyl to the fabric.
Remove the carrier sheet: After applying heat, carefully peel off the carrier sheet while it’s still warm. If any part of the vinyl lifts with the carrier sheet, place it back down and reapply heat for a few more seconds.
Repeat the process: Once the base layer is applied, repeat steps 5 to 7 for each subsequent layer of vinyl. Place each layer on top of the previously applied layer and follow the same heat application process.
Final heat press or iron: After all the layers are applied, give your entire design a final heat press or iron to ensure proper adhesion and longevity. This step helps to bond all the layers together and create a seamless finished look.
Allow it to cool and test: After heat pressing, allow your fabric to cool completely before testing the durability of the vinyl. Check if the layers are securely adhered and if the design withstands stretching and washing.
How To Layer Vision PU Heat Transfer Vinyl?
Tips for Successful Layering
Here are some additional tips to ensure successful layering of PU HTV:
Use a pressing pillow: If you are working with a heat press, consider using a pressing pillow or a folded towel inside the garment. This helps to create an even and stable surface for heat application, especially when working with thick or textured fabrics.
Test your layers: Before applying the vinyl to your final fabric, it’s a good practice to test the layering process on a scrap piece of fabric. This allows you to make any necessary adjustments and ensure the layers align correctly.
Consider layering order: When planning your design, think about the order in which you will layer the vinyl. Start with the base layer and work your way up to the topmost layer. This helps prevent overlapping and ensures a visually appealing design.
Use transfer tape for small details: If your design includes small or intricate details, consider using transfer tape to transfer those details onto the fabric. This ensures precise placement and reduces the risk of misalignment.
Follow manufacturer’s instructions: Different brands and types of PU HTV may have specific recommendations for temperature, pressure, and application time. Always refer to the manufacturer’s instructions for the best results.
PU htv vinyl
By following these steps and tips, you can achieve professional-looking layered designs using PU heat transfer vinyl. Remember to practice and experiment with different combinations of colors and textures to unleash your creativity and create unique designs.
Related:
Heat Transfer Vinyl – PU VINYL
Heat Up Your Designs with PU Heat Transfer Vinyl