Blog
Some tips for using glitter heat transfer vinyl
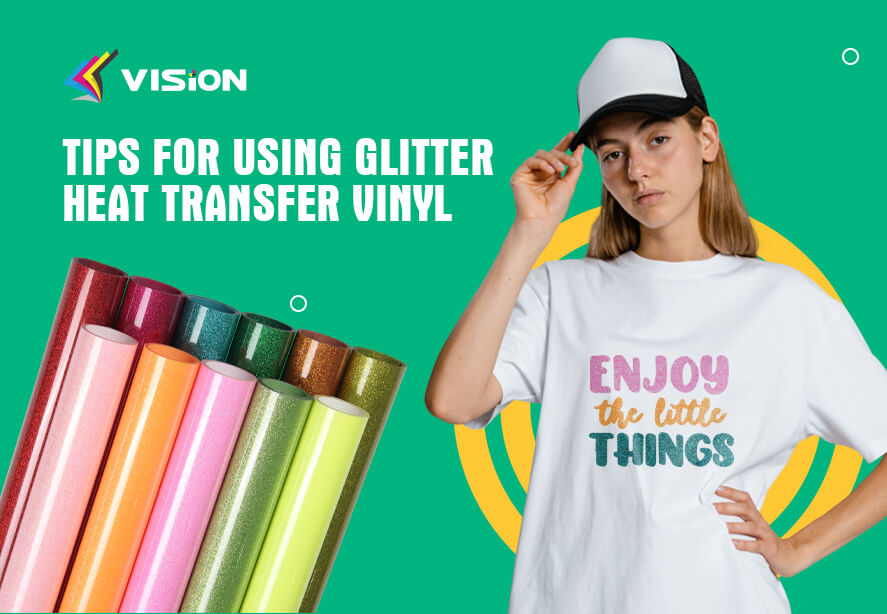
Glitter heat transfer vinyl (HTV) is a popular choice for adding sparkle and shine to your designs. Whether you’re creating custom apparel, accessories, or home decor, using glitter HTV can take your projects to the next level. Here are some useful tips for working with glitter HTV:
Choose High-Quality Glitter HTV
When selecting glitter HTV, it’s essential to choose a high-quality vinyl. It’s essential to consider the quality and durability of the vinyl. High-quality glitter HTV ensures better adhesion, durability, and resistance to fading. Look for vinyl that is designed specifically for heat transfer applications and is known for its quality.
Prepare Your Design
Before cutting the glitter HTV, make sure your design is properly prepared. Ensure that your design is properly sized and mirrored, especially if you’re working with text or intricate details. This step ensures that your design appears correctly when transferred onto the fabric.
Test Cut
To avoid wasting vinyl, perform a test cut on a small piece of scrap material before cutting your entire design. This step helps you determine the correct blade depth and pressure settings for your specific cutting machine. It also allows you to check the cut lines and make any necessary adjustments.
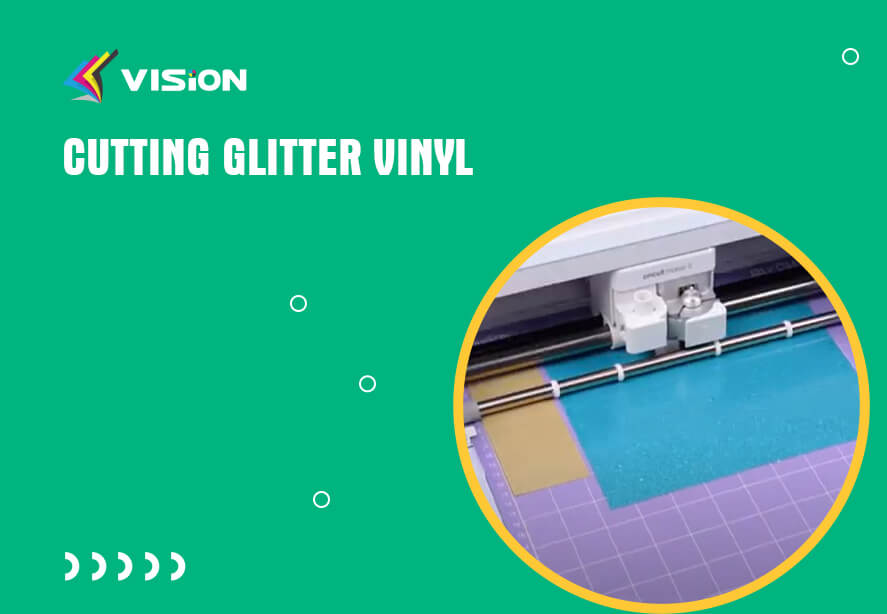
cutting glitter vinyl
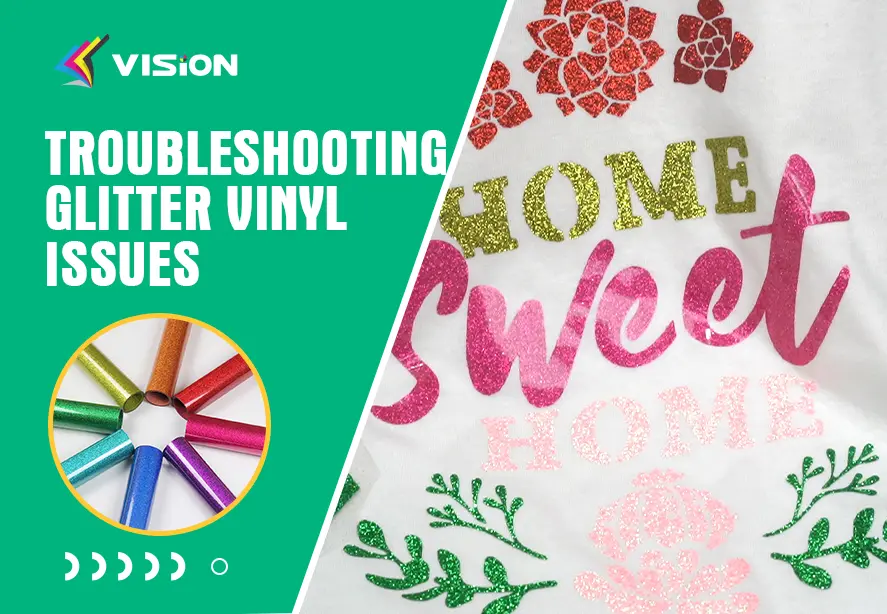
Weed with Care
Weeding is the process of removing excess vinyl from your design. Glitter HTV can be slightly more challenging to weed due to its textured surface. Take your time and use a weeding tool to carefully remove the excess vinyl while leaving your design intact. Be gentle to avoid damaging the fine details.
Use Proper Heat and Pressure
When applying glitter HTV, it’s crucial to use the correct heat and pressure settings. Follow the heat press manufacturer’s instructions provided with the vinyl to ensure the best results. Generally, applying heat at around 300-320°F (150-160°C) for 10-15 seconds while using medium to firm pressure produces excellent adhesion, this transfer parameter is suitable for VISION factory. Different manufacturers have different parameters, please follow your manufacturer’s instructions.
Protect Your Design
To protect the glitter HTV and prevent it from peeling or cracking, use a heat transfer teflon cloth or parchment paper when applying heat. This barrier helps distribute heat evenly and protects the vinyl from direct contact with the heat source. It also prevents the glitter from sticking to the pressing surface.
Hot Peel (suitable for VISION)
After heat pressing, take out the transferred product from the heat press machine, then remove the carrier sheet. If any parts of the design lift, place the carrier sheet back down and reapply heat for a few seconds. Maybe some glitter transfer vinyls require cold peel, please follow your manufacturer’s instructions.
How To Cut Vision Glitter Heat Transfer Vinyl With Your Cricut?
Wash and Care Instructions
To maintain the quality and durability of your glitter HTV design, follow the recommended care instructions. Typically, it is best to wash garments inside out, using a gentle cycle and cold water. Avoid using harsh detergents or bleach, as these can cause the vinyl to deteriorate over time. Hang dry or use a low-heat setting when tumble drying.
By following these tips, you’ll be able to achieve professional-looking results with your glitter HTV projects. Enjoy adding a touch of sparkle and shine to your creations!
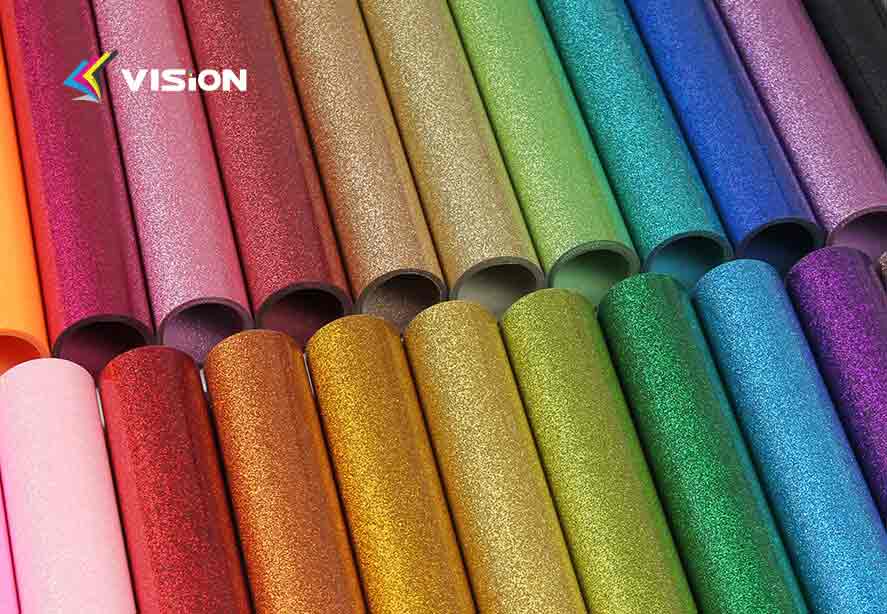
glitter htv vinyl colors
VISION offers a wide selection of high-quality glitter HTV in 23 vibrant colors. Our glitter heat transfer vinyl is known for its excellent adhesion, durability, and resistance to fading, making it a reliable choice for your projects. More details, please contact us anytime!
Related:
How to heat transfer glitter vinyl?
Why is glitter heat transfer vinyl popular?