Blog
10 Tips for Cutting Heat Transfer Vinyl Perfectly: Expert Guide
When it comes to crafting, heat transfer vinyl (HTV) has become a staple for creating custom apparel, accessories, and personalized items. Whether you’re a crafting enthusiast or a business owner, mastering the art of cutting HTV is essential to achieve professional-looking results. However, cutting HTV perfectly requires skill and precision to ensure flawless designs.In this comprehensive guide, we’ll delve into expert tips and techniques to help you achieve exceptional results every time you work with HTV.
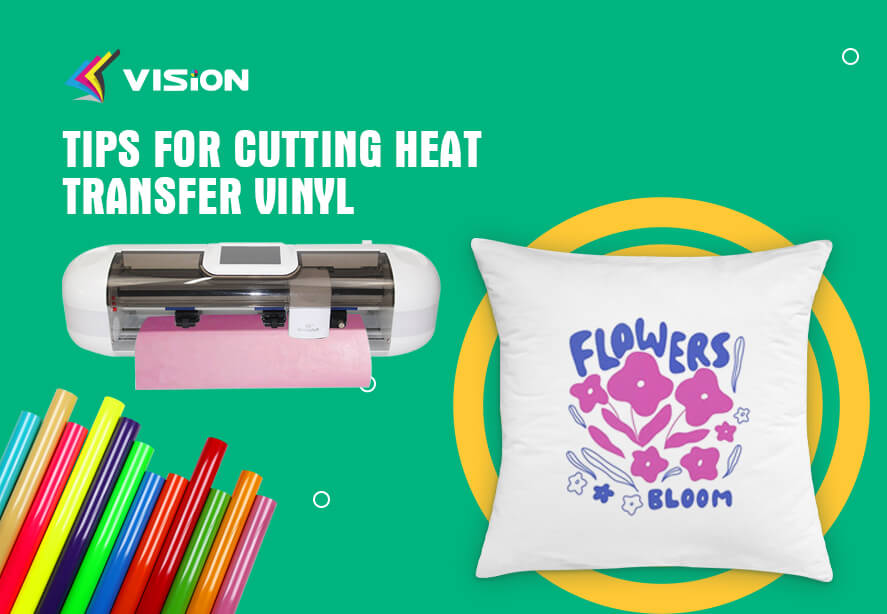
Tips for Cutting Heat Transfer Vinyl Perfectly
Understanding Heat Transfer Vinyl
Before we dive into the tips, let’s briefly understand what heat transfer vinyl is. HTV is a special type of vinyl that adheres to fabric when heat is applied, creating a durable and vibrant design. It comes in various colors, finishes, and textures, making it a versatile choice for different projects. Vision heat transfer vinyl factory provides more than 200 kinds of HTV vinyls for global customers to choose from.
Choosing the Right Tools
To achieve precise cuts, it’s crucial to have the right tools. Invest in a quality cutting machine such as a Cricut, Silhouette or Mecolour, along with sharp blades suitable for vinyl cutting. A weeding tool is also essential for removing excess vinyl and a heat press is used for applying designs to fabrics.
Selecting the Right Vinyl and Material
Not all vinyl and fabrics are created equal. Choose HTV that’s compatible with the material you’re working on. For example, some HTV works better on cotton, while others are designed for stretchy fabrics like spandex. Always refer to the heat transfer vinyl manufacturer‘s guidelines for compatibility.
Proper Workspace Setup
Create a clean and organized workspace to ensure accurate cuts. Keep your cutting machine on a stable surface, and make sure there’s enough space for the vinyl to feed smoothly. A clutter-free area minimizes the chances of errors and misalignments.
Preparing the Design

Preparing the Design
Using design software, create or import the design you want to cut. Make sure to mirror the design horizontally before cutting since HTV is applied facedown on the fabric. This step prevents the design from appearing backward after pressing.
Test Cuts Are Essential
Performing test cuts is a crucial step to determine the optimal settings for your specific vinyl and cutting machine. Most machines have a test cut feature that lets you make small test cuts before committing to the full design. This prevents wasting vinyl and ensures accurate cuts.
Mastering Pressure and Speed
Finding the right balance of pressure and speed is key to cutting HTV perfectly. Adjust these settings based on the type of vinyl and design complexity. Generally, slower speeds and higher pressure settings work well for intricate designs, while faster speeds are suitable for basic shapes.
Efficient Weeding Techniques
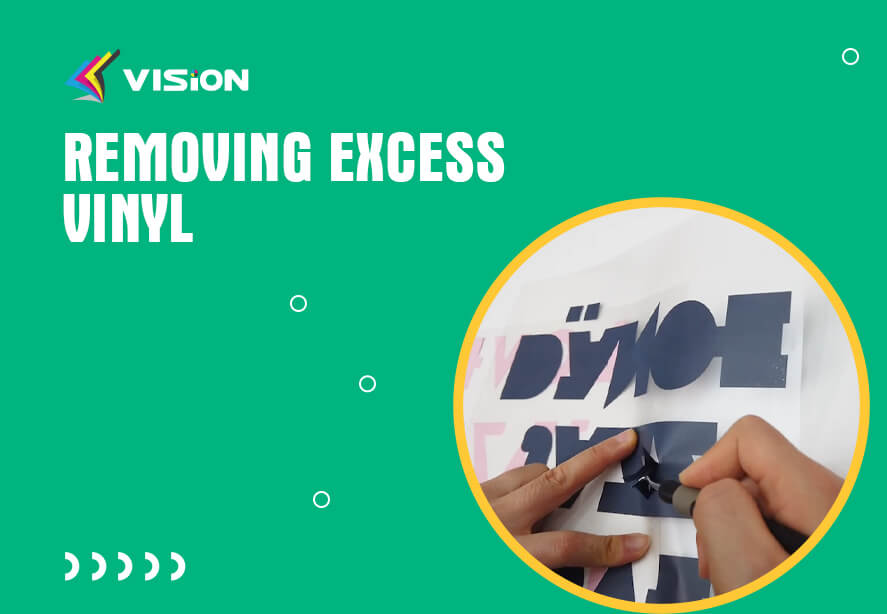
Removing excess vinyl
Weeding, or removing excess vinyl, requires patience and precision. Use a weeding tool to carefully lift the unwanted vinyl while leaving the design intact. Start from the corner and work your way inward, ensuring clean edges and details.
Handling Intricate Designs
Intricate designs can pose a challenge, but there’s a technique to conquer them. Begin by cutting a larger design that includes multiple smaller ones. This minimizes the risk of distortion and misalignment during the weeding process.
Using Transfer Tape Correctly
Transfer tape is used to lift the vinyl design off its backing and onto the fabric. Cut a piece of transfer tape slightly larger than your design, peel off the backing, and place the sticky side onto the vinyl. Use a scraper tool to press down and ensure the vinyl adheres to the transfer tape.
Applying the Design with Heat Press
Applying the design with heat press
Now comes the exciting part – applying the design to your fabric using a heat press. Preheat the fabric for a few seconds to remove moisture and wrinkles. Place the vinyl design with the transfer tape onto the fabric, cover it with a cloth, and press according to the vinyl manufacturer’s instructions.
Troubleshooting Common Issues
Encountering issues like vinyl not sticking or peeling after washing can be frustrating. To prevent this, ensure your heat press reaches the recommended temperature and apply adequate pressure. If peeling persists, increase the pressing time slightly.
Expert Insights for Perfection
We reached out to experienced crafters who shared their insights:
Rachel, a Crafting Enthusiast, says:
“Taking the time to master test cuts is the secret to impeccable HTV projects. It’s better to spend a few minutes adjusting settings than to waste materials on ruined designs.”
Mark, a Vinyl Artisan, suggests:
“Practice weeding on scrap vinyl to build your skills. Soon, you’ll handle even the most intricate designs like a pro.”
Mastering the art of cutting heat transfer vinyl perfectly is a skill that enhances your crafting endeavors. By following these expert tips, you’ll confidently create eye-catching designs that withstand the test of time. Remember, patience and practice are your allies in this creative journey.