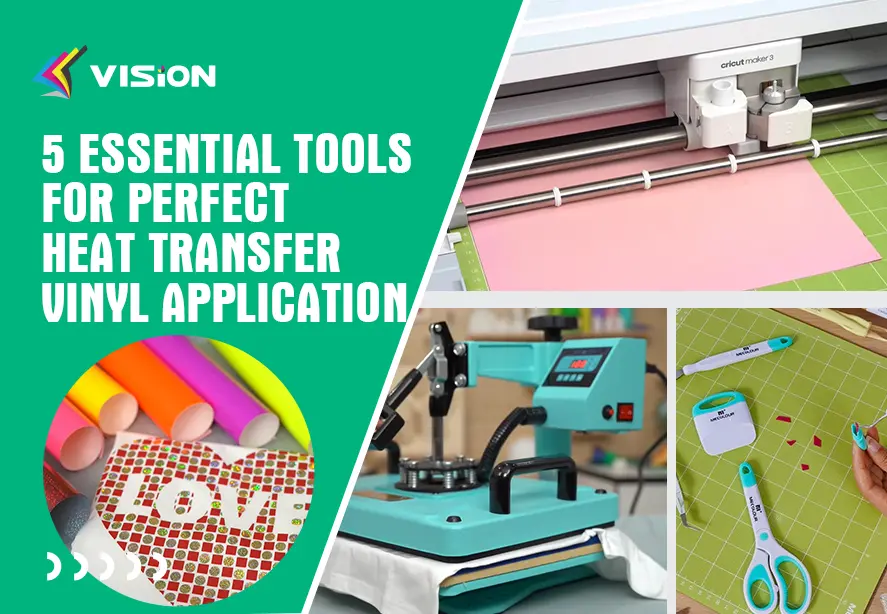
Blog
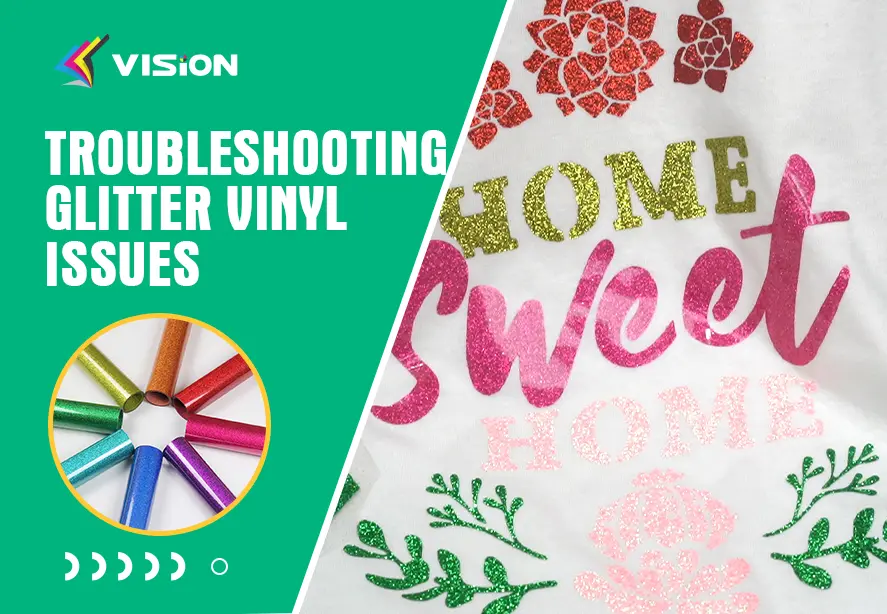
Troubleshooting Glitter Vinyl Issues
Working with glitter vinyl adds sparkle and creativity to custom apparel, crafts, and DIY projects—but it can also present unique challenges. From poor adhesion to peeling, uneven cutting, and color fading, glitter vinyl requires specific handling to achieve professional results. This guide provides a comprehensive troubleshooting roadmap for common issues, helping you maintain perfect results every time.
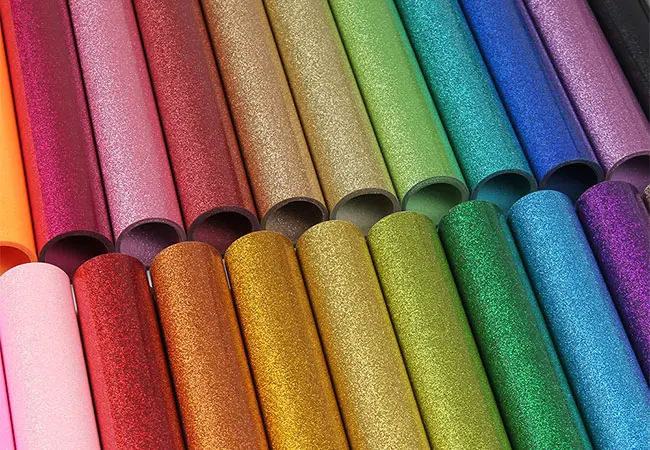
Understanding Glitter Vinyl Characteristics
Before addressing issues, it’s essential to understand what makes glitter vinyl different from standard heat transfer vinyl:
- Textured Surface: Glitter particles create a rough texture, making adhesion slightly more challenging.
- Thickness Variation: Glitter vinyl is often thicker than standard vinyl, affecting cutting pressure and heat application.
- Reflective Particles: Glitter can scatter light, making imperfections more visible.
Recognizing these factors helps you prevent and fix problems effectively.
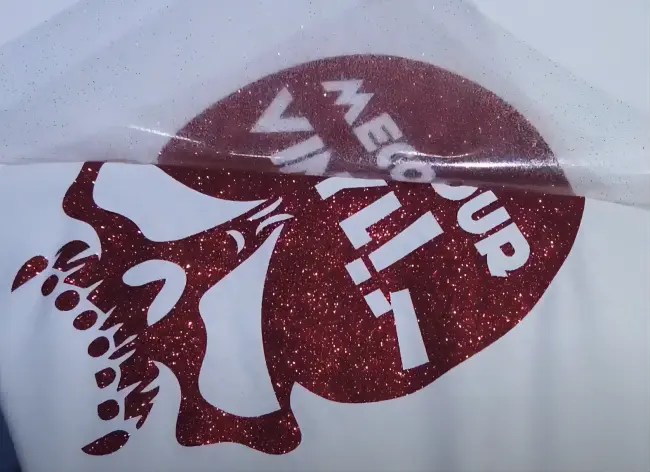
glitter vinyls
Common Glitter Vinyl Issues and Solutions
1. Poor Adhesion to Fabric
Symptoms: Vinyl lifts or peels after pressing, even on short-term use.
Causes:
- Insufficient heat or pressing time
- Wrong type of fabric (loosely woven or polyester blends)
- Using low-quality glitter vinyl
Solutions:
- Increase temperature slightly according to manufacturer instructions. Typical range: 305–320°F (150–160°C).
- Extend pressing time by 5–10 seconds for thick glitter vinyl.
- Use cover sheet or parchment paper to protect glitter during pressing.
- Ensure clean, dry fabric before application.
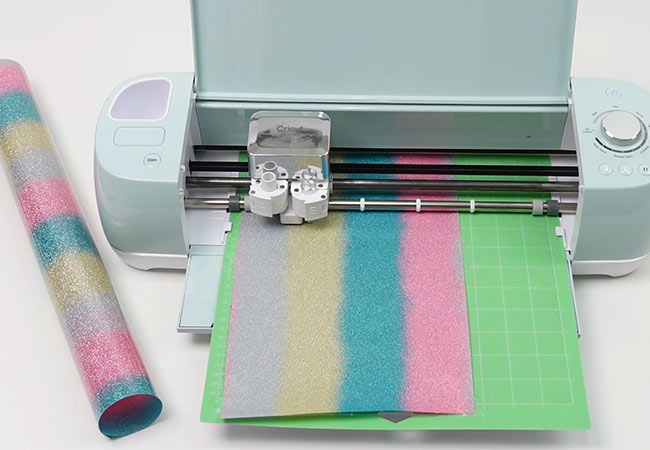
2. Vinyl Not Cutting Properly
Symptoms: Vinyl tears, jagged edges, or does not cut through completely.
Causes:
- Blade is dull or incorrectly set
- Cutting pressure too low
- Glitter layer too thick for standard blade settings
Solutions:
- Adjust blade depth and cutting pressure based on vinyl thickness.
- Replace or sharpen the cutting blade for precise results.
- Use weeding lines or light passes for intricate designs.

3. Uneven Glitter Surface or Loss of Sparkle
Symptoms: Glitter appears patchy, dull, or uneven after pressing.
Causes:
- Excessive heat damaging glitter particles
- Uneven pressure during pressing
- Poor quality glitter vinyl with loose particles
Solutions:
- Use lower heat and slightly longer pressing time to protect glitter.
- Apply even pressure across the entire design.
- Always test on a scrap fabric piece before final application.
4. Vinyl Peeling or Lifting After Washing
Symptoms: Vinyl edges lift or glitter flakes off after laundering.
Causes:
- Insufficient curing or pressing time
- High-temperature wash or dryer
- Incorrect vinyl type for intended fabric
Solutions:
- Follow manufacturer’s recommended heat and time settings precisely.
- Turn garments inside out and use cold or warm water for washing.
- Avoid high-heat drying; air drying is preferred for glitter vinyl items.
glitter HTV
5. Warping or Shrinking Designs
Symptoms: Vinyl puckers, bubbles, or shrinks after pressing or washing.
Causes:
- Fabric with high stretch or uneven weave
- Overheating or pressing for too long
- Vinyl incompatible with fabric type
Solutions:
- Use stretch-friendly glitter vinyl for T-shirts and hoodies.
- Monitor heat and pressing time carefully, especially on delicate fabrics.
- Pre-press fabric to remove moisture and wrinkles before vinyl application.
Tips to Prevent Glitter Vinyl Issues
- Always Test First – Conduct a small sample test on your fabric to fine-tune heat, pressure, and time settings.
- Use Quality Materials – Invest in premium glitter vinyl and compatible carrier sheets.
- Weed Carefully – Glitter vinyl is thicker; patience during weeding prevents tearing or stretching.
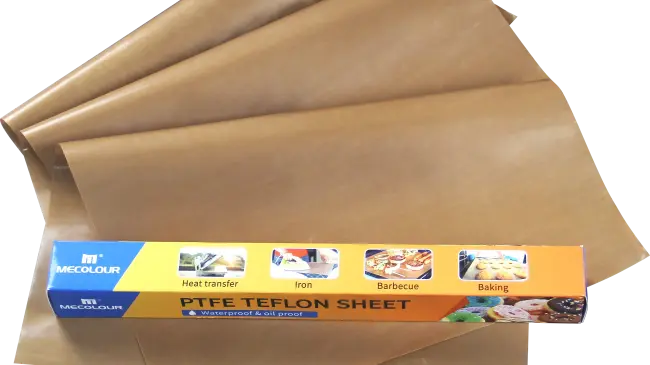
- Protect Your Design – Always use a teflon sheet or parchment paper to prevent direct contact with heat presses.
- Follow Manufacturer Guidelines – Each vinyl brand may have slight variations in temperature, pressure, and time.
teflon
Advanced Tips for Professional Results
- Double Press for Thick Designs: For multi-layer or large designs, press in two stages to ensure proper adhesion.
- Adjust Pressure for Textured Fabrics: Fabrics like fleece or terry cloth may require higher pressure for even contact.
- Storage Matters: Keep glitter vinyl in a cool, dry place to maintain flexibility and adhesion properties.
Troubleshooting glitter vinyl issues is about understanding the material and adjusting your workflow. Common problems such as peeling, poor adhesion, uneven glitter, and cutting challenges can be solved with proper heat, pressure, cutting adjustments, and high-quality vinyl. By testing, following manufacturer recommendations, and using protective techniques, you can consistently create sparkling, durable designs that withstand wear and washing.
We are a factory supplier of premium heat transfer vinyl and other heat transfer materials, providing solutions to help crafters and businesses achieve professional, long-lasting results. Get free sample for your testing, please contact us!
Related:
Discover the Best Glitter Heat Transfer Vinyl
Some tips for using glitter heat transfer vinyl
How to Use 3D Glitter Puff HTV?
Creative Projects with Glitter Heat Transfer Vinyl