Blog
Mastering DIY Projects with Transfer Paper
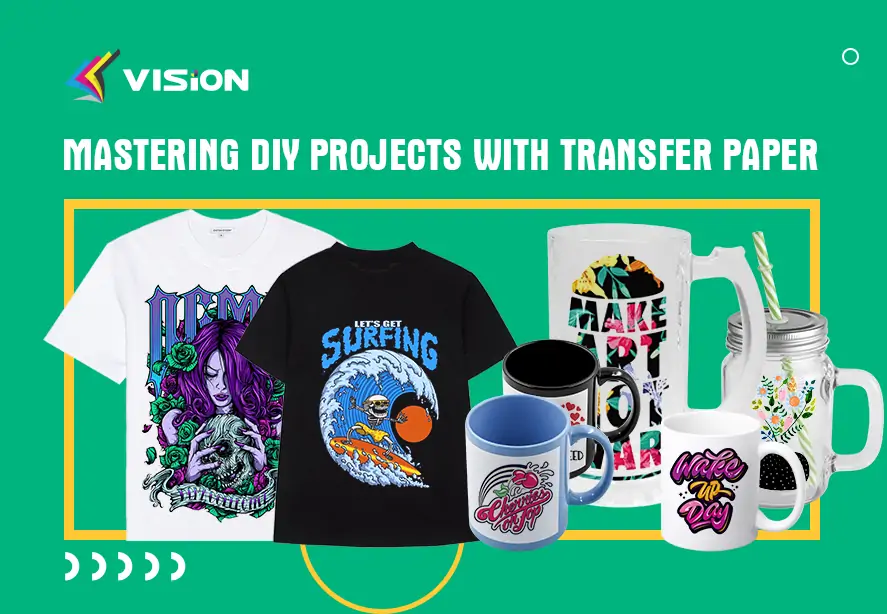
Transfer paper is a versatile and popular tool in the world of DIY projects. It allows you to transfer images, designs, or text onto various surfaces, including fabric, wood, and ceramics. Whether you’re a craft enthusiast or a seasoned DIYer, mastering the art of using transfer paper can open up a world of creative possibilities. In this article, we will explore the different types of transfer paper, step-by-step instructions on how to use it, and some exciting project ideas to inspire your creativity.
Types of Transfer Paper
There are various types of transfer paper available in the market, each designed for specific surfaces and applications. Here are the most commonly used types:
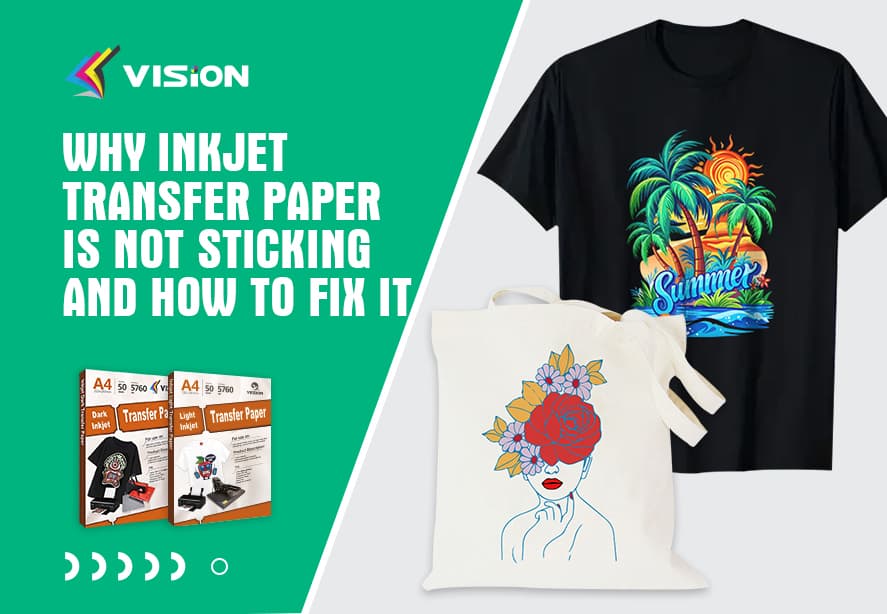
Inkjet Transfer Paper
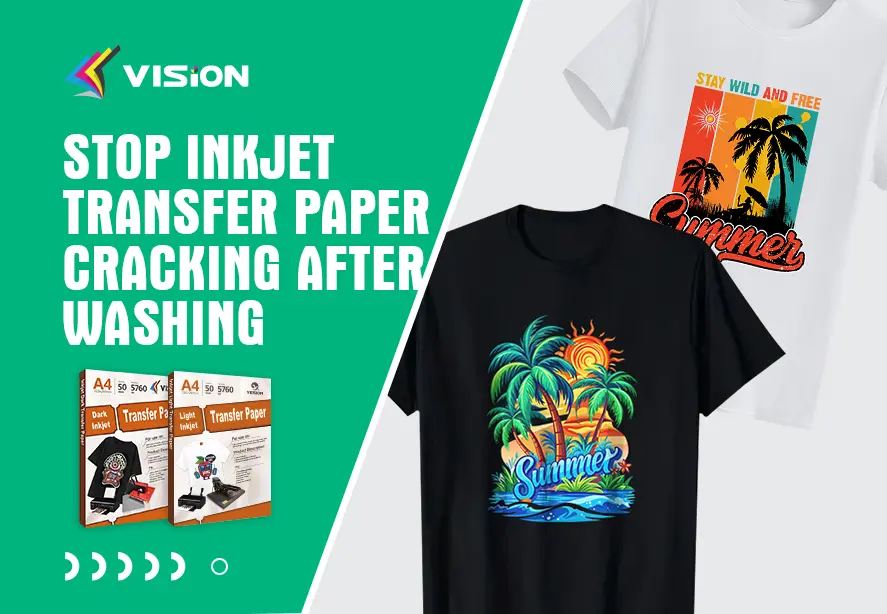
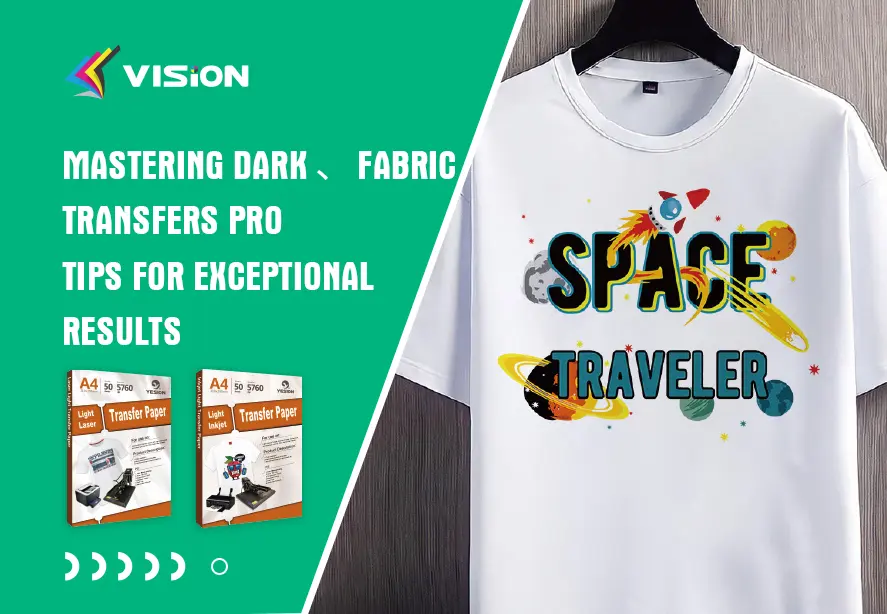
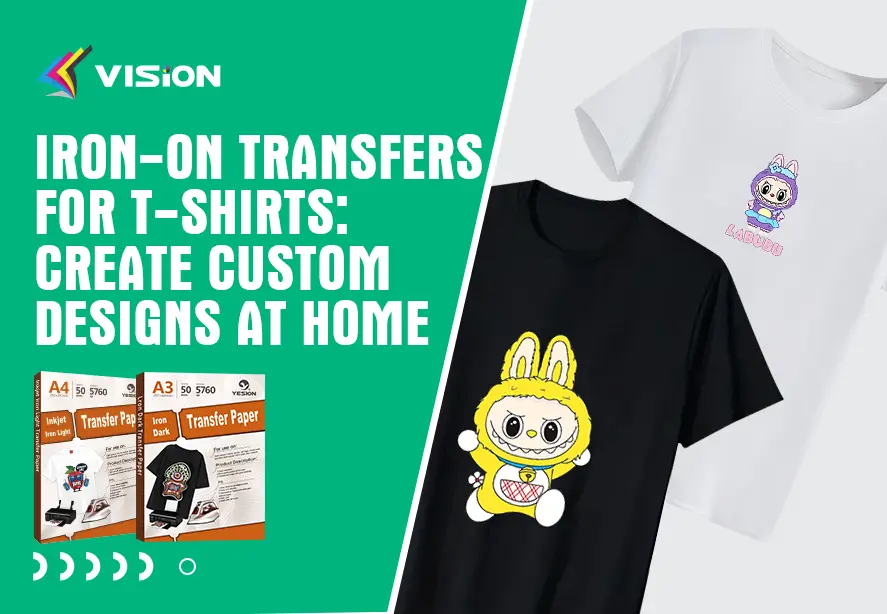
Inkjet transfer paper is designed to work with inkjet printers. It has a special coating that allows the ink to transfer onto the desired surface. This type of transfer paper is typically used for transferring images or designs onto cotton fabric, such as t-shirts, tote bags, or pillowcases.
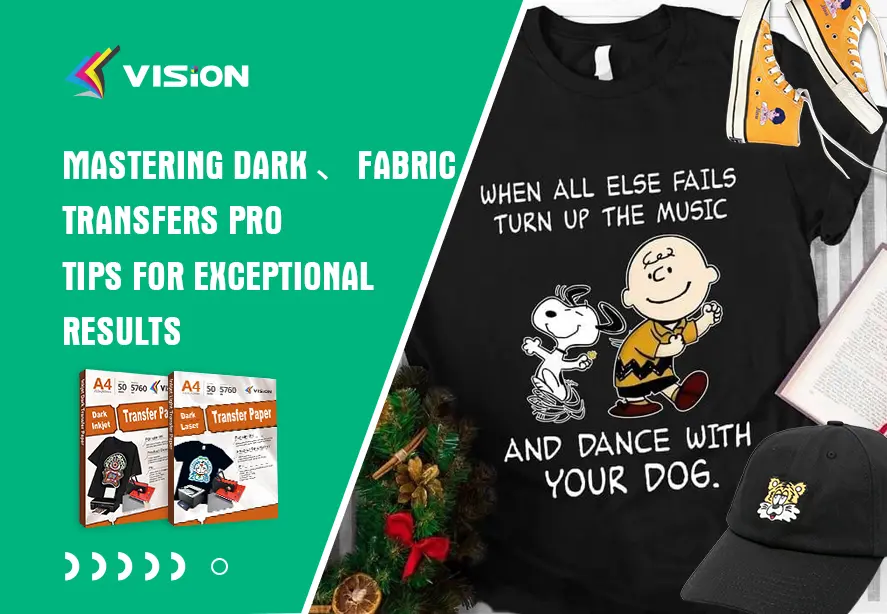
Laser Transfer Paper
Laser transfer paper is compatible with laser printers. It uses heat to transfer the toner onto the surface. Laser transfer paper is used not only to transfer images or designs onto cotton fabric but also onto hard surfaces such as ceramic, glass or metal.
How To Use Vision Upgraded 2.0 Inkjet Light Transfer Paper?
Sublimation Transfer Paper
Sublimation transfer paper is used in conjunction with sublimation ink and a heat press machine. This type of transfer paper is primarily used for transferring vibrant and high-resolution images onto polyester fabrics or coated surfaces, such as mugs or phone cases.
Waterslide Decal Paper
Waterslide decal paper is a specialized type of transfer paper that is used for creating custom decals. It is typically used for transferring images or designs onto smooth surfaces, such as glass, ceramics, or plastic.
How to Use Transfer Paper: Step-by-Step Guide
Using transfer paper may seem intimidating at first, but with a little practice and following these step-by-step instructions, you’ll be able to master the technique in no time:
Step 1: Choose the Right Transfer Paper
Select the appropriate transfer paper based on your project requirements and the type of printer you have. Make sure to read the instructions provided by the transfer paper manufacturer to ensure compatibility and optimal results.
Step 2: Prepare Your Design
Create or select the design you want to transfer onto your chosen surface. Remember to mirror the image or text if necessary, especially when working with transfer paper for fabrics.
Step 3: Print Your Design
Print your design onto the transfer paper following the printer’s instructions. Ensure that you use the correct settings and print quality for the best results.
Step 4: Trim and Prepare the Transfer
Carefully trim around your design, leaving a small border to avoid any unwanted transfer. If using inkjet transfer paper, allow the ink to dry completely before proceeding.
Step 5: Prepare the Surface
Clean and prepare the surface of your chosen material. Ensure it is smooth, free from any dust or debris, and ready to receive the transfer.
Step 6: Apply the Transfer
Place the transfer paper with the printed side facing down onto the surface. Use tape to secure it in place if necessary. Apply even pressure and use a tool, such as a burnisher or the back of a spoon, to rub firmly over the entire design. Make sure to cover all areas to ensure a complete transfer.
Step 7: Peel off the Transfer Paper
Allow the transfer to cool completely before gently peeling off the transfer paper. Start from one corner and slowly peel back, ensuring that the design has transferred successfully onto the surface.
Step 8: Set the Transfer (If Required)
Depending on the type of transfer paper used, you may need to set the design by applying heat or using a sealant. Follow the manufacturer’s instructions for the specific transfer paper you are using.
Exciting DIY Project Ideas with Transfer Paper
Once you’ve mastered the technique of using transfer paper, you can explore a wide range of creative DIY projects. Here are some exciting ideas to get you started:
1. Custom T-Shirt Designs
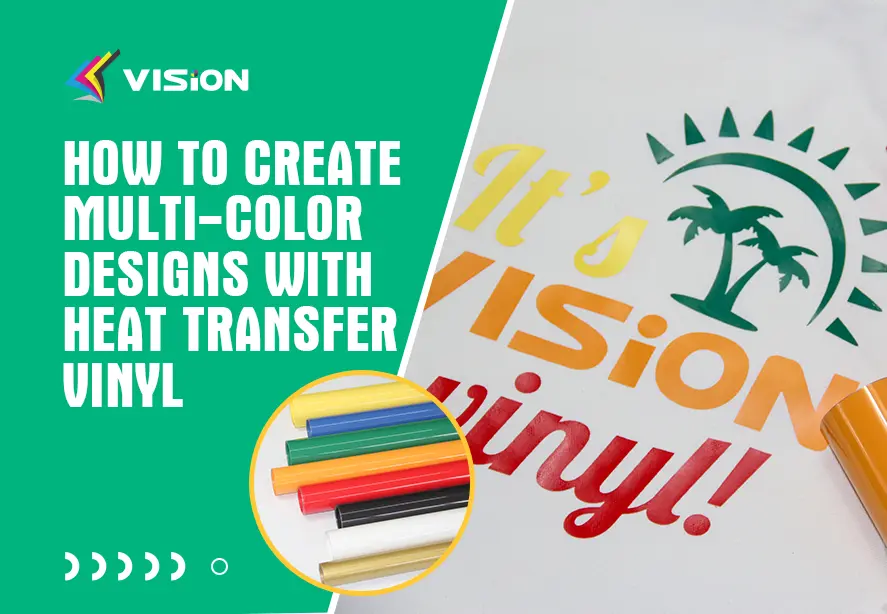
Create personalized t-shirts with your own designs or images using inkjet transfer paper. You can make unique gifts, team shirts, or even start your own t-shirt business.
2. Custom Home Decor
Transform plain cushions, curtains, or tablecloths into customized home decor pieces by transferring beautiful designs onto them. Add a personal touch to your living space with unique and eye-catching creations.
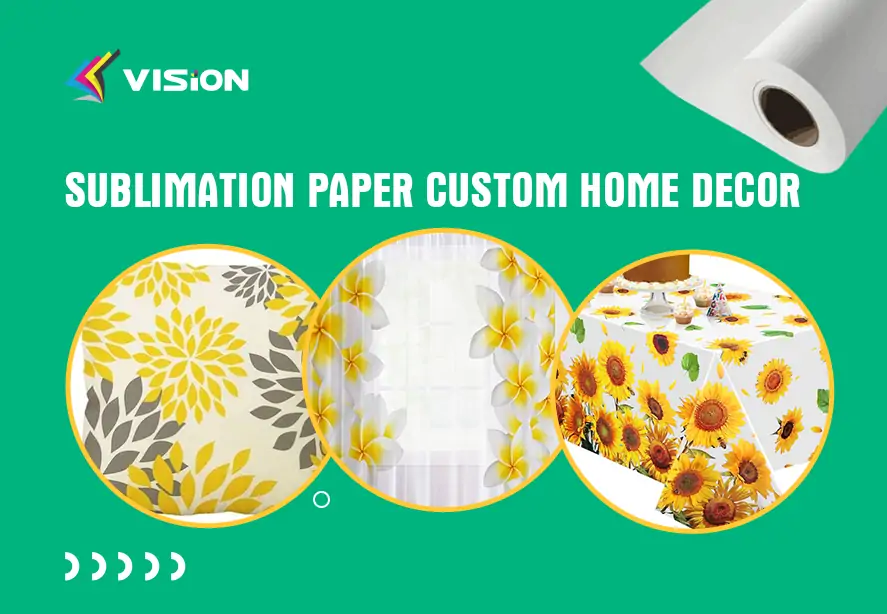
Sublimation paper Custom Home Decor
3. Ceramic or Glassware Personalization
Give your plain mugs, plates, or glassware a makeover by transferring intricate designs or monograms onto them using laser transfer paper. These personalized items make excellent gifts or stylish additions to your kitchen.
4. Customized Accessories
Make your own custom accessories, such as tote bags, hats, or phone cases, by transferring your favorite designs onto them. Showcase your creativityand unique style with one-of-a-kind accessories that reflect your personality.
5. Personalized Gifts
Create thoughtful and personalized gifts for your loved ones by transferring their favorite photos onto various surfaces. From photo coasters to photo canvases, the options are endless for creating memorable and heartfelt gifts.
6. DIY Wall Art
Design and transfer your own artwork onto canvas or wood to create stunning wall art pieces. Whether you prefer abstract designs, inspirational quotes, or nature-inspired motifs, you can bring your creativity to life and decorate your home with unique and meaningful artwork.
7. Customized Stationery
Add a personal touch to your stationery collection by transferring your own designs onto notebooks, journals, or greeting cards. From intricate patterns to motivational quotes, you can make your stationery truly stand out.
8. Upcycled Furniture
Revamp old furniture pieces by transferring decorative designs onto them. Whether it’s a vintage dresser, a wooden table, or a plain chair, transfer paper can help you transform them into unique and stylish pieces that add character to your home.
Mastering the art of using transfer paper opens up a world of creative possibilities for DIY enthusiasts and craft lovers. With different types of transfer paper available and a step-by-step guide to follow, you can easily transfer images, designs, or text onto various surfaces and create personalized and unique creations. From custom t-shirts and home decor items to personalized gifts and DIY wall art, the only limit is your imagination. So, grab some transfer paper, let your creativity soar, and dive into the exciting world of DIY projects. Happy crafting!