Blog
15 Tips for Using Transfer Paper for Beginners
Using transfer paper is a fun and creative way to personalize a variety of items. Whether you want to create custom t-shirts, tote bags, or home decor, transfer paper allows you to transfer designs onto different surfaces. Here are some tips to help you get started and improve your skills:
Choose the right transfer paper: There are different types of transfer paper available, we produce both inkjet transfer paper and laser transfer paper, so make sure to select the one that suits your project and printer type. Read the instructions carefully and ensure compatibility with the material you’ll be transferring onto.
Design your artwork: Use graphic design software or online tools to create or customize your design. Keep in mind that transfer paper works best with simple and bold designs, so avoid intricate details or fine lines that may not transfer well.
Image preparation: When designing your artwork, keep in mind that transfer paper works best with high-contrast images. Bright and bold colors tend to transfer more effectively than subtle shades. Adjust your design accordingly to ensure optimal results.
Fabric selection: Transfer paper works well with cotton and cotton-blend fabrics. Natural fibers tend to provide better results compared to synthetic materials. If you’re uncertain about the compatibility of your fabric, perform a test transfer on a small area before proceeding with the entire project.
Prepare the surface: Clean and prepare the surface you’ll be transferring onto. Ensure it’s smooth and free from any dust or debris that could affect the transfer quality. Iron the fabric surface if you’re working with textiles to remove any wrinkles.
Print a test copy: Before printing on the transfer paper, it’s a good idea to print a test copy on regular paper. This will allow you to check the size, positioning, and colors of your design.
Follow printing instructions: Follow the printing instructions provided with the transfer paper package. Adjust your printer settings accordingly, such as selecting the appropriate paper type and print quality settings.
Trim the design: Once you’ve printed your design on the transfer paper, carefully trim around the edges to remove any excess paper. Leave a small border around the design to make it easier to handle during the transfer process.
Heat application: Heat is a critical factor in the transfer process. When using an iron press machine, set it to the recommended temperature specified on the transfer paper instructions. Apply firm and even pressure while moving the iron in a circular motion to ensure the entire design transfers properly. If you have access to a heat press machine, follow the heat press manufacturer’s instructions for temperature, pressure, and timing.
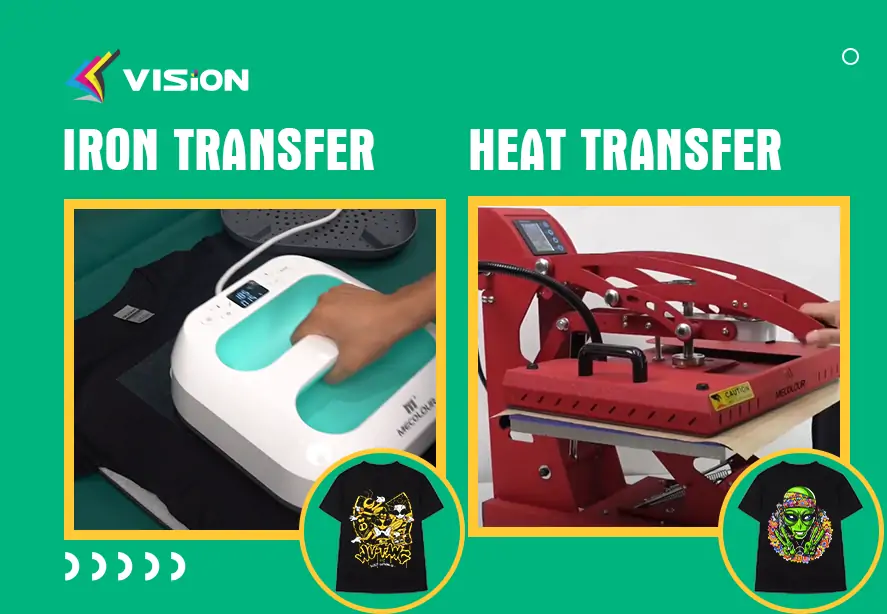
Heat application
Transfer the design: Place the transfer paper with the design facing down (or facing up) onto the surface you want to transfer onto. Follow the specific instructions for transferring, which typically involve applying heat, either with an iron or a heat press machine. Apply even pressure and heat for the recommended duration.
Peel off the backing: After the transfer process, allow the design to cool down before peeling off the backing paper. Follow the instructions for the best results, as some transfer papers require peeling while hot, while others need to cool first.
Wash and care instructions: To preserve the longevity of your transferred designs, follow the specific wash and care instructions provided with the transfer paper. Some transfer papers require washing garments inside out, avoiding bleach, or air-drying instead of tumble drying. Adhering to these guidelines will help maintain the quality and vibrancy of your designs.
Layering and combining designs: Transfer paper allows you to layer multiple designs or combine different elements to create more complex compositions. Experiment with overlapping designs, adding text, or incorporating various images to achieve unique and personalized results.
Practice and experiment: The more you work with transfer paper, the better you’ll become at mastering DIY projects. Experiment with different designs, materials, and techniques to expand your transfer tips and create unique creations.
Explore different applications: Transfer paper can be used on various surfaces beyond fabric. Experiment with transferring designs onto ceramics, wood, metal, or other materials to expand your creative possibilities. Each surface may require different preparation and transfer techniques, so be sure to research and follow specific instructions for each medium.
By incorporating these tips and continuing to explore new techniques, you’ll enhance your skills and create impressive DIY projects using transfer paper. Enjoy the process, embrace experimentation, and let your creativity shine through your personalized creations.