Blog
Customizing Accessories: Heat Transfer Paper for Bags, Hats
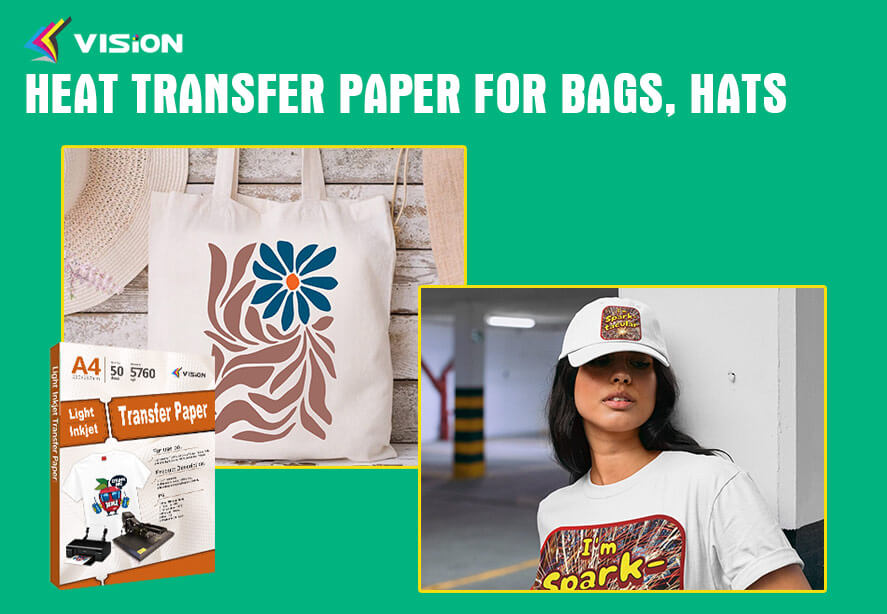
Heat transfer paper provides a convenient and cost-effective way to customize various accessories, including bags, hats, and more. With the right heat transfer paper and equipment, you can create unique and personalized designs that will make your accessories stand out. In this article, we will explore how heat transfer paper can be used to customize accessories and provide you with some tips for achieving great results.
Choosing the Right Heat Transfer Paper
When it comes to customizing accessories, selecting the right heat transfer paper is crucial. Consider the following factors:
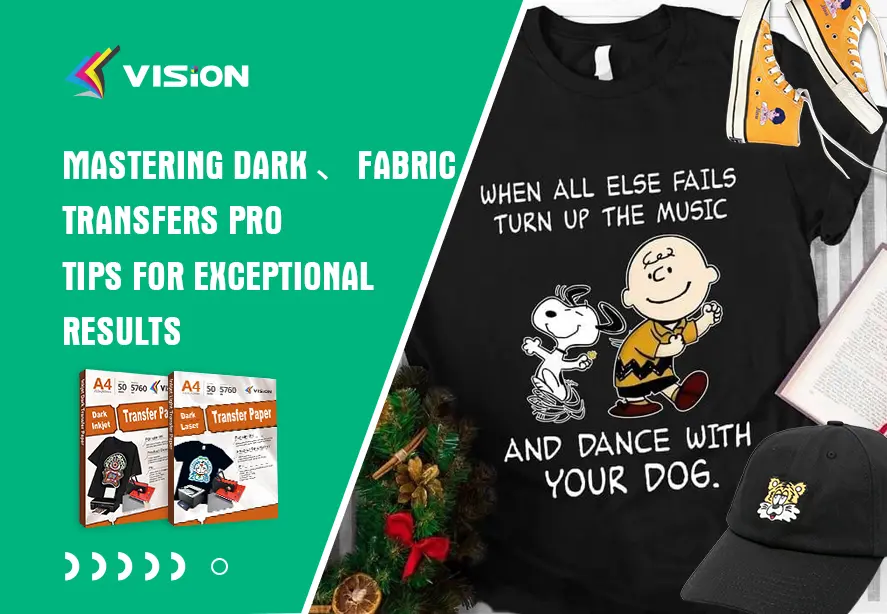
1. Compatibility with the Fabric or Material
Ensure that the heat transfer paper you choose is compatible with the fabric or material of your accessories. Some heat transfer papers work better on certain fabrics, such as cotton or polyester, while others are more versatile and can be used on a variety of materials.
2. Durability
For accessories like bags and hats that may experience regular use and wear, opt for heat transfer paper that offers excellent durability. Look for papers that are designed to withstand washing, fading, and peeling, ensuring that your designs stay intact for a long time.
3. Print Quality
Pay attention to the print quality offered by the heat transfer paper. Look for options that provide vibrant colors, sharp details, and good colorfastness. This will ensure that your designs look professional and visually appealing.
Related:
What is the best heat transfer paper
The Ultimate Guide to Choosing Transfer Paper
Preparing Your Accessories
Before applying heat transfer paper to your accessories, it’s essential to prepare them properly. Follow these steps:
1. Clean and Dry the Accessories
Ensure that your accessories are clean and free from any dirt, dust, or oils. Use a mild detergent or cleaning solution appropriate for the material to remove any stains or residues. Allow them to dry completely before proceeding.
2. Smooth Out the Surface
Smooth out any wrinkles or creases on the surface of your accessories. This will ensure that the heat transfer paper adheres smoothly and evenly, preventing any distortions or imperfections in the design.
3. Test the Application Area
Before applying the heat transfer paper, test a small area on your accessory to ensure that it adheres well and doesn’t damage the material. This will help you determine the optimal temperature, pressure, and duration for the application process.
Applying the Heat Transfer Paper
Once your accessories are prepared, follow these steps to apply the heat transfer paper:
1. Design and Print Your Artwork
Create or select the design you want to transfer onto your accessories using graphic design software. Print the design onto the heat transfer paper according to the instructions provided by the manufacturer. Make sure to mirror the image if necessary, especially if it contains text.
2. Trim the Design
Carefully trim the excess paper around your design, leaving a small border if desired. This will make it easier to position the design accurately on your accessories.
3. Position the Design
Place the heat transfer paper with the design facing down onto the desired area of your accessory. Ensure that it is centered and aligned correctly.
4. Apply Heat and Pressure
Using a heat press machine or an iron set to the appropriate temperature, apply heat and pressure to the heat transfer paper. Follow the instructions provided by the manufacturer for the recommended temperature and duration. Apply even pressure across the entire design to ensure proper adhesion.
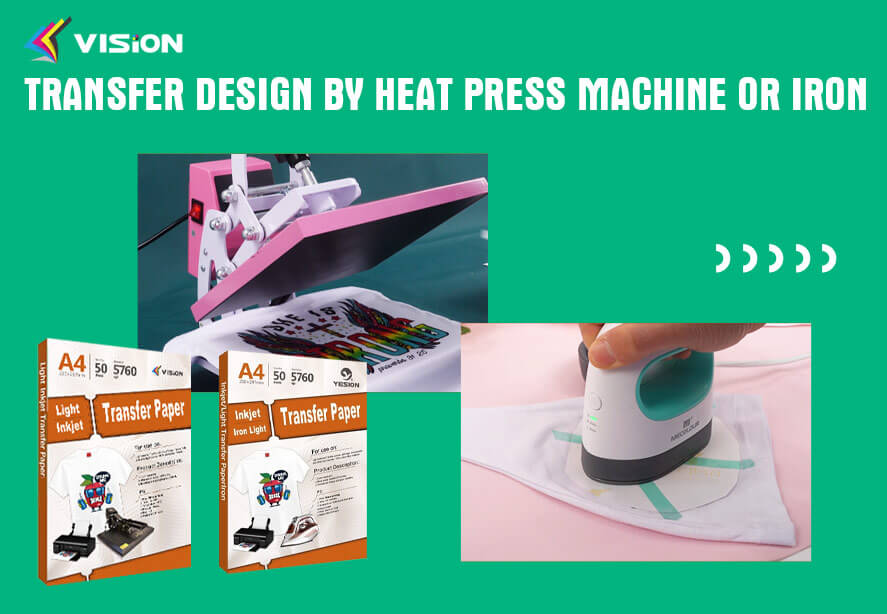
Transfer design by heat press machine or iron
5. Peel and Finish
After the designated time, carefully peel off the backing paper while the heat transfer paper is still warm. Be cautious not to disturb the design. Allow your accessories to cool completely before using or wearing them.
Tips for Achieving Great Results
To achieve the best results when customizing accessories with heat transfer paper, consider the following tips:
1. Practice on Scrap Fabric
Before working on your actual accessories, practice applying heat transfer paper on scrap fabric of a similar material. This will give you a chance to familiarize yourself with the process, adjust the settings if needed, and ensure that you achieve the desired results.
2. Use a Teflon Sheet or Parchment Paper
To protect your accessories and prevent any potential damage during the heat application, place a Teflon sheet or parchment paper between the heat transfer paper and your accessory. This will provide a barrier and ensure that the heat is evenly distributed.
3. Follow Manufacturer’s Instructions
Always follow the instructions provided by the manufacturer of the heat transfer paper and the equipment you are using. Each brand and type of paper may have specific requirements for temperature, pressure, and application time. If you are using VISION’s heat transfer paper, be sure to read our product instruction manual before transferring the pattern, for best results.
4. Allow Sufficient Cooling Time
After applying the heat transfer paper, allow your accessories to cool completely before handling or wearing them. This will ensure that the design fully adheres to the fabric or material, increasing its longevity.
Customizing accessories with heat transfer paper offers a fun and creative way to add a personal touch to your bags, hats, and more. By selecting the right heat transfer paper, properly preparing your accessories, and following the applicationsteps, you can achieve professional-looking results. Remember to practice on scrap fabric, use a protective barrier, and follow the manufacturer’s instructions for optimal outcomes. With a little creativity and the right tools, you can transform your accessories into unique and personalized pieces that reflect your style.