Sublimation paper printing offers a versatile and efficient way to create high-quality prints for various applications. However, like any printing process, it’s not immune to issues that can arise and affect print quality. In this troubleshooting guide, we’ll address common sublimation paper printing issues and provide effective solutions to help you overcome them and achieve optimal results.
1. Blurred or Fuzzy Prints
Potential Causes:
Low Resolution Images: Using low-resolution images can result in blurry prints.
Incorrect Printer Settings: Improper printer settings, such as low print quality or incorrect paper type, can affect image clarity.
Sublimation Paper Quality: Poor-quality sublimation paper may not be able to handle intricate details, leading to fuzzy images.
Solutions:
Use High-Resolution Images: Always use high-resolution images (300 DPI or higher) to ensure crisp and clear prints.
Adjust Printer Settings: Double-check printer settings to ensure they are optimized for sublimation printing. Increase print quality and select the appropriate paper type.
Invest in Quality Sublimation Paper: Choose reputable sublimation paper brands known for their ability to produce sharp and vibrant prints.
2. Color Fading or Inconsistency
Potential Causes:
Poor Color Management: Improper color settings or profiles can result in inconsistent color reproduction.
Sublimation Ink Issues: Inconsistent ink flow or low-quality sublimation inks can lead to color discrepancies.
Heat Press Temperature Fluctuations: Inaccurate heat press temperatures can affect color saturation and vibrancy.
Solutions:
Calibrate Color Settings: Ensure that color settings are calibrated correctly for sublimation printing. Use color management tools to achieve accurate color reproduction.
Use High-Quality Sublimation Inks: Invest in premium sublimation inks known for their color accuracy and consistency.
Maintain Consistent Heat Press Temperature: Regularly calibrate your heat press to maintain consistent temperatures throughout the printing process.
how to transfer t-shirt with dye sublimation paper
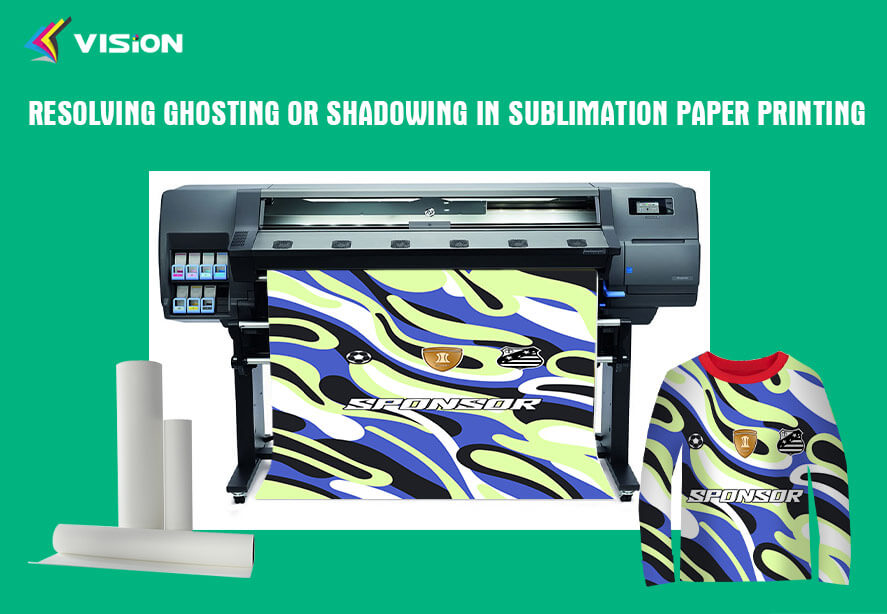
3. Ghosting or Shadowing
Potential Causes:
Uneven Pressure Distribution: If the pressure applied by the heat press is not evenly distributed across the platen, it can lead to uneven transfer and ghosting.
Incorrect Temperature Settings: The temperature settings of the heat press play a crucial role in achieving a successful sublimation transfer. If the temperature is too low, the dyes may not fully sublimate, resulting in ghosting or incomplete transfer. Conversely, if the temperature is too high, it can cause the dyes to overheat and degrade, leading to faded or discolored prints.
Poor Sublimation Paper Quality: Using low-quality or incompatible sublimation paper can contribute to ghosting or shadowing issues.
Solutions:
Calibrate Pressure Settings: Regularly calibrate the pressure settings of your heat press to ensure even distribution across the platen.
Verify Temperature Accuracy: Use a reliable temperature probe or surface thermometer to verify the accuracy of your heat press’s temperature settings. Adjust the settings as needed to achieve the recommended temperature for your specific sublimation paper and substrate combination.
Choose High-Quality Sublimation Paper: Invest in high-quality sublimation paper designed specifically for your printer and heat press setup. Look for papers with the appropriate coating and thickness to ensure proper dye sublimation and transfer.
4. Transfer Paper Jamming in Printer
Potential Causes:
Incorrect Paper Settings: Ensure that your printer is set to the correct paper type, size, and thickness settings for the sublimation transfer paper you are using. Incorrect settings can cause the printer to mishandle the paper, leading to jams.
Damaged or Misaligned Printer Rollers: Over time, the rollers inside the printer can become worn or misaligned, causing the paper to feed improperly and jam. Inspect and clean the rollers regularly, and replace them if necessary, following the manufacturer’s instructions.
Low-Quality or Incompatible Sublimation Paper: Using low-quality or incompatible sublimation paper can increase the risk of jamming. Always use high-quality transfer paper designed specifically for your printer model to ensure smooth feeding and compatibility.
Solutions:
Check Paper Settings: Consult your printer’s manual and ensure that the paper settings match the specifications of your sublimation transfer paper. Follow the manufacturer’s instructions for properly loading and aligning the transfer paper in the printer tray. Ensure that the paper is not skewed or crinkled, as this can cause feeding issues.
Clean and Inspect Printer Rollers: Gently clean the rollers with a lint-free cloth and a small amount of isopropyl alcohol. Check for any visible damage or misalignment, and replace the rollers if necessary.
Use High-Quality Sublimation Paper: Invest in high-quality sublimation transfer paper that is compatible with your printer model.
5. Poor Adhesion or Transfer
Potential Causes:
Substrate Contamination: Any dirt, oil, or residue on the substrate surface can interfere with proper adhesion of the sublimation print.
Insufficient Pressure or Heat: Inadequate pressure or heat during the sublimation transfer process can result in poor adhesion or incomplete transfer.
Inadequate Dwell Time: The dwell time, or the duration of heat and pressure application, plays a crucial role in achieving a successful sublimation transfer. If the dwell time is too short, the transfer may be incomplete or have poor adhesion.
Solutions:
Clean the substrate surface thoroughly: Use a lint-free cloth and a suitable cleaning solution to remove any contaminants, such as dust, oils, or residues, from the substrate surface. Ensure that the surface is completely dry before proceeding with the sublimation transfer.
Adjust pressure and heat settings: Refer to the manufacturer’s guidelines or conduct test prints to determine the optimal pressure and heat settings for the specific substrate and sublimation paper combination. Increase the pressure and heat gradually until you achieve satisfactory adhesion and transfer results.
Increase dwell time: If the adhesion or transfer is still unsatisfactory, try increasing the dwell time incrementally, allowing the heat and pressure to be applied for a longer duration. Monitor the results and adjust the dwell time as needed until you achieve complete and consistent transfer.
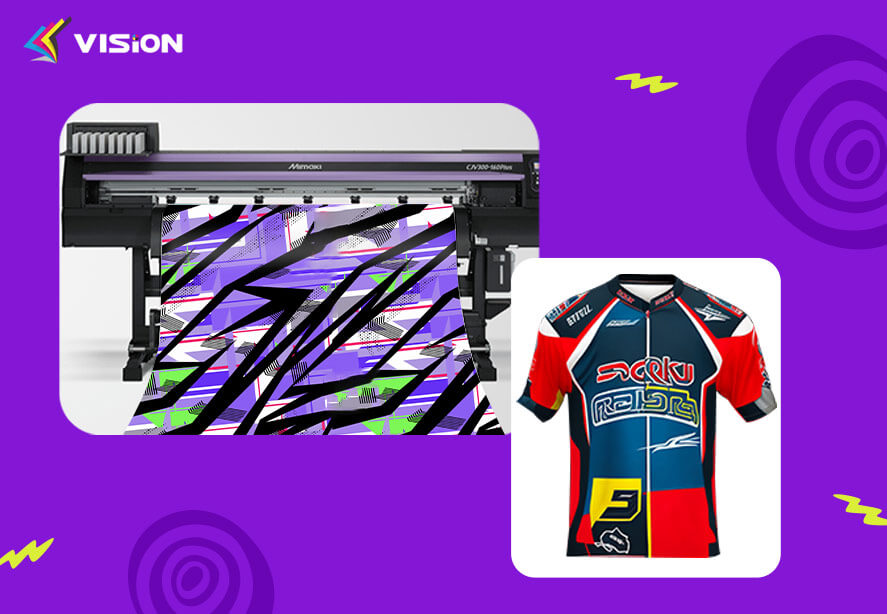

sublimation transfer prints
6. Ink Bleeding or Smudging
Potential Causes:
Excessive Ink Application: Applying too much ink or pressure during the sublimation process can cause ink bleeding or smudging.
Improper Drying Time: Insufficient drying time between printing and pressing can result in ink smudging.
Sublimation Paper Absorption: Low-quality sublimation paper may absorb too much ink, leading to bleeding or smudging.
Solutions:
Optimize Ink Application: Adjust ink settings to ensure a moderate amount of ink is applied to the paper. Avoid excessive ink saturation.
Allow Sufficient Drying Time: Ensure that prints are fully dry before transferring them onto substrates. Use a heat gun or drying rack to speed up the drying process if necessary.
Use Quality Sublimation Paper: Choose sublimation paper with a coating designed to prevent ink absorption and minimize bleeding.
In conclusion, addressing these common sublimation paper printing issues with the provided solutions can help you troubleshoot and overcome challenges to achieve excellent print quality. By understanding the potential causes and implementing the appropriate remedies, you can ensure smooth and successful sublimation printing for all your projects.
Related:
How Sublimation Paper Affects Image Quality
4 Best Sublimation Paper Types
How Sublimation Paper Elevates Your Prints


