Blog
Laser Light vs. Dark Fabric Transfer Paper
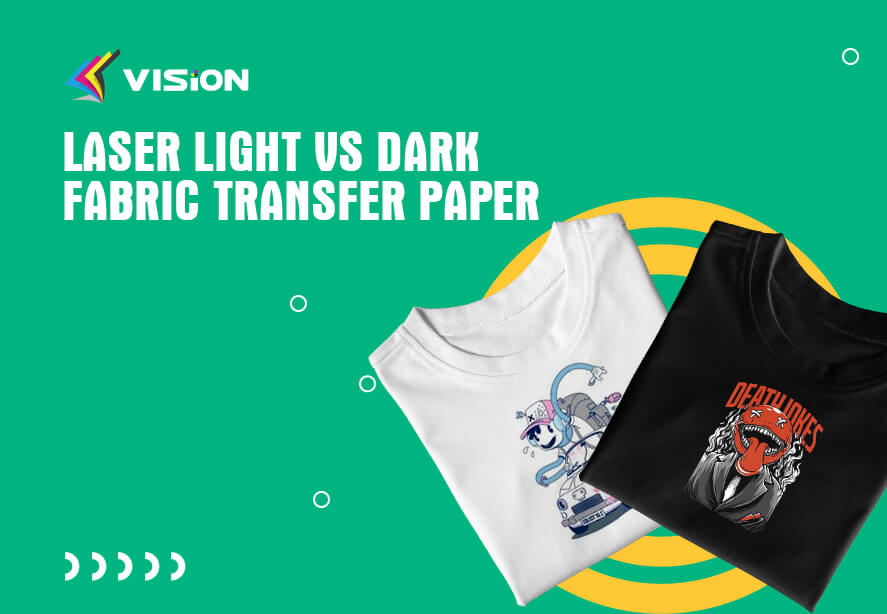
When it comes to transferring designs onto fabric using laser technology, it’s important to choose the right type of transfer paper based on the color of the fabric. Laser light fabric transfer paper and laser dark fabric transfer paper are specifically designed to cater to the different characteristics of light-colored and dark-colored fabrics. Let’s explore the differences between these two types of transfer paper and how they should be used.
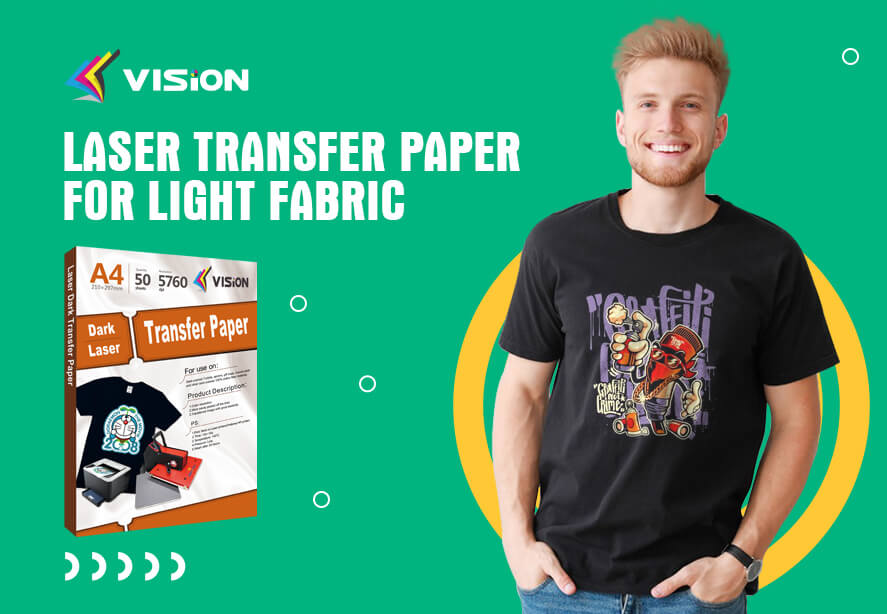
Laser Light Fabric Transfer Paper
Laser transfer paper for light fabric is designed for use with light-colored or white fabrics. It allows for vibrant and clear transfers onto these types of fabrics. Here are some key points to consider when using laser light fabric transfer paper:
Color Transparency: Laser light fabric transfer paper has a transparent background, which means that any white or light areas of your design will blend with the fabric color. This transparency is especially important for designs with intricate details or text.
Vibrant Colors: The transfer process using laser light fabric transfer paper results in vibrant and true-to-color prints on light-colored fabrics. The colors remain vivid and eye-catching, enhancing the overall visual impact of your design.
Suitable Fabrics: Laser light fabric transfer paper works best on light-colored or white fabrics. It may not produce satisfactory results on dark-colored fabrics, as the colors may not show up well.

Laser transfer paper for light fabric
Laser Dark Fabric Transfer Paper
Laser transfer paper for dark fabric is specifically designed for use with dark-colored fabrics. It allows for vibrant and opaque transfers onto these types of fabrics. Here are some important considerations when using laser dark fabric transfer paper:
White Base: Laser dark fabric transfer paper has a white background, which provides a base for the design and ensures that the colors appear vibrant and opaque on dark fabrics. This is especially important for maintaining the integrity and visibility of the transferred design.
Opaque Printing: The transfer process using laser dark fabric transfer paper involves printing an opaque layer onto the fabric, allowing the colors to stand out against the dark background. This ensures that the design remains clear and visible.
Suitable Fabrics: Laser dark fabric transfer paper is specifically designed for use on dark-colored fabrics such as black, navy, or dark gray. It may not work well on light-colored fabrics, as the colors may not show up effectively.
Laser transfer paper for dark fabric
How to use laser printer transfer paper?
Here’s a step-by-step guide on how to use laser light fabric transfer paper by VISION factory:
Design Preparation: Start by creating or selecting the design you want to transfer onto the fabric. Ensure that your design is appropriately sized and positioned for the desired t-shirt placement.
Printing: Print the design onto the laser light fabric transfer paper following the instructions provided by the manufacturer. Make sure to mirror the design before printing, especially if it contains text or logos.
Preparing the Fabric: Pre-wash the fabric to remove any chemicals or residues that may interfere with the transfer process. Allow the fabric to dry completely before proceeding.
Cutting: Carefully trim with a plotter or scissors around the design, leaving a small border of white space around the edges. This step is optional but can help avoid any unwanted background transfer onto the fabric.
Heat Press Setup: Preheat your heat press to the recommended temperature specified by the transfer paper manufacturer. The ideal temperature will depend on the specific brand and type of transfer paper you are using.
Positioning the Transfer: Place the transfer, printed side down, onto the fabric in the desired location. Secure the transfer and fabric with heat-resistant tape to prevent any movement during the transfer process.
Heat Pressing: Close the heat press and apply firm and even pressure. Follow the recommended time and temperature guidelines provided by the transfer paper factory. If you are using VISION’s product, heat pressing for around 15-25s seconds at a temperature of 180-190°C works well for laser light fabric transfer paper.
Hot Peeling: After the designated time, open the heat press, carefully peel off the transfer paper in a smooth and steady motion. Make sure to peel it at a 180-degree angle to prevent any damage to the transferred design.
How To Use Vision Laser Transfer Paper For light colored cotton tshirt?
Step-by-step guide on how to use laser dark fabric transfer paper
Design Preparation: Create or select the design you want to transfer onto the fabric. Ensure that your design is appropriately sized and positioned for the desired t-shirt placement.
Printing: Print the design onto the laser dark fabric transfer paper according to the instructions provided by the manufacturer.
Preparing the Fabric: Pre-wash the fabric to remove any chemicals or residues that may interfere with the transfer process. Allow the fabric to dry completely before proceeding.
Cutting: Trim around the design, leaving a small border of white space around the edges. This step is crucial for laser dark fabric transfer paper as it helps avoid any unwanted background transfer onto the fabric.
Heat Press Setup: Preheat your heat press to the recommended temperature specified by the transfer paper manufacturer. The ideal temperature will depend on the specific brand and type of transfer paper you are using.
Positioning the Transfer: Place the transfer, printed side down, onto the fabric in the desired location. Secure the transfer and fabric with heat-resistant tape to prevent any movement during the transfer process.
Heat Pressing: Close the heat press and apply firm and even pressure. Follow the recommended time and temperature guidelines provided by the transfer paper manufacturer. Typically, heat pressing for around 7-15s seconds at a temperature of 140-150°C is suitable for laser dark fabric transfer paper,this is VISION’s pressing parameters.
How to use Vision Laser Dark Transfer Paper?
Washing and Care: Allow the fabric to cool completely before washing it. Follow the care instructions provided by the transfer paper manufacturer, which usually involve turning the garment inside out and washing it in cold water on a gentle cycle. Avoid using bleach or harsh detergents that could affect the longevity of the transfer.
By following these step-by-step instructions, you can effectively use both laser light fabric transfer paper and laser dark fabric transfer paper to create professional and personalized designs on light-colored and dark-colored fabrics respectively. Always refer to the specific instructions provided by the transfer paper manufacturer for the best results.
Choosing the Right Transfer Paper
To achieve the best results when transferring designs onto fabric, it’s essential to select the appropriate transfer paper based on the color of the fabric. If you’re working with light-colored or white fabrics, laser light fabric transfer paper is the ideal choice. On the other hand, for dark-colored fabrics, laser dark fabric transfer paper is the recommended option.
By choosing the right laser transfer paper for the fabric color, you can ensure that your designs come out vibrant, clear, and visually appealing. Always refer to the specific instructions provided by the transfer paper manufacturer for the best printing and transfer results.
Remember, the choice between laser light fabric transfer paper and laser dark fabric transfer paper depends on the color of the fabric you’re working with. By using the appropriate transfer paper, you can achieve professional-looking and long-lasting designs on a wide range of fabrics. If you want to know more about our transfer paper products, please feel free to contact us at any time.