Blog
Essential Tips for Successful Inkjet Heat Transfers

What Are Inkjet Heat Transfers?
Inkjet heat transfers use special transfer paper designed for inkjet printers. After printing your design onto the paper, you apply it to fabric using heat—either with an iron or a heat press. Inkjet heat transfers are one of the easiest and most affordable ways to do this at home or in a small business setup. But to really nail it? You need more than just a printer and paper. You need to know the tricks of the trade.
Why Choose Inkjet Over Other Methods?
Compared to sublimation or screen printing, inkjet transfers are:
- More affordable
- Easier to start with
- Perfect for one-offs and small batches
No fancy equipment or major learning curve required.
Choosing the Right Materials
Heres where most people trip up: they grab whatever printer and paper they have and dive in.
Best Inkjet Printers for Heat Transfers
While most inkjet printers can print on transfer paper, not all do it well. Go for models with pigment-based inks, like Epson EcoTank or Canon PIXMA. These give richer, longer-lasting results.
Heat Transfer Paper Types: What Works Best
There are two main types:
- Light transfer paper – for white or pastel fabrics
- Dark transfer paper – for black or bold-colored fabrics
Pick the wrong one and your design might disappear or look dull.

inkjet light transfer paper-0614
Picking the Right Fabric for Transfers
Cotton works best—100% cotton is your safest bet. Poly-blends can work, but results may vary. Avoid heavily textured fabrics like knits or waffle weaves.
Preparing Your Design
Time to flex those creative muscles—but smartly.
Design Resolution and Size Matters
Low-res images = blurry mess. Aim for at least 300 DPI (dots per inch). Also, size your design to fit the item. A logo that looks great on a tee might be too big for a tote.
Mirror Your Image – Dont Forget!
If youre printing on light transfer paper, always mirror your image before printing. Otherwise, your text will come out backward.
Using Software for Better Control
Design software like Canva, Adobe Illustrator, or even free tools like GIMP can help you fine-tune your image. Get those edges crisp and colors bold.
Printing Tips and Tricks
Youve got your printer. Youve got your design. Lets print like a pro.
Use the Right Print Settings
Set your printer to “best photo quality” or similar high-quality settings. Use the manual feed tray if available to avoid paper jams.
Ink Considerations: Dye vs. Pigment
Dye-based inks are vibrant but fade faster. Pigment-based inks are more fade-resistant and waterproof. For wearables? Pigment wins.
Related:
How to choose the ink used for inkjet heat transfer paper, pigment ink or dye ink?
Let It Dry – Patience Pays Off
After printing, let the transfer paper sit for at least 10–15 minutes. This allows the ink to fully dry and prevents smudging during transfer.
The Heat Transfer Process
This is where the magic happens. But theres a science to it, too.
Prepping the Fabric Properly
Wash and dry your fabric first—this prevents shrinkage and removes any coatings or dirt. Iron out wrinkles to create a smooth surface.
Iron vs. Heat Press: Which Is Better?
- Iron: Good for beginners, but harder to get consistent pressure.
- Heat Press: Delivers even heat and pressure. Worth the investment if youre making lots of items.
Time, Temperature & Pressure Explained
Each transfer paper brand will have its own ideal settings, but heres a rough guide:
- Temp: 350°F (175°C)
- Time: 15–30 seconds
- Pressure: Firm, even pressure
Use a timer and dont guess!

iron press and heat press
Post-Transfer Care Tips
Youve nailed the transfer. Now lets keep it looking fresh.
How to Wash Transferred Garments
- Wait 24 hours before washing
- Turn inside out before laundering
- Use cold water and mild detergent
- Hang to dry or tumble dry low
Tips to Make Your Design Last Longer
Avoid bleach, fabric softeners, and high heat. The gentler you treat the garment, the longer it lasts.
Common Mistakes and How to Avoid Them
Youre bound to make a few blunders at first. But these tips might save your next project.
Skipping Test Prints
Dont go straight to your final product. Print a test page on plain paper or scrap fabric. Itll save you from costly errors.
Ignoring Manufacturer Instructions
Each brand of transfer paper has unique instructions. Read them. Follow them. Dont wing it!
Creative Ideas and Applications
Once youve mastered the basics, the possibilities are endless.
Custom T-Shirts
Great for birthdays, team uniforms, or brand promos. Add names, quotes, or bold graphics.
Tote Bags, Pillowcases, and Beyond
Try customizing:
- Canvas totes
- Cotton pillowcases
- Aprons
- Baby onesies
- Bandanas
Youll be surprised what you can personalize!
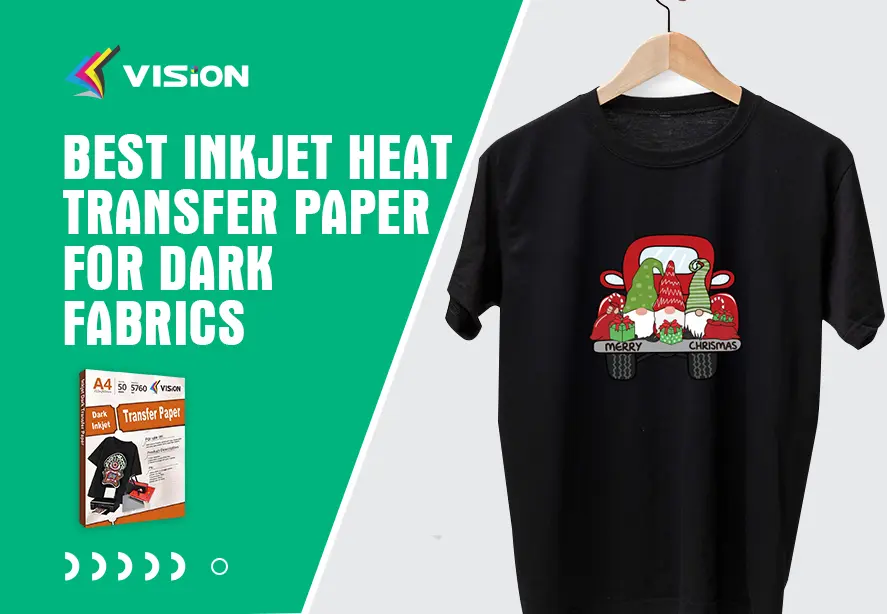
Dark Inkjet Transfer Paper
Inkjet heat transfers offer a brilliant way to bring your creativity to life on fabric. With the right tools, a little prep, and some practice, your DIY projects can rival commercial results. Just remember: take your time, test everything, and most importantly—have fun with it!
Related:
The 4 Types of Inkjet Transfer Paper for Heat Press
Choosing the Perfect Inkjet Transfer Paper: A Comprehensive Guide
Printing Perfection: Tips for Using Inkjet Transfer Paper on T-Shirts
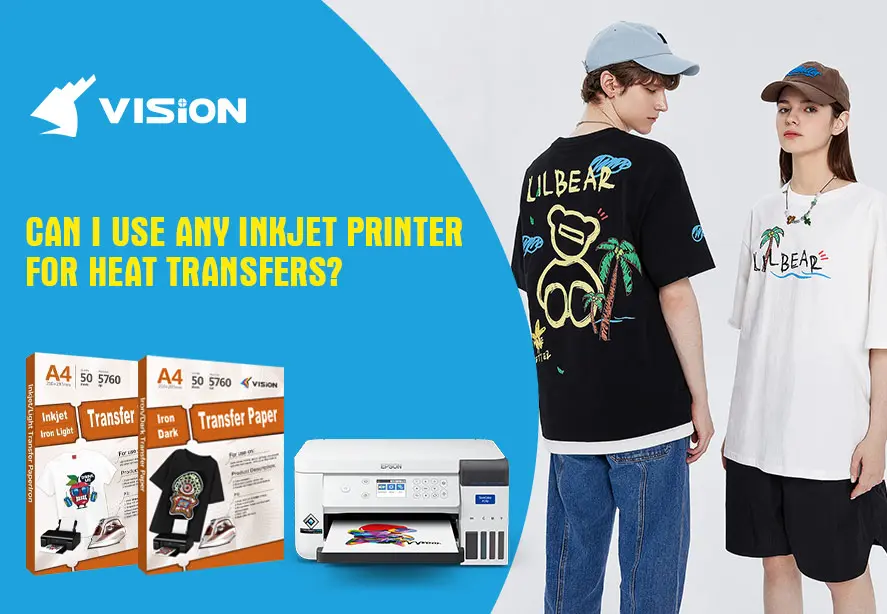
Can I Use Any Inkjet Printer for Heat Transfers?