Blog
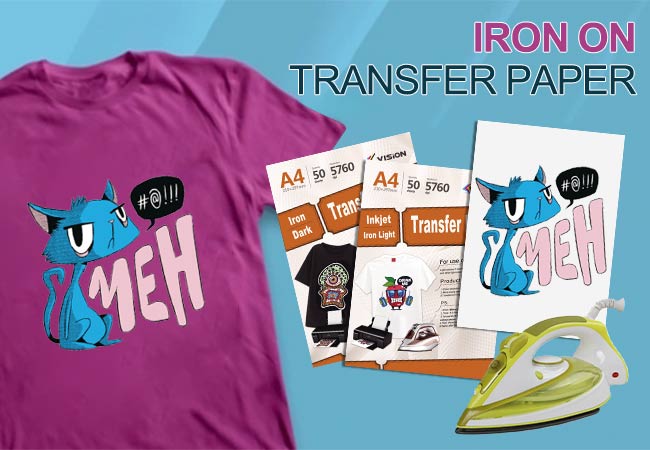
Can you use Vision Iron on Transfer Paper to transfer your t-shirt?
Why is iron on transfer papers so popular in the market?Well known,the demand for personalized customization in small batches is increasing and the advantages of thermal transfer paper are becoming more prominent, in addition to the customization of thermal transfer clothing for commercial purposes. The clothing customization industry occupies a very important position.
Besides, DIY within the scope of the personal family has also become a wide range of hobbies.
The joy of exploring crafts has be presented in the form of heat transfer printing,you can design your personal photos, artworks or drawing,and then print them,next transfer onto your textiles only using a sheet of heat transfer paper. Whether it is for self-use or customizing parent-child clothing for the whole family, gifts for friends, or team clothing for small-scale clubs and companies, the heat transfer customization is closer to our lives, It makes our lives full of creativity and fun.
Next, we will teach you how to transfer a piece of special clothing by Vision iron on transfer paper.
The following is the checklist required to complete a thermal transfer T-shirt:
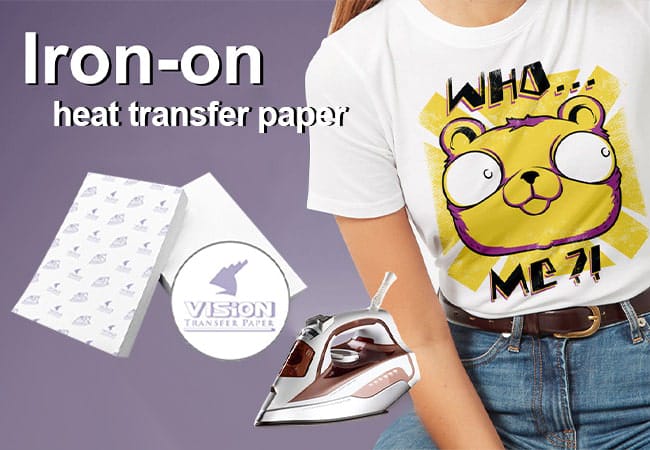
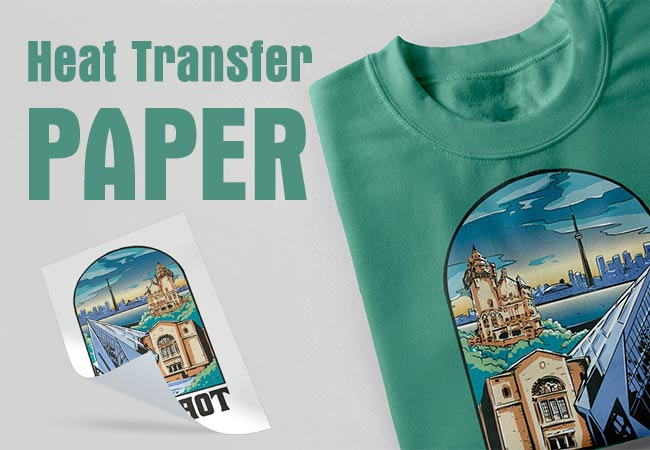
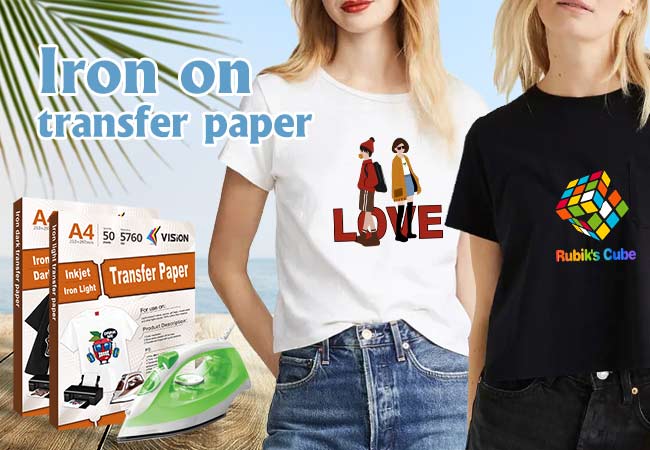
1. VISION iron on heat transfer paper (light and dark)
2.The design you want to transfer on the T shirt.The design can be your favorite photos, text, poems, picture designs and so on.
3.Household iron, ironing board or a suitable table(such as high-voltage boards or iron tables are OK)
Solid wood tables are not recommended,because they will be damaged or burnt by high temperature.
You mustn’t choose a slate table. For example, tables made of marble and other materials will crack due to high temperature.
4.A pair of scissors.
5.Inkjet printer:any brand of inkjet printer can be applicable,such as Canon,Epson,HP,etc
6.Dye ink or pigment ink (the color of dye ink is more vivid, and the color of pigment ink remains more durable).
7.Several T shirts (with more than 65% cotton content) dark or light.
Vision provides three kinds of iron on transfer paper for you: Inkjet light iron on transfer paper 1.0, Inkjet light iron on transfer paper 2.0 and Inkjet dark iron on transfer paper.
We need to use Inkjet light iron on transfer paper and Inkjet dark iron on transfer paper,in order to complete transferring according to the color of the clothes.So we will divide into two parts to introduce how to use the two type of iron on transfer paper:
Inkjet light iron on transfer paper
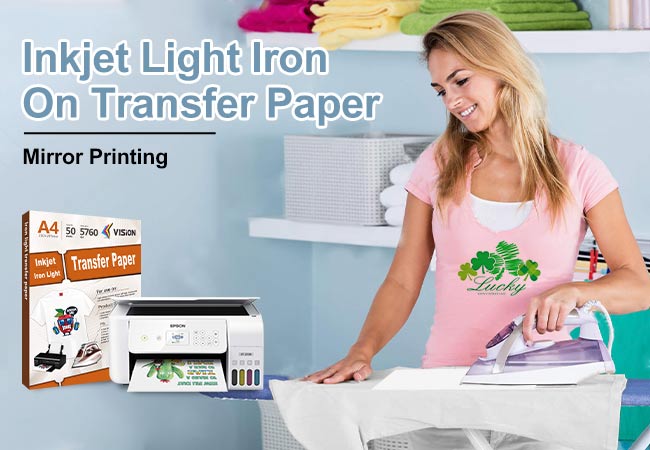
inkjet light iron on transfer paper
Step 1: Choose your favourite design for the T shirt you want to customize. You can design it by yourself, shoot pictures or download them from some free websites, which is very convenient.
Step 2: Print your design.
After you have chose your picture, take out the Vision Inkjet light iron on transfer paper, load it into the inkjet printer, and then set the the mode of printing”photo mode”, “mirror printing” to complete the printing.Soon,you will see your design appears vividly on the iron on transfer paper.
Step 3: Remove excess parts with scissors
You need to use scissors to cut off the parts other than the design on the transfer paper.Because the uncut part will transfer the excess residue to the garment, and cutting off the edges will help position it during the transfer process.
Step 4: Transfer your design onto your T shirt
First, set up your iron stand or clear out a table. If you are not using an ironing board, you must put a insulation pad on the table to protect our table from being burned.
Then put your T shirt flat on the shelf, and firstly flatten the clothes with an iron. After that,put your printed transfer paper design face down on the T shirt we need to transfer. It must be noted here that you have to align the position you need to place.Otherwise,once the transfer is completed, there is no way to start again. After placing the transfer paper, you can add a piece of heat insulation paper on it.
Now it’s ironing. You need to set the iron to suit the cotton and linen material mode, then iron for 30 seconds at each position, and then turn to the next position. In this process, you must press the iron with medium pressure to ensure that the iron on transfer paper is combined with the fabric of the T shirt.At the same time,you must pay special attention to the position of the corners, they are particularly prone to warping due to insufficient ironing time.
Step5:
Once the transfer is completed, firstly,you should remove the heat insulation paper.Then remove the transfer paper after the T-shirt cools down.After tearing off the iron on transfer paper, stretch the T-shirt slightly,which makes the transfer effect softer. Then cover with heat insulation paper again and iron each part for 5 seconds to increase the firmness of the coating.
Inkjet dark iron on transfer paper
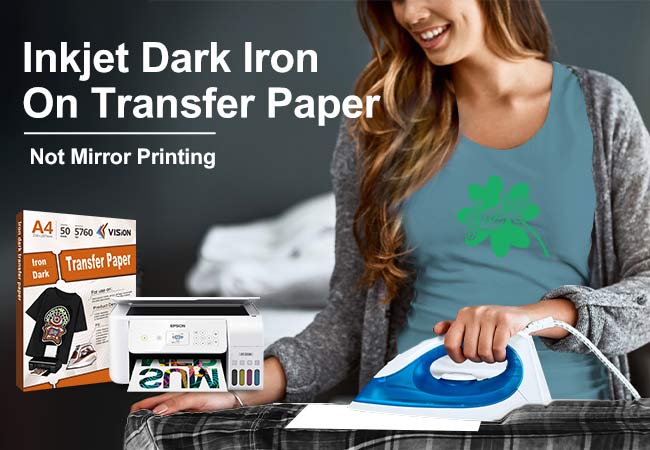
inkjet dark iron on transfer paper
Step1: Choose the photo and design you need
Step2: Print out your design. This step is different from the iron on light-color printing mode. You need to select the “photo mode” and print normally without mirroring printing.
Step3: Remove the unnecessary parts. Because the dark iron on transfer paper has a white coating. If you don’t remove the extra part outside the design,the other parts will cover the original color of your clothes in white. and the dark transfer paper will be repaired. Side, you can use scissors or a cutting plotter to complete the dark transfer paper trimming.
Step4: Transfer your design onto your T shirt
This step is the same as the light color iron on transfer paper, we need to clear the space first and set up the table to facilitate our work.
Then we need to peel off the printed transfer paper. The dark transfer paper is divided into two parts, the printing surface and the bottom paper. We need to peel off these two parts.
When it is ready to be transferred,put the printed surface layer that printed design on the T shirt with face up. We also need to accurately align the position. Cover the design with the prepared insulation paper or Teflon cloth.To start ironing, you need to set the iron to suit the cotton and linen material mode,then iron for 30 seconds at each position, and then turn to the next position. In this process, you must press the iron with medium pressure to ensure that the iron on transfer paper is combined with the fabric of the T shirt.At the same time,you must pay special attention to the position of the corners, they are particularly prone to warping due to insufficient ironing time.
Step5:
Once the transfer is completed, firstly,you should remove the heat insulation paper.OK,a perfect design has been shown in front of you.
We have also produced Inkjet light iron on transfer paper 2.0 version for the convenience of customers, the process is the same an that of the Inkjet dark iron on transfer paper.
Finally, you need to pay attention to the following washing of the transferred T shirt. Usually the Vision heat transfer paper is subjected to a strict washing test. The finished product can be washed at least 30 times, and the picture can still be maintained.
However, in the process, it should be noted that the first washing must be completed after 48 hours, and in order to better continue the transfer effect,it is recommended that you can wash the reverse side of the clothes to avoid rubbing the design forcefully.
With such a simple operation, you can customize more for your family and friends. Don’t be afraid to be creative. Inkjet heat transfer paper printing is a very interesting and very versatile way. Vision has a variety of transfer papers and provides different customized clothing solutions. If you want to know more, please view our website, or if you have any questions about the process of our iron on transfer paper , you can also watch us YouTube. We will update many videos for you.