Blog
Common Issues with Transfer Paper for T-Shirts
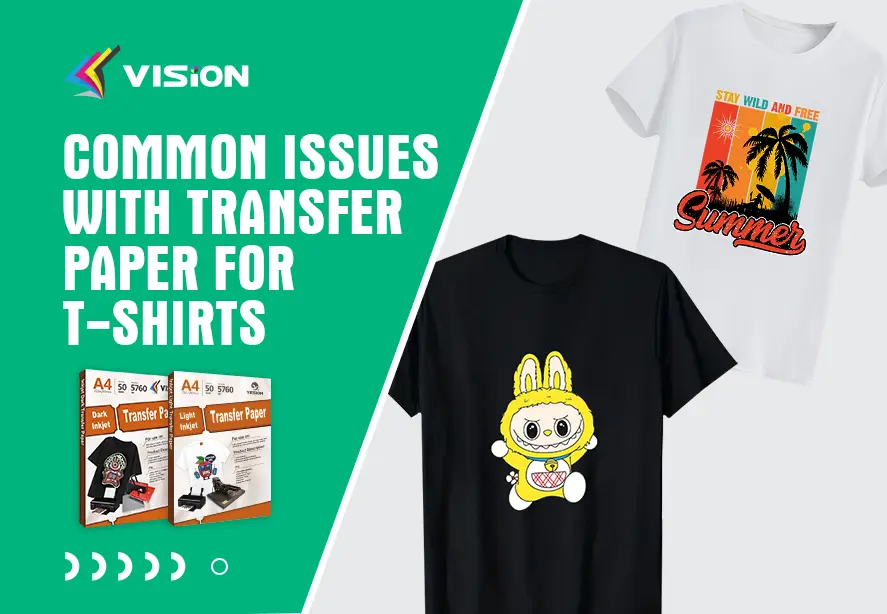
Transfer paper is a fantastic tool for customizing t-shirts, whether for business, gifts, or personal use. However, even with the best intentions and equipment, many users run into common issues with transfer paper that result in faded prints, cracking designs, or peeling graphics. If you’re struggling to get perfect results, you’re not alone—and you’re in the right place. Below, we cover the most frequent transfer paper problems and how to solve them quickly and effectively.
Common issues and solutions for T-shirt transfer paper
1. Faded or Dull Print After Pressing
❌ Problem:
After pressing the design, the colors appear washed out or lack vibrancy.
✅ Solution:
Use the correct type of paper (inkjet transfer paper for inkjet printers; laser transfer paper for laser printers).
Set your printer settings to photo or high-quality print mode.
Ensure you’re using compatible ink (original or high-pigment ink is best).
Apply the right temperature and time based on the paper instructions (e.g., 180–200°C for 15–30 seconds).
2. Transfer Peels or Lifts After Washing
❌ Problem:
The design peels off or cracks after the first few washes.
✅ Solution:
Make sure to apply enough pressure during the heat press process.
Use a cold peel or hot peel method as specified—peeling incorrectly can ruin the transfer.
Allow the shirt to cure for at least 24 hours before washing.
Wash inside out in cold water and avoid tumble drying on high heat.

heat transfer
3. Design Not Transferring Fully
❌ Problem:
Parts of the design are missing or only partially transferred to the shirt.
✅ Solution:
Pre-press the garment for 3–5 seconds to remove moisture and wrinkles.
Make sure the press is evenly heated and that no seams, zippers, or uneven surfaces interfere.
Apply firm, even pressure.
Confirm the print was mirrored correctly if required (especially for light-colored transfer paper).
4. Transfer Paper Melts or Burns
❌ Problem:
The paper scorches, discolors, or sticks to the heat press.
✅ Solution:
Lower your temperature setting to match the paper’s recommended specs.
Use parchment paper or a teflon sheet between the heat plate and transfer paper.
Avoid pressing for too long—overheating can destroy the adhesive layer.
5. Visible Film or Shine Around the Design
❌ Problem:
After transferring, there’s a noticeable shiny or plastic-looking border around the image.
✅ Solution:
Trim the design as close to the edges as possible before transferring.
Use transparent or “no background” transfer paper designed for dark garments.
Try print and cut machines for contour precision.
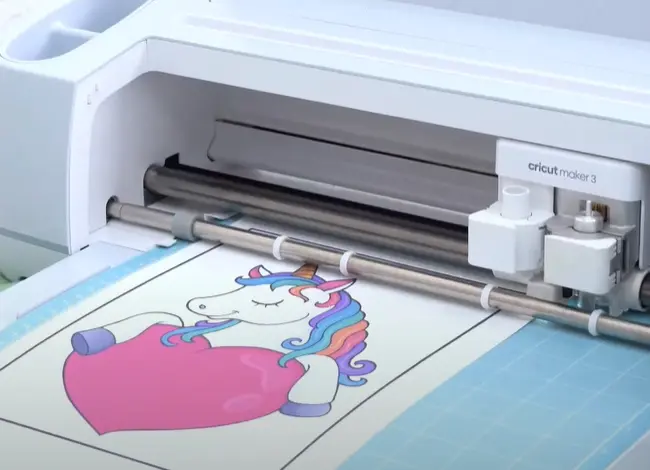
cut design
6. Paper Jams or Printer Feeding Issues
❌ Problem:
Transfer paper gets stuck in the printer or doesn’t feed properly.
✅ Solution:
Load one sheet at a time and use the manual feed tray, if available.
Always load with the correct printable side facing down.
Avoid curled, bent, or damaged paper edges.
Use a clean, dry, dust-free printer environment.
7. Incorrect Transfer Paper Type
❌ Problem:
Using the wrong paper for the fabric or printer results in poor quality or failed transfers.
✅ Solution:
Use dark transfer paper for dark garments and light transfer paper for white/light fabrics.
Check if your printer is inkjet or laser and buy paper specifically designed for it.
Match the fabric type with the paper (e.g., cotton vs. polyester compatibility).
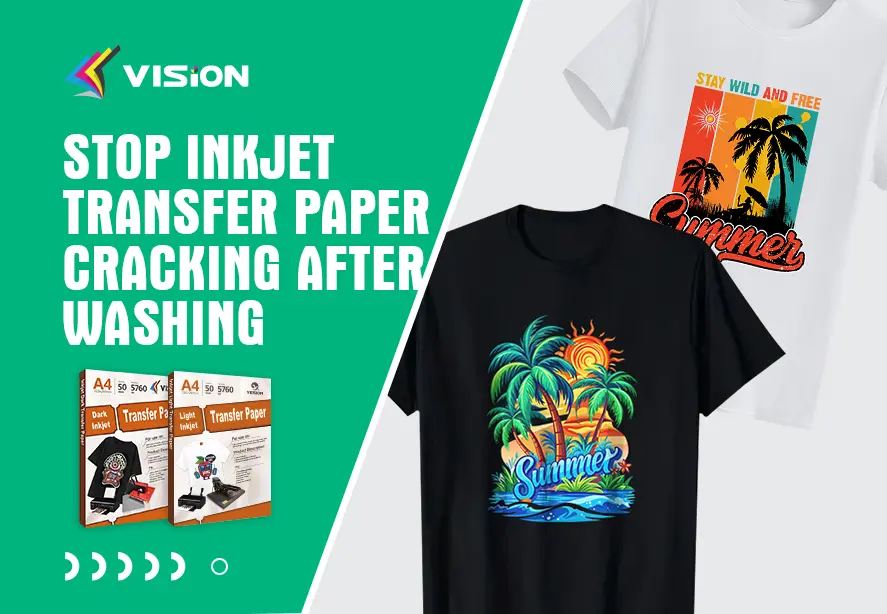
8. Design Cracking Over Time
❌ Problem:
Even after a perfect application, the design cracks or splits over repeated washes.
✅ Solution:
Use stretchable transfer paper if the shirt material is elastic (like spandex or jersey).
Avoid over-pressing which can over-dry the ink and cause cracking.
Follow proper garment care instructions: wash cold, inside out, and avoid ironing directly over the print.
Conclusion: Better Transfers Start with Better Techniques
Many issues with transfer paper can be solved with proper technique, quality materials, and accurate press settings. Always follow the specific instructions provided with your transfer paper, and take the time to test before full production. Whether you’re using it for commercial t-shirt printing or DIY crafts, avoiding these common mistakes will ensure your designs look great and last longer.
For perfect t-shirt transfers, remember: the right paper + correct process = flawless results.
Related:
Fun DIY Projects with Inkjet Heat Transfer Paper
Does transfer paper last on shirts?
Printing Perfection: Tips for Using Inkjet Transfer Paper on T-Shirts
Choosing the Right Transfer Paper for Different T-Shirt Fabrics
15 Tips for Using Transfer Paper for Beginners