
Blog
How to use Infusible Ink Transfer Sheets with Cricut maker
In the vast world of crafting, innovation knows no bounds. One such revolutionary product that has taken the crafting community by storm is Infusible Ink Transfer Sheets. These sheets are changing the game, offering unmatched creative potential and professional-quality results.
At the heart of this ingenious product lies cutting-edge technology. Infusible Ink Transfer Sheets are designed to infuse ink directly into the material, resulting in a permanent and vibrant bond. The process involves heat and pressure, which work together to transfer the ink in a way that it becomes one with the substrate. This eliminates issues like peeling, cracking, or fading over time.
Before you dive into the exciting world of infusible ink projects, it’s crucial to gather all the necessary tools and materials.
Tools and Materials
To get started, make sure you have the following tools and materials on hand:

Tools and Materials
Infusible Ink Transfer Sheets: These are the star of the show, and they come in various colors and patterns, allowing you to unleash your creativity.
Blank Substrates: Choose the items you want to transfer the ink onto, such as t-shirts, coasters, mugs, or tote bags. Ensure they are compatible with infusible ink for best results.
Heat Press Machine: This is a must-have for infusing the ink onto your chosen substrate. Invest in a quality heat press that offers consistent temperature and pressure.
Cricut Machine or Cutting Tool: If you plan to create custom designs, a Cricut machine or a reliable cutting tool will come in handy.
Heat-Resistant Tape: Use heat-resistant tape to secure the transfer sheet to the substrate during the heat press process.
Lint Roller: Keeping your substrates clean and lint-free is essential for a smooth transfer.
Butcher Paper or Parchment Paper: Place this over your transfer to protect the heat press and ensure even heat distribution.
Scissors or Cutting Mat: Depending on the size and complexity of your designs, you’ll need either scissors or a cutting mat to cut the transfer sheets accurately.
How to transfer your design?
Using Infusible Ink Transfer Sheets with your Cricut Maker opens up a world of creative possibilities.Follow these step-by-step instructions to achieve impressive and professional-looking designs:
Step 1: Design Your Project
Before you begin, decide on the design you want to transfer onto your chosen substrate. You can use compatible design software or Cricut’s Design Space to create custom patterns or choose from a wide range of pre-designed images.

Design Your Project
Step 2: Load the Infusible Ink Transfer Sheet
Place the Infusible Ink Transfer Sheet onto your Cricut cutting mat with the ink side facing up. Make sure the sheet is secure and correctly aligned on the mat.
Step 3: Cut Your Design
In Cricut’s Design Space, select the appropriate material setting for the Infusible Ink Transfer Sheet. Double-check that you have mirrored your design if necessary, especially when using text. Once everything is set, initiate the cutting process using your Cricut Maker.
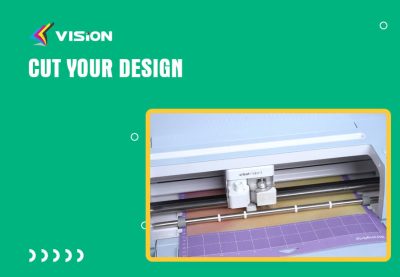
Cut Your Design
Step 4: Weed the Design
Once the cutting is complete, carefully remove the excess material (the negative space) from the transfer sheet. This process is called weeding and requires a steady hand to avoid damaging the delicate design.

Weed the Design
Step 5: Prepare Your Substrate
Now it’s time to prepare the blank substrate that you want to apply the design to. Ensure that the substrate is clean and lint-free. If you are working with fabric, pre-press it with a heat press to remove any moisture or wrinkles.
Step 6: Position the Transfer
Carefully position the weeded Infusible Ink Transfer Sheet onto your substrate with the ink side facing down. You can use heat-resistant tape to hold it in place and prevent any shifting during the transfer process.
Step 7: Heat Press Application
Set up your heat press according to the recommended temperature and time settings provided by Cricut for Infusible Ink Transfer Sheets. Remember to place a piece of butcher paper or parchment paper over the transfer to protect the heat press and your substrate.
Step 8: Apply Heat and Pressure
Close the heat press and apply even and firm pressure for the specified duration. The combination of heat and pressure will infuse the ink into the substrate, creating a permanent bond.
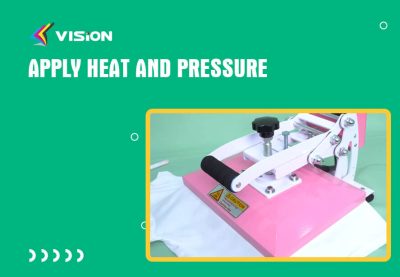
Apply Heat and Pressure
Step 9: Cooling and Peeling
Once the transfer process is complete, carefully lift the heat press to release the pressure. Allow the substrate to cool down for a few moments before gently peeling off the transfer sheet. Take care not to smudge the design during this step.
Step 10: Admire Your Finished Creation
After peeling off the transfer sheet, you’ll be left with a stunning, vibrant, and professional-looking design on your substrate. Admire your work and revel in the creative possibilities that Infusible Ink Transfer Sheets bring to your crafting projects!
How to use infusible ink transfer sheet?
Infusible Ink’s versatility extends to various materials, including t-shirts, mugs, coasters, and more. We’ll explore the intricacies of infusing ink onto these items and provide special considerations for different materials such as fabric and ceramic. Furthermore, we’ll encourage you to think outside the box and explore unconventional substrates for your unique projects.

