Blog
How to print UV DTF transfers with a UV printer?
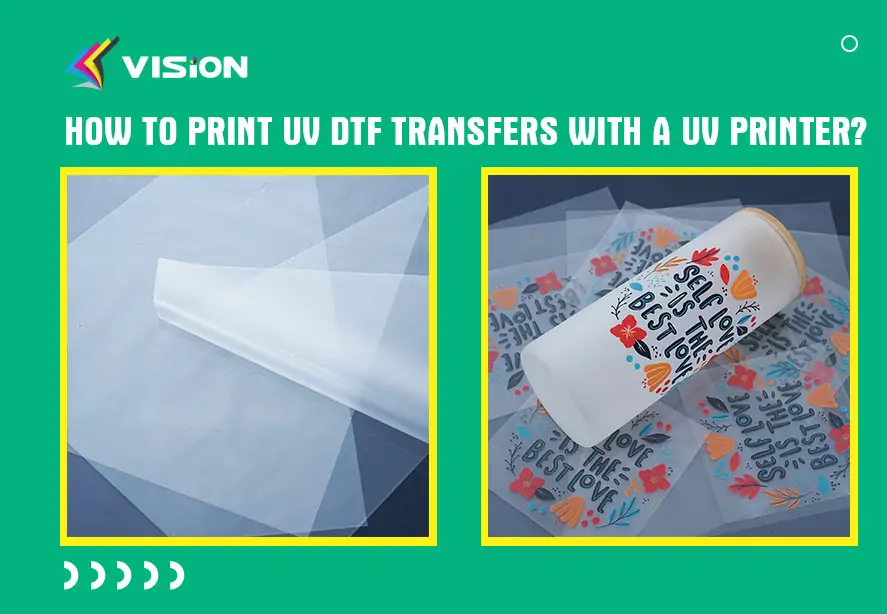
Printing UV DTF transfers with a UV printer requires careful attention to the process and specific settings to ensure optimal results. Here are the steps to successfully print UV DTF transfers using a UV printer for beginners who are using UV DTF printing sets:
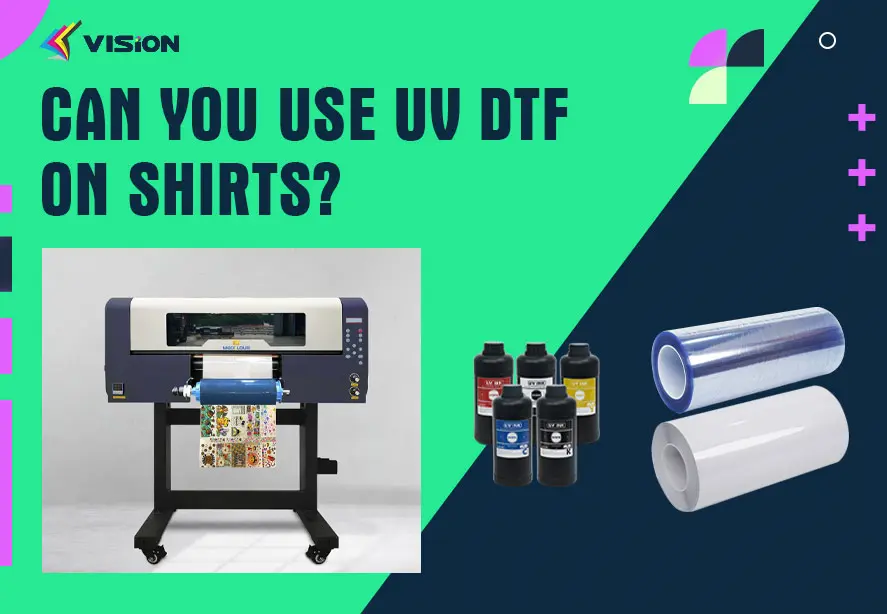
Prepare the UV Printer: Start by ensuring that your UV printer is properly set up and calibrated. Check that the printer is clean, the UV inks are loaded correctly, and the printing settings are configured for DTF transfers.
Design and Prepare the Transfer: Create or select the design you want to print on the transfer. Keep in mind that UV DTF transfers allow for vibrant and detailed prints. Adjust the design as needed using graphic design software. Next, prepare the transfer film by cutting it to the desired size and applying a special adhesive powder or primer layer.
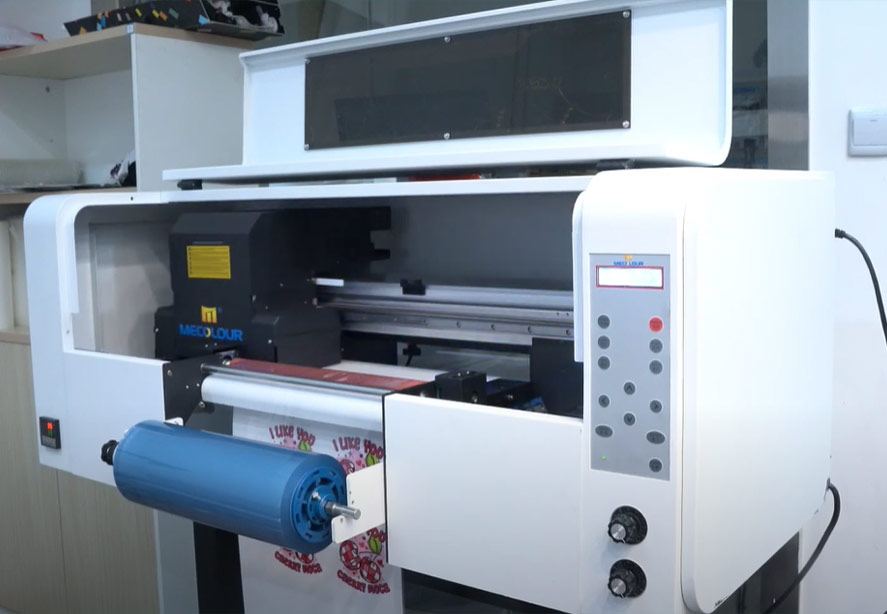
Load the Transfer Film: Place the prepared transfer film onto the printer’s flatbed or roll-to-roll system. Ensure that the film is properly aligned and securely fixed in place to prevent any shifting during the printing process.
Set Printing Parameters: Access the printer’s settings and adjust the parameters specific to UV DTF printing. These settings may include selecting the appropriate UV ink type, adjusting the curing temperature, and setting the printing resolution and speed.
Print the Transfer: Send the design to the UV printer and initiate the printing process. The UV printer will apply the UV ink onto the transfer film, creating a vibrant and full-color image. The ink is then dried and cured using UV lights or a heat source, ensuring its adhesion to the transfer film.
print UV DTF transfers with a UV printer
Dry and Cure the Transfer: After printing, carefully remove the printed transfer film from the UV printer and place it in a drying unit. The drying process helps to evaporate any remaining solvents and ensures that the UV ink is fully cured and ready for transfer.
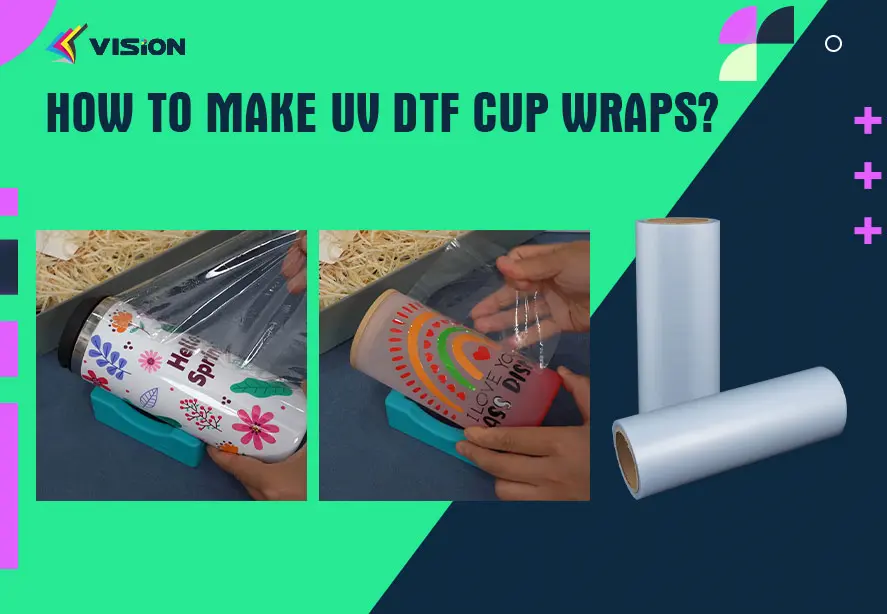
Apply the UV DTF Transfer: Once the transfer film is dry and cured, it is ready to be applied to the desired substrate. Place the transfer film onto the substrate, ensuring proper alignment and positioning. Apply heat and pressure using a heat press or other suitable method to transfer the UV ink from the film onto the substrate. Follow the recommended time, temperature, and pressure settings specific to the UV DTF transfer film and substrate being used.
Remove the Transfer Film: After the heat transfer process is complete, carefully peel off the transfer film from the substrate. The UV ink should now be permanently transferred, resulting in a vibrant and durable print.
If you still have issues about the process, please watch the video: How to use uv dtf wrap on tumbler?
By following these steps and paying attention to the specific settings and requirements for UV DTF printing, you can achieve high-quality and long-lasting prints with your UV printer. Order now to get high quality, low price uv dtf printing sets, please feel free to contact VISION factory for a quote.
Related:
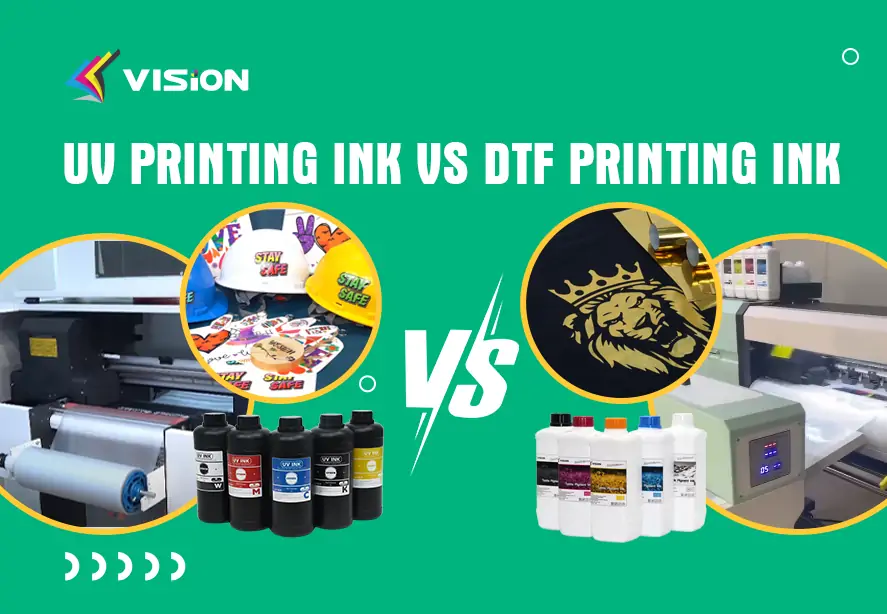
What is the difference between UV DTF and DTF?
How long does UV DTF Prints last?
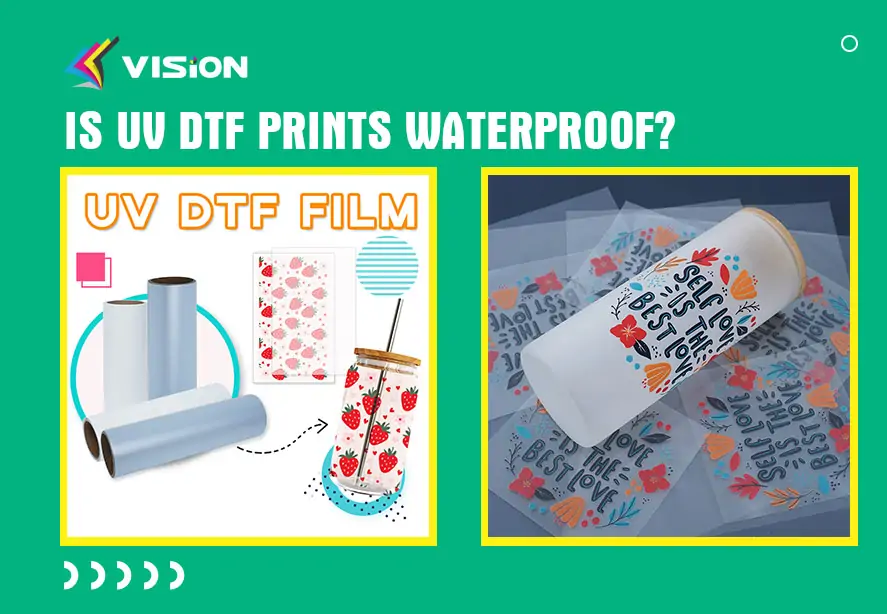
Is UV DTF prints waterproof?