Blog
Best Temperature and Pressure Settings for Heat Transfer Vinyl

Heat transfer vinyl gives creators the freedom to design custom shirts, bags, and décor. To achieve flawless results, you need to understand the proper temperature and pressure settings. When you use the right combination, your designs last longer, look brighter, and stay smooth after many washes. This guide covers the best settings for different HTV types so you can press with confidence.
Why Correct Heat Settings Matter
The correct heat setting ensures the adhesive melts evenly. Proper pressure helps the vinyl bond firmly to the fabric. When you combine the right temperature, time, and pressure, your designs stay durable. It also reduces peeling, cracking, or fading. These factors improve your production speed and quality. They also help reduce material waste.
Recommended Temperature Settings for HTV
Different materials require specific temperatures. You must follow the recommended range for each vinyl type. Here are the most common HTV categories:
Standard PU Heat Transfer Vinyl
Standard PU vinyl is easy to use. It works well on cotton and polyester.
- Temperature: 150–160°C (300–320°F)
- Time: 10–15 seconds
- Pressure: Medium

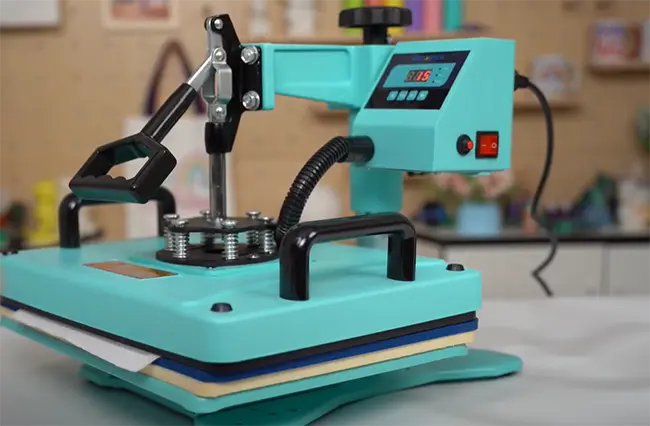
heat pressing
Glitter Heat Transfer Vinyl
Glitter vinyl is thicker. It needs more heat to activate the adhesive.
- Temperature: 160–170°C (320–340°F)
- Time: 15–20 seconds
- Pressure: Firm
Flock Heat Transfer Vinyl
Flock vinyl has a velvet texture. It requires accurate heat control to prevent flattening.
- Temperature: 150–160°C (300–320°F)
- Time: 12–15 seconds
- Pressure: Medium to Firm
Stretch Heat Transfer Vinyl
Stretch HTV works best on sportswear. It needs higher temperature for a strong bond.
- Temperature: 160–170°C (320–340°F)
- Time: 15–20 seconds
- Pressure: Medium
Metallic Heat Transfer Vinyl
Metallic HTV is delicate. Overheating can damage the surface.
- Temperature: 140–150°C (285–305°F)
- Time: 10–12 seconds
- Pressure: Light to Medium
How Pressure Affects Your HTV Results
Pressure plays a major role in bonding. Medium pressure works for most HTV types. Firm pressure is ideal for thicker materials like glitter vinyl. Light pressure protects metallic vinyl from damage. When you use the right pressure, the vinyl sticks evenly. Uneven pressure creates lifting edges and patchy transfers.
Tips for Perfect HTV Application
Pre-press the Fabric
Moisture affects adhesion. Always pre-press the fabric for a few seconds. This step removes wrinkles and ensures a smooth surface.
Use a Teflon Sheet or Parchment
A teflon sheet prevents scorching. It also distributes heat evenly across the vinyl surface.
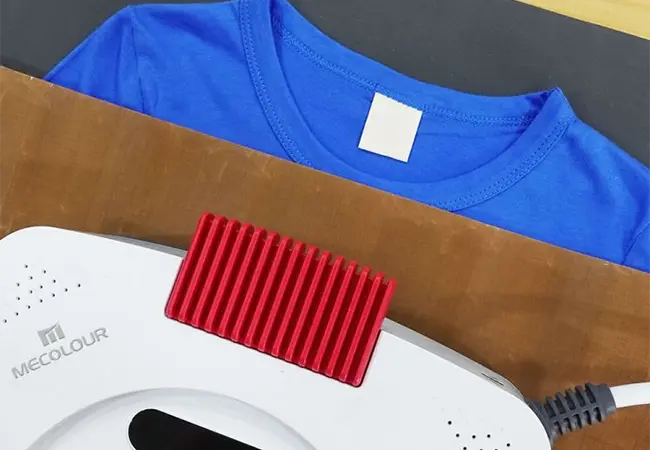
teflon sheet
Test Before Mass Production
Different fabrics react differently. Always test the settings on a small area. This simple step helps you avoid costly mistakes.
Cool or Warm Peel
Follow the peel instructions. Some vinyl requires warm peeling. Others need a complete cool-down. Incorrect peeling can ruin the design.
Tips for Achieving Consistent Results
Record Your Settings — once you find a “sweet spot,” write them down so you can replicate.
Always Pre-Press your garment for a few seconds to flatten and remove moisture.
Do a Test Press — before committing on a full run, test your settings on a scrap piece of fabric.
Use a Teflon Sheet or Cover Sheet — protects both your vinyl and the heat platen.
Adjust Based on Outcomes:
If your vinyl lifts: try higher pressure, longer time, or slightly higher temp.
If your vinyl distorts or bubbles: reduce temperature or time.
Allow Cooling If Needed — for some HTV, letting the piece cool slightly before peeling helps adhesion.
Mastering the right temperature and pressure settings is essential for professional HTV projects. When you use the correct combination, every design looks clean and durable. Accurate heat levels, proper pressure, and correct peel timing boost your production quality. With practice, your heat transfer results will be flawless every time.
Related:
Why Your Heat Transfer Vinyl Is Lifting – How to Fix It Fast
10 Pro Tips for Perfect Heat Transfer Vinyl Application
How to Prevent Peeling and Cracking with Heat Transfer Vinyl?
9 Do’s and 9 Don’ts of Layering Heat Transfer Vinyl
What fabric is best for heat transfer vinyl?
Why does my iron-on vinyl peeling off after washing?