Blog
Common Issues for Light Fabric Transfer Paper Printing

Printing on light fabric transfer paper is a popular choice for creating custom T-shirts, tote bags, and other fabric projects. While the process is relatively straightforward, beginners and even experienced crafters sometimes face challenges that affect the final results. This guide explores the most common issues in light fabric transfer paper printing and provides practical solutions to ensure smooth, vibrant, and long-lasting transfers.
Troubleshooting Guide for Light Fabric Transfer Paper Printing
1. Dull or Faded Colors
Issue: Designs look washed out or lose their brightness after transferring.
Causes:
- Printer settings not optimized for transfer paper.
- Using the wrong type of ink (e.g., pigment instead of dye ink).
- Low-resolution images.
Solutions:
- Always set your printer to the “photo” or “best quality” mode.
- Use inkjet printers with dye-based inks, which bond better with transfer coatings.
- Ensure artwork is at least 300 DPI resolution for crisp and vibrant results.
2. Cracking After Washing
Issue: The printed design cracks or peels after a few washes.
Causes:
- Inadequate heat or pressure during transfer.
- Washing the garment too soon or at high temperatures.
- Poor-quality transfer paper.
Solutions:
- Apply consistent heat (180–190°C / 356–374°F) with firm pressure for the recommended time.
- Wait at least 24 hours before washing the garment.
- Wash inside-out in cold water and air-dry or tumble dry low.
- Choose high-quality transfer paper designed specifically for light fabrics.
3. Paper Not Releasing Cleanly
Issue: Transfer paper sticks to the fabric or doesn’t peel off smoothly.
Causes:
- Incorrect peel method (hot peel vs. cold peel).
- Overheating during pressing.
Solutions:
- Follow the manufacturer’s instructions carefully for hot peel or cold peel timing.
- Avoid over-pressing; too much heat can cause the transfer to bond with the paper backing.
4. Uneven or Patchy Transfers
Issue: Parts of the design do not transfer completely.
Causes:
- Uneven heat distribution from the press.
- Wrinkled or uneven fabric surface.
- Incorrect pressure settings.
Solutions:
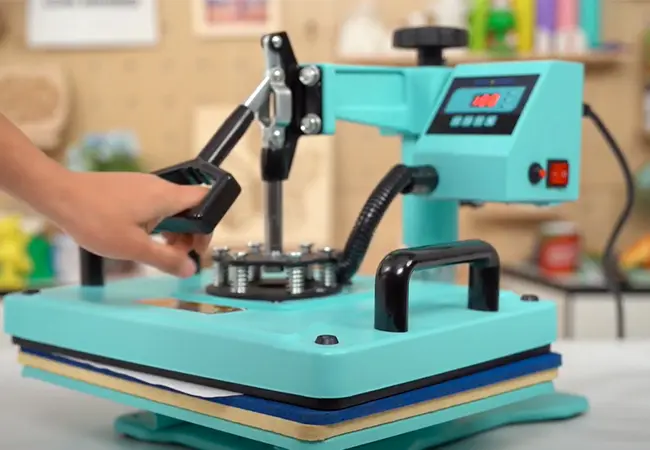
- Use a reliable heat press machine instead of a household iron for consistent results.
- Pre-press the fabric for a few seconds to remove moisture and wrinkles.
- Ensure the press applies firm, even pressure across the entire design.

heat press transfer
5. Yellowing of Fabric
Issue: The area around the transfer turns yellow or discolored.
Causes:
- Excessive heat or pressing time.
- Low-quality transfer paper.
Solutions:
- Adjust pressing time and temperature to recommended levels.
- Use premium light fabric transfer paper that minimizes background residue.
6. Incorrect Image Orientation
Issue: Text or images appear reversed on the fabric.
Causes:
- Forgetting to mirror the design before printing.
Solutions:
- Always mirror or flip the image in your design software before printing.
- Double-check the preview screen before sending the job to print.
Best Practices for Success
- Test print on regular paper before using transfer sheets.
- Store transfer paper in a cool, dry place to avoid humidity damage.
- Choose light-colored, 100% cotton fabrics for the best transfer results.
- Keep a record of successful heat, time, and pressure settings for consistency.
By addressing these common issues in light fabric transfer paper printing, you can achieve professional-quality results every time. With the right preparation, tools, and techniques, your custom prints will look vibrant, last longer, and impress your customers or craft projects.
Related:
How to choose the Best Light Fabric Transfer Paper?
Inkjet vs Laser Light Fabric Transfer Paper
Custom t-shirts with light fabric transfer paper