Blog
Why Inkjet Transfer Paper Is Not Sticking and How to Fix It
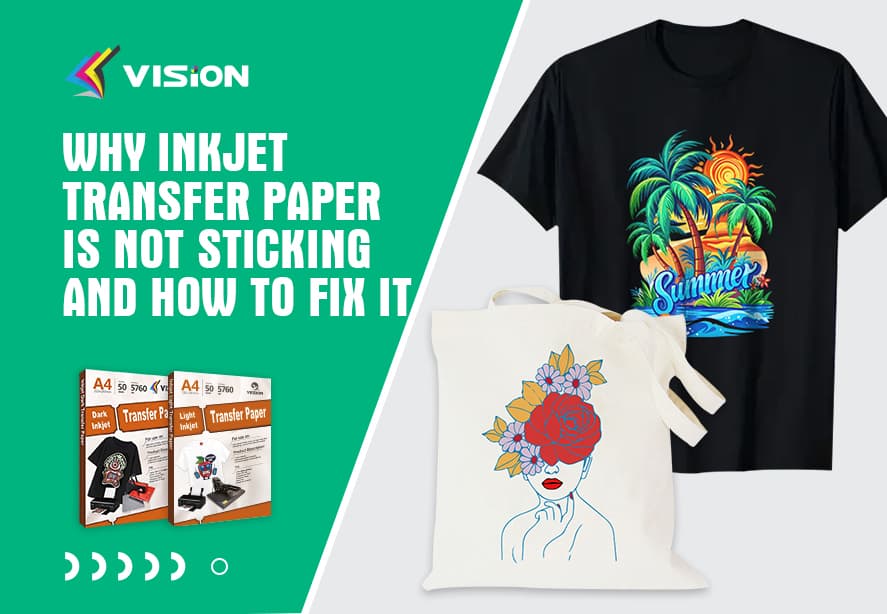
Inkjet transfer paper is designed to make custom printing simple, but when it refuses to stick properly, it can waste time, ink, and expensive blank products. In this guide, we explain the most common reasons why inkjet transfer paper is not sticking, and exactly how to fix each issue. If you want clean edges, strong bonding, and long-lasting results, the solutions below will eliminate the guesswork.
Common Signs Inkjet Transfer Paper Is Not Sticking
Before troubleshooting, it is important to identify the exact symptoms. Most sticking problems fall into one of these categories:
- Transfer paper lifts up immediately after pressing
- Edges peel or curl after cooling
- Design cracks or flakes after washing
- Transfer looks faded and does not bond fully
- Paper backing is difficult to remove
- Ink smears or stays wet after pressing
Each symptom points to a different root cause, and fixing the wrong thing will only waste more material.
1. Wrong Type of Inkjet Transfer Paper for the Fabric
One of the biggest mistakes is using the wrong transfer paper type. Inkjet transfer paper is typically made for either:
- Light fabrics
- Dark fabrics
If you use light-fabric transfer paper on dark fabric, the image will appear dull and may not adhere correctly. If you use dark-fabric transfer paper on light fabric, the adhesive layer may behave differently and fail to bond.
Fix
Always confirm the paper type:
- Light transfer paper = for white or light-colored cotton/poly blends
- Dark transfer paper = for black or colored garments (usually requires cutting and peeling)
If you are unsure, check the packaging description. Proper matching is essential for strong adhesion.
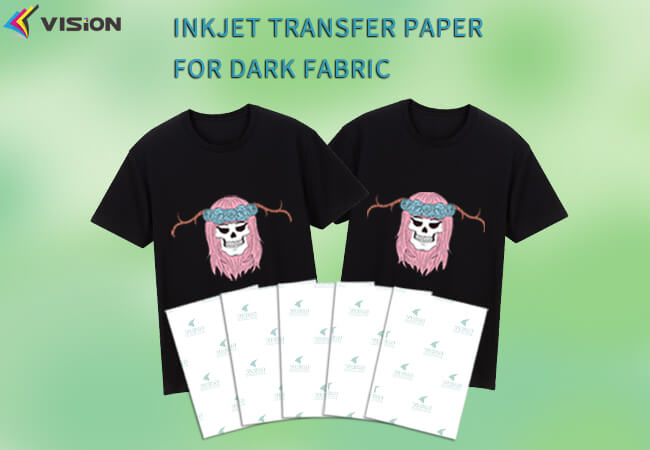
Inkjet transfer paper for dark fabric
2. Press Temperature Is Too Low
Heat is the main factor that activates the adhesive coating on transfer paper. If your temperature is too low, the adhesive will never fully melt into the fibers.
Even if the transfer looks okay at first, it may peel later because it never bonded properly.
Fix
Use the recommended temperature for your paper. Most inkjet transfer paper requires:
- 160°C to 190°C (320°F to 375°F)
- Press time: 15–30 seconds
If your inkjet transfer paper is not sticking, increase temperature slightly (5–10°C at a time) until bonding improves.
Tip: Some heat presses display inaccurate temperatures. Always test with a thermometer strip or infrared thermometer.

iron press and heat press
3. Press Pressure Is Incorrect (Too Light or Too Heavy)
Pressure is just as important as heat. If your heat press pressure is too light, the transfer will not fully contact the fabric. If it is too heavy, the adhesive layer can squeeze unevenly, causing partial bonding or cracking.
Fix
Adjust pressure based on paper type:
- Light fabric transfer paper: medium to firm pressure
- Dark fabric transfer paper: firm pressure
- Specialty papers: follow manufacturer settings
A good test is to press and feel resistance when closing the press. If it closes too easily, pressure is likely too low.
4. The Fabric Has Moisture or Finishing Chemicals
New T-shirts often contain manufacturing chemicals like softeners, starch, or silicone coatings. These prevent transfer adhesives from bonding correctly.
Moisture is also a major enemy. Even slight humidity in fabric can block adhesion.
Fix
Before applying transfer paper:
- Pre-press garment for 5–10 seconds
- Use a lint roller to remove dust and fibers
- Wash garments (no fabric softener) if needed
Pre-pressing removes moisture and flattens wrinkles, ensuring full contact.
5. You Printed on the Wrong Side of the Transfer Paper
Inkjet transfer paper has a printable coated side and a backing side. Printing on the wrong side causes ink to sit incorrectly, which leads to poor transfer bonding or incomplete adhesion.
Fix
Identify the printable side:
- Printable side is usually brighter white, slightly sticky, or has a coating shine
- Backing side is usually duller and may have grid lines or branding
Always test with a small drop of water—water will absorb slower on the coated side.
6. Ink Is Not Fully Dry Before Pressing
If you press the design while the ink is still wet, the ink can smear, bubble, or fail to properly integrate with the adhesive layer.
This is a common reason why inkjet transfer paper does not stick evenly.
Fix
After printing:
- Let the design dry for 10–30 minutes
- Avoid stacking printed sheets
- Use a fan for faster drying
For high ink coverage prints, drying time may need to be longer.
7. Incorrect Printer Settings
Printer settings affect ink density and drying. If your printer is oversaturating the transfer paper, the adhesive layer may not function correctly. If the print is too light, bonding may be weak and the design may peel.
Fix
Use these recommended settings:
- Paper type: Photo Paper or Premium Presentation Paper
- Print quality: High
- Color profile: normal or vivid (depending on design)
Avoid “Draft Mode” because it reduces ink density and transfer durability.
8. Heat Press Time Is Too Short or Too Long
Transfer papers require specific press times. If the time is too short, the adhesive does not melt completely. If it is too long, the adhesive may burn or become brittle, causing peeling later.
Fix
Most standard inkjet transfer paper works best at:
- 15 seconds (light paper)
- 20–30 seconds (dark paper)
Always follow manufacturer recommendations first, then adjust slightly if adhesion fails.
9. Peeling the Backing at the Wrong Time (Hot Peel vs Cold Peel)
Many people ruin transfers by peeling the backing incorrectly. Some papers are hot peel (peel immediately while warm), while others are cold peel (must cool fully before peeling).
Peeling at the wrong time causes the design to lift.
Fix
Check your paper type:
- Hot peel transfer paper: peel immediately after pressing
- Cold peel transfer paper: wait until fully cooled
If unsure, let it cool first. Cold peeling is safer for most inkjet transfers.
10. Using an Iron Instead of a Heat Press
Household irons are inconsistent. They do not maintain stable temperature, and pressure is uneven. This leads to transfers sticking in some areas and lifting in others.
Fix
If you must use an iron:
- Use no steam
- Use maximum cotton setting
- Press firmly for longer (30–60 seconds per section)
- Move slowly and evenly
However, for professional results, a heat press machine is strongly recommended.
11. The Surface Is Not Compatible With Inkjet Transfer Paper
Not all surfaces accept inkjet transfer paper. Some plastics, coated fabrics, and water-resistant surfaces prevent adhesives from bonding.
Common problematic surfaces include:
- Waterproof polyester coatings
- Nylon with water-repellent treatment
- Silicone-treated fabrics
- Certain synthetic blends
Fix
Use transfer paper specifically designed for:
- polyester
- nylon
- hard surfaces
For difficult fabrics, consider using heat transfer vinyl or DTF printing for stronger adhesion.
12. Not Using Protective Sheets (Teflon or Parchment Paper)
Direct contact between heat plate and transfer paper can cause overheating, scorching, or uneven bonding. A protective sheet distributes heat evenly and prevents adhesive contamination.
Fix
Always use:
- Teflon sheet
- Parchment paper
- Kraft paper
Place it over the transfer before pressing.
13. Wrinkles, Lint, or Dust Blocking Adhesion
Even tiny lint particles can cause bubbles or lifting edges. Wrinkles create gaps, preventing proper bonding.
Fix
Before pressing:
- Lint roll the garment
- Pre-press for 5 seconds
- Ensure the surface is smooth and flat
This step alone solves many “not sticking” complaints.
14. The Transfer Paper Is Old or Stored Incorrectly
Transfer paper has a shelf life. Exposure to humidity, sunlight, or heat can weaken the adhesive coating.
If your paper is brittle, curling, or has uneven coating, it will not stick properly.
Fix
Store inkjet transfer paper:
- In a sealed plastic bag
- In a cool, dry area
- Away from sunlight
If paper is over 12–18 months old, replace it for consistent performance.
Step-by-Step Fix Checklist for Inkjet Transfer Paper Not Sticking
If your transfer fails, follow this exact checklist:
- Confirm correct paper type (light vs dark)
- Print on the correct coated side
- Let ink dry fully (minimum 15 minutes)
- Pre-press garment for 5–10 seconds
- Set press temperature to 170°C–190°C
- Use medium-firm pressure
- Press for 15–30 seconds
- Use parchment or teflon cover sheet
- Peel according to paper type (hot peel or cold peel)
- Let garment rest for 24 hours before washing
This sequence prevents 95% of sticking problems.
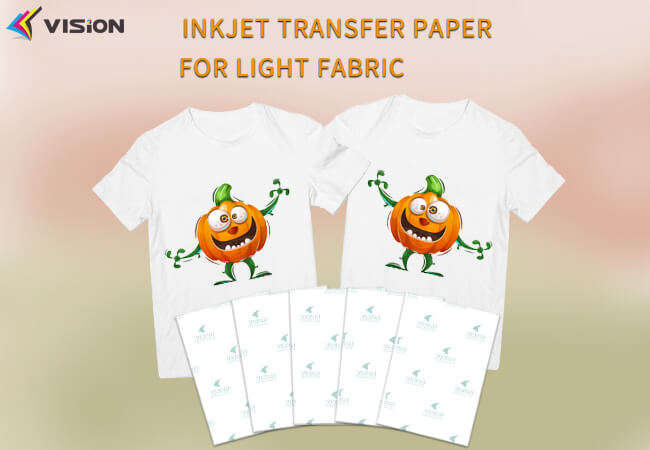
Inkjet transfer paper for light fabric
How to Prevent Peeling After Washing
Even if the transfer sticks initially, poor aftercare can destroy it quickly.
Best Washing Rules
- Wait 24–48 hours before washing
- Wash inside out
- Use cold water
- Avoid bleach
- Avoid fabric softener
- Tumble dry low or air dry
Transfers last significantly longer when washing is done properly.
Best Materials for Reliable Inkjet Transfers
If you want consistent adhesion, use these fabric types:
- 100% cotton (best option)
- Cotton-poly blends (at least 60% cotton)
- Smooth, tightly woven fabrics
Avoid heavily textured fabrics because adhesive cannot bond evenly.
Final Troubleshooting Tip: Do a Small Test Transfer First
If you are working on bulk orders or expensive garments, always test first. Different fabrics, humidity levels, and printer inks can slightly change results.
A small test press prevents wasted time and ruined products.
When inkjet transfer paper is not sticking, the cause is almost always incorrect heat settings, pressure issues, fabric contamination, or using the wrong transfer paper type. By correcting your temperature, press method, and peeling technique, you can achieve clean, durable transfers that stay vibrant after repeated washing.
For professional-quality results, always combine the right transfer paper with correct heat press settings and proper surface preparation.
Related:
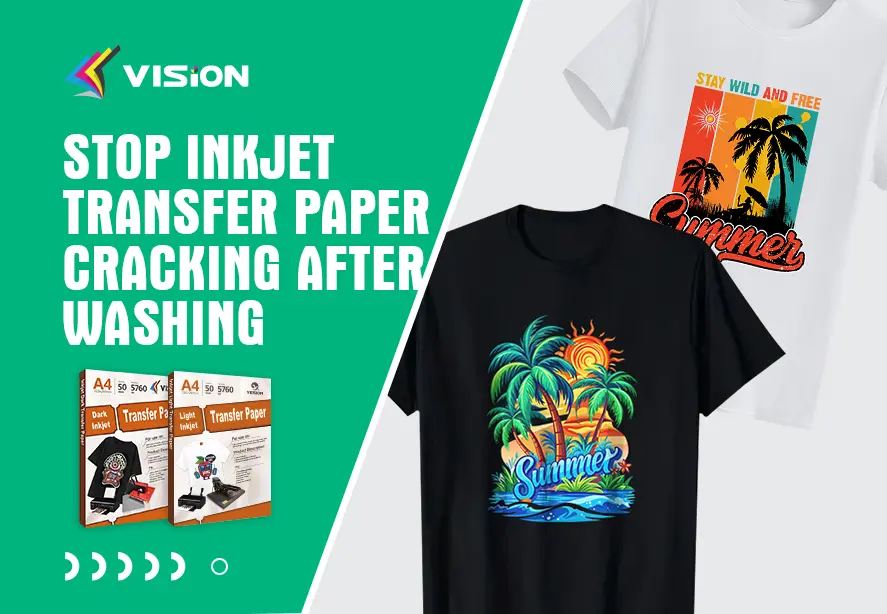
Stop Inkjet Transfer Paper Cracking After Washing
Common Issues for Light Fabric Transfer Paper Printing
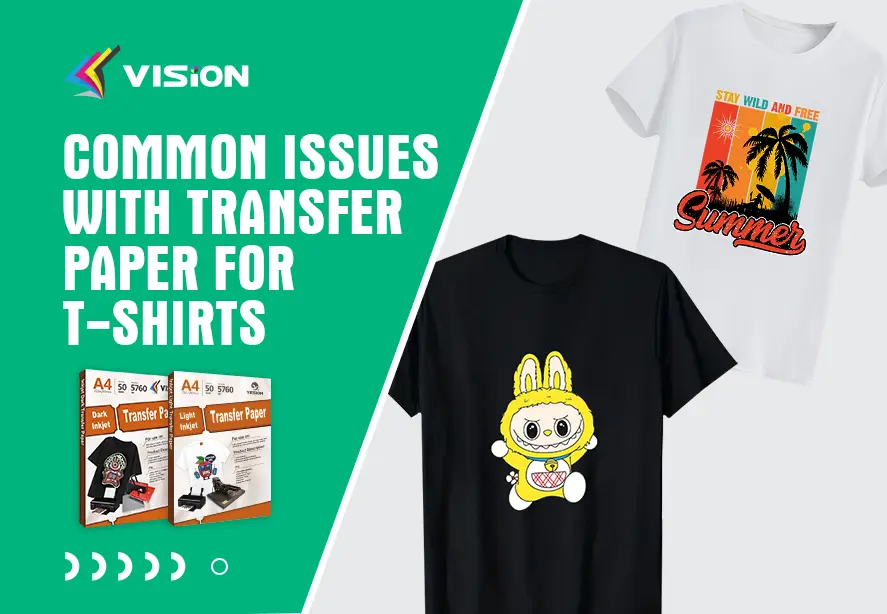
Common Issues with Transfer Paper for T-Shirts
What kind of ink do I need for heat transfer paper?
Heat Press vs. Iron on T-Shirt Transfer Paper?
Choosing the Right Transfer Paper for Different T-Shirt Fabrics
Iron On Transfer Paper for inkjet printers: Custom T-shirts