Mastering the Art of Flawless DTF Film Application
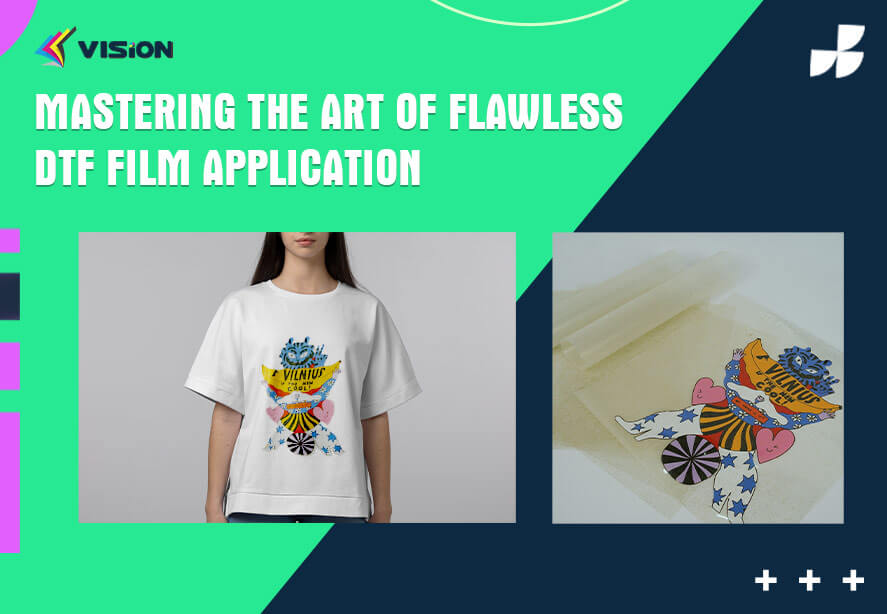
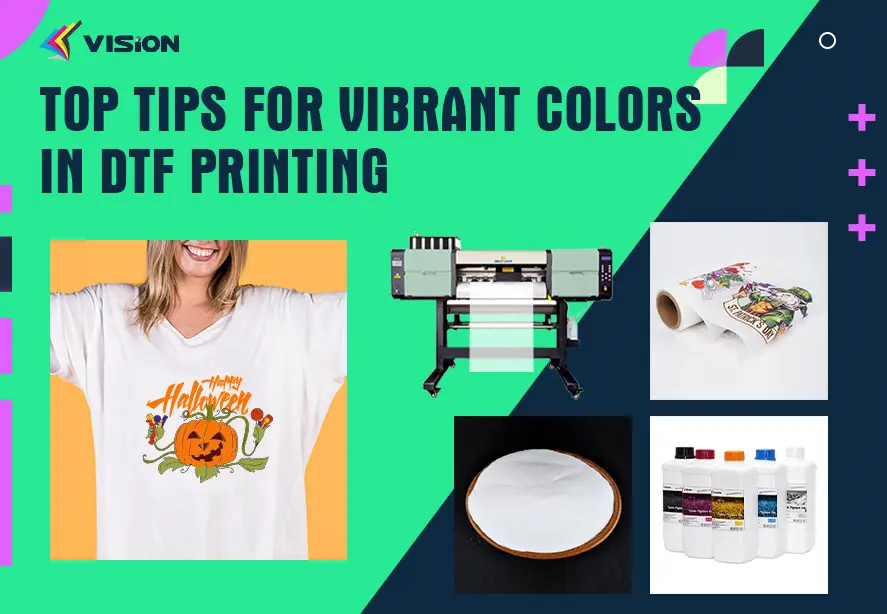
Direct-to-Film (DTF) printing is revolutionizing the textile industry with its vibrant colors and durable prints. But let’s face it, nailing that perfect DTF film application can be tricky. Don’t worry, This guide will walk you through every step, providing tips and tricks to help you master the art of flawless DTF film application and achieve professional-quality results.
What is DTF Film Application?
The Basics of DTF Printing
DTF printing involves printing a design onto a special film and then transferring it onto fabric. Unlike traditional screen printing or heat transfer vinyl (HTV), DTF offers a more versatile and efficient solution, especially for detailed and colorful designs.
Related:
DTF Printing vs Heat Transfer Vinyl: Which is beneficial for your business?
Why Choose DTF?
Vibrant Colors: DTF printing produces rich, vibrant colors that stand out.
Durability: The prints are highly durable and can withstand multiple washes without fading.
Versatility: Works on various fabrics including cotton, polyester, and blends.
Preparing for the Perfect DTF Film Application
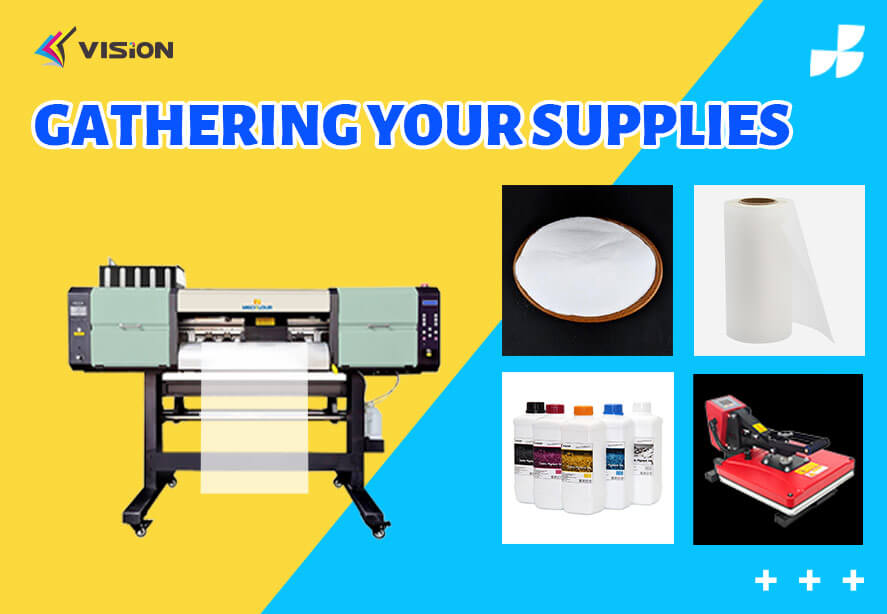
Gathering Your Supplies
Before diving in, make sure you have all the necessary tools:
DTF Printer: A reliable DTF printer is essential.
DTF Film: High-quality film ensures better transfers.
Adhesive Powder: Helps the print adhere to the fabric.
Heat Press: For transferring the design onto the garment.
Gathering Your Supplies
Setting Up Your Workspace
A clean, organized workspace can make a world of difference. Ensure your work area is dust-free, as any debris can affect the transfer quality. Keep all your tools within arm’s reach to avoid unnecessary interruptions.
Step-by-Step Guide to Perfect DTF Film Application
Step 1: Design Creation
The journey to flawless DTF film application starts with your design. Use graphic design software like Adobe Illustrator or CorelDRAW to create or edit your artwork. Remember, the quality of your design directly impacts the final result.
Step 2: Printing on the DTF Film
Load the DTF film into your printer. Make sure you’re using the correct settings for your film and printer model. Print your design, ensuring that the colors are vibrant and the details are sharp.
Step 3: Applying the Adhesive Powder
While the ink is still wet, sprinkle adhesive powder evenly over the printed design. This step is crucial as it ensures the ink bonds well with the fabric. Gently shake off any excess powder to avoid clumps.
Step 4: Curing the Powder
Next, cure the adhesive powder by placing the film in a curing oven or under a heat press. This step helps the powder adhere properly to the ink, preparing it for transfer.
Step 5: Preparing the Fabric
Lay out your fabric on the heat press. Pre-press the fabric for a few seconds to remove any moisture and wrinkles. This creates a smooth surface for the transfer.
Step 6: Transferring the Design
Position the DTF film onto the fabric with the printed side facing down. Cover it with a protective sheet and press it with your heat press at the recommended temperature and time settings. Typically, this is around 320°F (160°C) for 15-20 seconds.
Step 7: Removing the Film
Once the pressing is done, allow the fabric to cool before peeling off the film. Peel it off slowly and steadily to avoid lifting the design. If done correctly, you should have a vibrant, perfectly transferred design on your fabric.
How to use glitter gold DTF film steps by steps?
Tips and Tricks for a Flawless Finish
Use Quality Materials
Always use high-quality DTF film and adhesive powder. Cheaper alternatives might save you money upfront but can lead to poor transfer quality and durability issues.
Maintain Your Equipment
Regular maintenance of your printer and heat press is crucial. Clean them regularly and follow the manufacturer’s guidelines to keep them in top working condition.
Test Before Full Production
Run a test print on a scrap piece of fabric to ensure everything is working correctly. This can save you from costly mistakes down the line.
Troubleshooting Common Issues
Issue: Design Not Transferring Completely
Solution: Ensure you’re using the correct temperature and pressure settings. Check that the adhesive powder is evenly applied and fully cured.
Issue: Colors Are Dull
Solution: Verify that your printer settings are correct and that you’re using high-quality ink and film. Also, check for any obstructions in the printer nozzles.
Issue: Design is Peeling After Washing
Solution: Ensure the fabric is pre-pressed to remove moisture. Also, make sure you’re using the right adhesive powder and that it’s properly cured.
By following this comprehensive guide, you’ll not only perfect your DTF film application but also ensure that your prints are vibrant, durable, and of the highest quality.


