Blog
Iron-On Transfers for T-Shirts: Create Custom Designs at Home
Creating custom T-shirts with iron-on transfers has become one of the most popular ways to personalize clothing. Whether you are starting a small business, preparing gifts for friends, or simply exploring your creative side, iron-on transfers allow you to bring your unique designs to life without professional equipment. With the right tools, materials, and techniques, anyone can achieve vibrant, long-lasting results right from home.
What Are Iron-On Transfers?
Iron-on transfers are specially designed sheets that allow you to print or cut out images, patterns, or text and apply them directly onto fabric using heat. By applying consistent heat and pressure, the ink or vinyl adheres permanently to the fibers of the T-shirt, creating a professional-looking design.
There are two main types of iron-on transfer materials:
- Inkjet Printer Iron-on Transfer Paper – Designed to be used with a home printer, where you can print custom images and then transfer them with an iron or heat press.
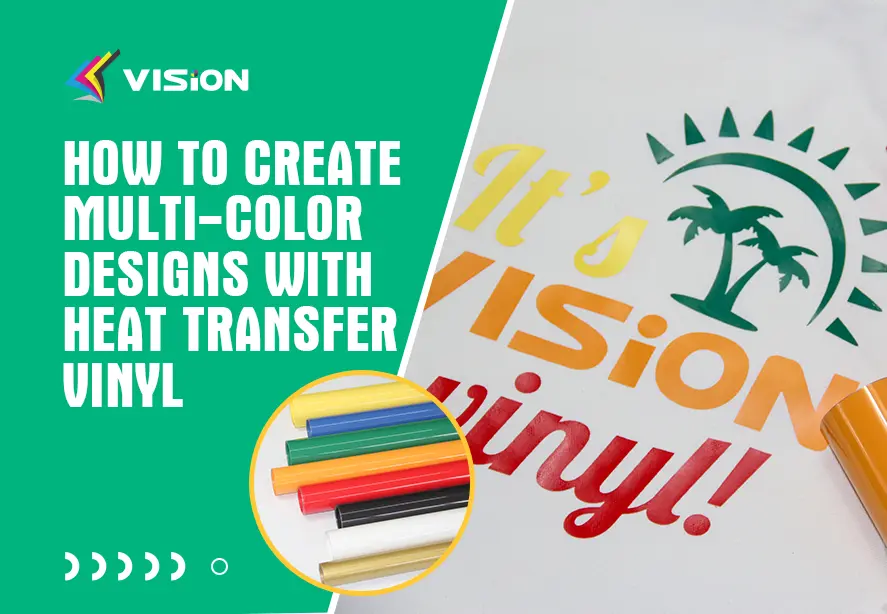
- Heat Transfer Vinyl – Sheets of colored vinyl that can be cut into shapes or letters with scissors or a cutting machine, then applied with heat.
Both methods are affordable and accessible, making them ideal for at-home projects.
Benefits of Using Iron-On Transfers for T-Shirts
Choosing iron-on transfers comes with many advantages that make them perfect for DIY enthusiasts and entrepreneurs:
- Cost-Effective Customization – No need for large printing equipment or expensive outsourcing.
- Creative Freedom – Design anything you want: logos, slogans, family photos, or artwork.
- Quick and Easy Application – Most transfers take less than 10 minutes to apply.
- Durability – With the right transfer paper and heat settings, designs can last through dozens of washes.
- Small Batch Friendly – Ideal for one-off gifts, school events, or limited edition designs.
Essential Tools and Materials You Need
Before you start your iron-on transfer project, gather the right supplies to ensure a smooth process:
- T-Shirts – 100% cotton or cotton-blend shirts provide the best results.
- Iron-On Transfer Paper or HTV – Choose the right type based on your printer and fabric color.
- Home Inkjet Printer – For printable transfers.
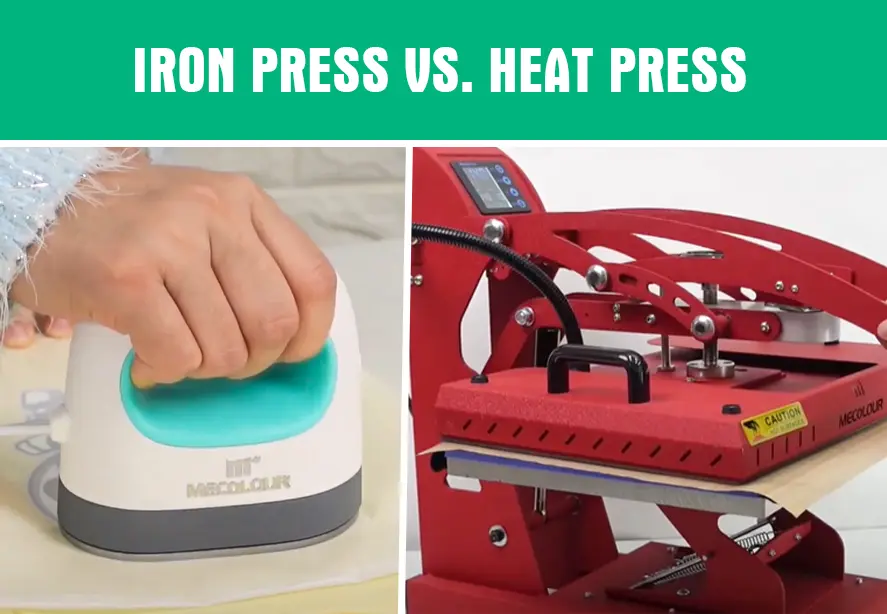
- Iron or Heat Press Machine – A heat press offers more consistent results, but an iron works well for beginners.
- Scissors or Cutting Machine – For trimming designs or cutting vinyl shapes.
- Protective Sheet (Parchment Paper or Teflon Sheet) – To prevent sticking during pressing.

Heat Press vs. Iron Press
Step-by-Step Guide: How to Use Iron-On Transfers for T-Shirts
1. Design Your Artwork
Create your design using software like Adobe Illustrator, Photoshop, or even free tools like Canva. Remember to mirror the design if you’re working with text, so it appears correctly once transferred.
2. Print or Cut Your Transfer
- For transfer paper, print your design on the coated side of the sheet.
- For HTV, use a cutting machine to cut out your design.
3. Prepare the T-Shirt
Wash and dry the T-shirt to remove any coatings or shrinkage. Iron it flat to remove wrinkles.
4. Position the Transfer
Place your design on the shirt where you want it applied. Double-check alignment and spacing before applying heat.
5. Apply Heat and Pressure
- With a household iron: Use the cotton setting, no steam, and press firmly for 20–30 seconds in small sections.
- With a heat press: Set the temperature according to the transfer type (usually 320–350°F), apply medium pressure, and press for 10–15 seconds.
6. Peel the Transfer
Follow the instructions: some transfers require hot peeling (immediately after pressing), while others work best with cold peeling (waiting until cool).
7. Finish and Inspect
Check that all edges are securely adhered. If needed, press again for a few more seconds to reinforce durability.
Tips for Professional Results
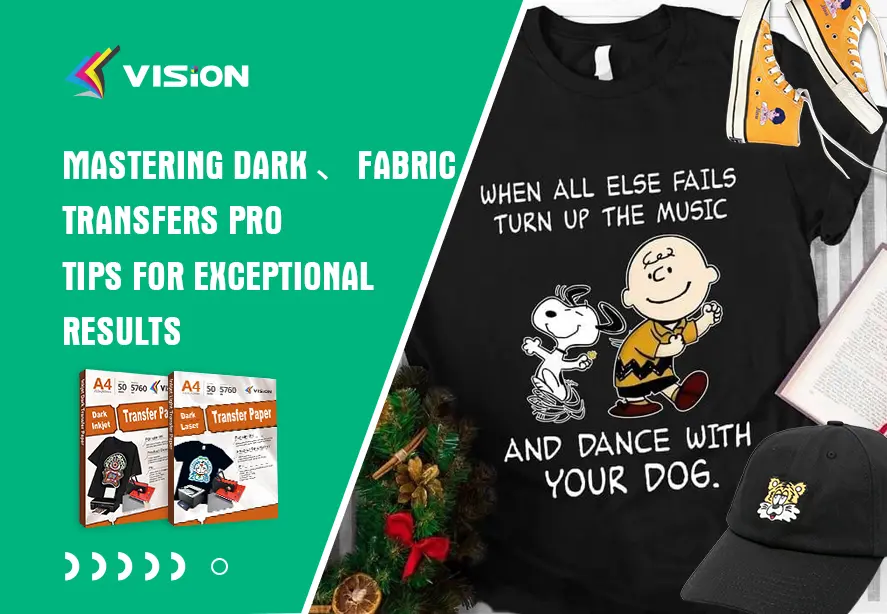
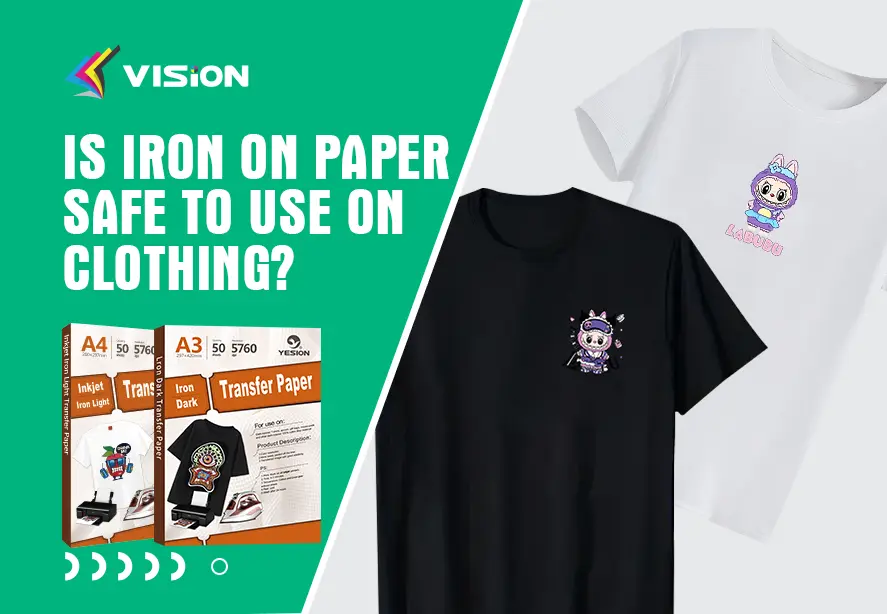
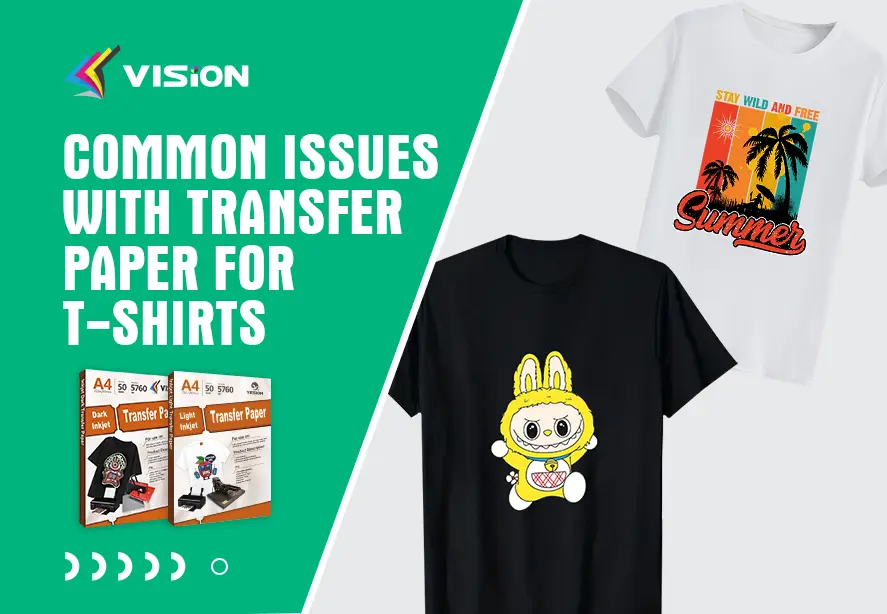
- Always use the correct transfer paper for light or dark fabrics.
- Pre-press the shirt for a few seconds to remove moisture before applying the transfer.
- Apply even pressure when using an iron to avoid patchy results.
- Wash the T-shirt inside out in cold water to extend the life of the design.
- Avoid harsh detergents or bleach.
Best Fabrics for Iron-On Transfers
Not every fabric works well with transfers. For best results, use:
- 100% Cotton – Provides excellent adhesion and vibrant colors.
- Cotton-Poly Blends – Durable and slightly stretchable, suitable for daily wear.
- Polyester (with caution) – Works with certain transfer types, but may require lower heat to prevent damage.
Avoid fabrics like nylon, waterproof materials, or heat-sensitive textiles, as they do not bond well with transfers.
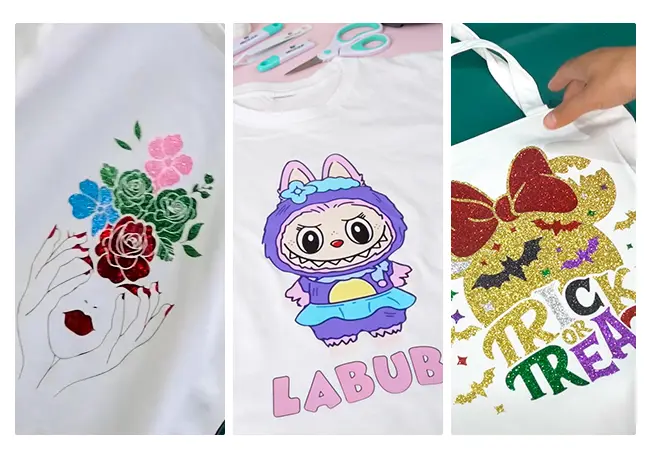
Creative Design Ideas for Custom T-Shirts
Using iron-on transfers, you can create endless designs for different occasions:
- Business Branding – Promote your company with custom logo T-shirts.
- Event Merchandise – Family reunions, weddings, and team events.
- Personalized Gifts – Birthdays, holidays, and anniversaries.
- School Projects – Spirit wear, uniforms, or fundraising items.
- Hobby Creations – Fan art, quotes, or DIY fashion.
iron-on transfers
Iron-On Transfers vs. Other Printing Methods
When comparing iron-on transfers to methods like screen printing or direct-to-garment (DTG) printing, transfers stand out for small-scale, home use.
- Screen Printing – Better for large batches but requires messy inks and equipment.
- DTG Printing – Produces professional results but involves high startup costs.
- Iron-On Transfers – Affordable, versatile, and easy for beginners.
For individuals and small businesses, iron-on transfers strike the perfect balance between quality and affordability.
Common Mistakes to Avoid
- Skipping the Mirror Image Step – Results in reversed text.
- Uneven Heat Application – Causes peeling or incomplete transfers.
- Wrong Fabric Choice – Leads to poor adhesion or damage.
- Overwashing – Frequent hot washes can shorten the design’s life.
By avoiding these mistakes, you can enjoy professional-looking custom T-shirts that last.
Conclusion: Bring Your Ideas to Life with Iron-On Transfers
With iron-on transfers for T-shirts, creativity meets convenience. This simple, affordable method empowers anyone to design unique apparel at home, whether for personal use, gifts, or business opportunities. By following the right steps, using quality materials, and applying proper care, your custom designs can rival professional printing methods in durability and style.
Related:
The Applications of Flocked Vinyl Iron-On Transfers on Shirts
Trendy T-shirt Designs with Iron-On Transfers
Best Iron-On Transfer Paper for Inkjet Printers
The Difference Between Iron-On Transfer Paper and Heat Transfer Paper
A Comprehensive Guide to Iron-on Paper for Shirts