Blog
Why Isn’t Your Glitter Flock HTV Sticking? Fix It Now
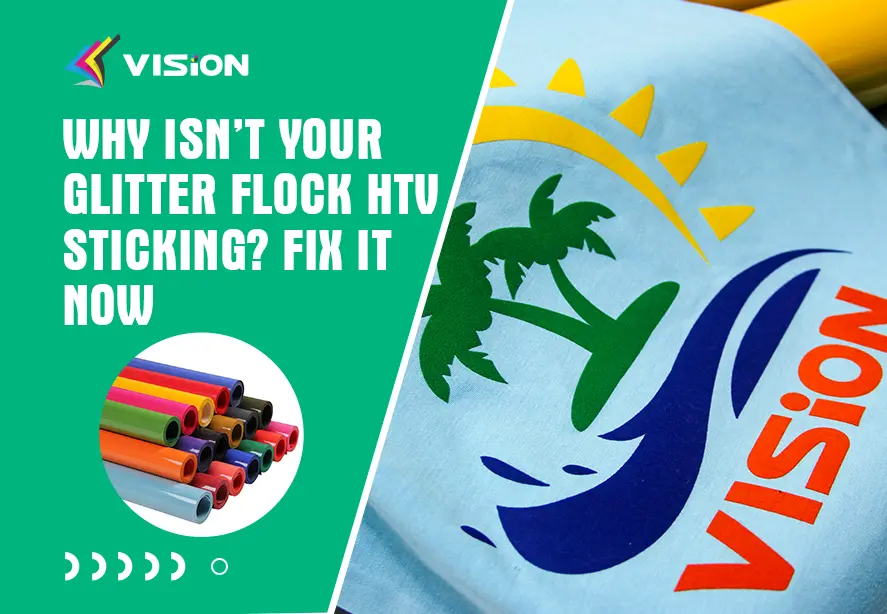
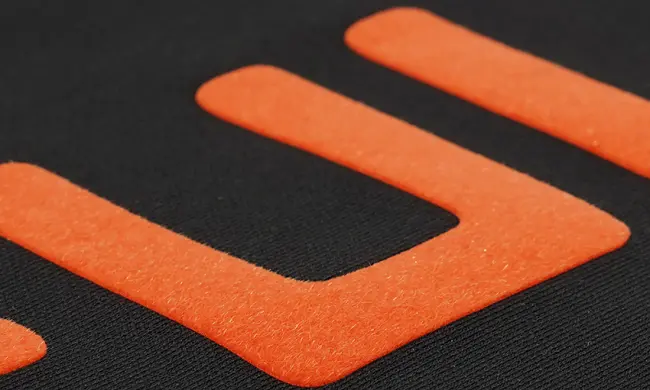
Glitter flock heat transfer vinyl delivers a luxurious, textured, and sparkling finish, but it also requires precise application conditions. When something goes wrong, the vinyl may lift, peel, crack, or fail to bond altogether. Understanding the real causes—and fixing them correctly—makes the difference between failed projects and flawless, professional results.
This comprehensive guide explains exactly why glitter flock HTV doesn’t stick, how to troubleshoot each issue, and how to achieve consistent, long-lasting adhesion.
What Makes Glitter Flock HTV Different?
Glitter flock HTV combines two challenging elements:
- Flock texture, which is thicker and fibrous
- Glitter particles, which require stronger adhesive bonding
Because of this structure, glitter flock HTV needs more pressure, accurate temperature, and sufficient dwell time compared to standard smooth HTV. Treating it like regular vinyl is one of the most common mistakes.
Most Common Reasons Glitter Flock HTV Is Not Sticking
1. Incorrect Heat Press Temperature
One of the top reasons glitter flock HTV fails to adhere is insufficient temperature. Glitter flock vinyl typically requires higher heat than standard PU or PVC HTV.
Symptoms:
- Vinyl lifts at the edges
- Design peels after cooling
- Adhesive does not activate fully
Fix:
- Follow the manufacturer’s recommended temperature, usually 150–160°C
- Avoid guessing—use a calibrated heat press
Too much heat can also damage the glitter layer, so accuracy is essential.
2. Not Enough Pressure
Glitter flock HTV is thicker and denser, meaning it needs firm, even pressure to push the adhesive into the fabric fibers.
Symptoms:
- Vinyl sticks in some areas but not others
- Flock texture looks uneven
- Edges lift after washing
Fix:
- Increase pressure to medium-high or high, depending on your press
- Avoid light or hand pressure, especially with home irons
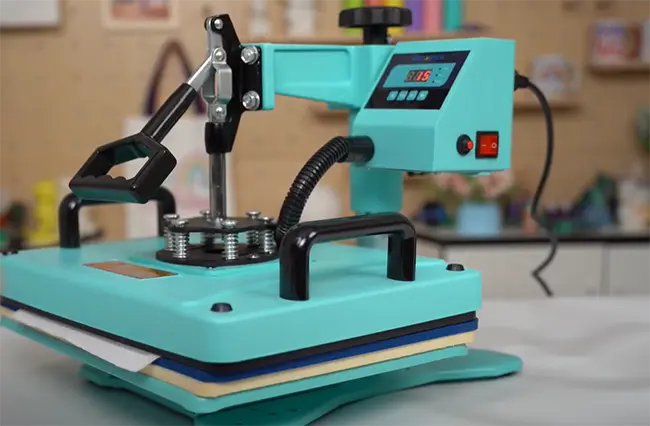
A professional heat press always outperforms irons for glitter flock HTV.
3. Press Time Is Too Short
Pressing glitter flock HTV for the same time as standard vinyl is a common error.
Symptoms:
- Design appears attached but peels after cooling
- Adhesive looks glossy instead of bonded glossy instead of bonded
Fix:
- Press for 12–20 seconds, depending on thickness
- If unsure, perform a second press
Longer dwell time allows heat to penetrate the flock layer fully.
4. Wrong Fabric Type
Not all fabrics are suitable for glitter flock HTV.
Problematic materials include:
- Nylon
- Water-resistant fabrics
- Heavily textured or ribbed fabrics
- Low-quality polyester blends
Fix:
- Use 100% cotton, cotton blends, or high-quality polyester
- Always test before full production
Fabric coatings and finishes can block adhesive activation.
5. Moisture in the Fabric
Moisture trapped in fabric—especially cotton—can prevent proper bonding.
Symptoms:
- Vinyl sticks during pressing but lifts later
- Adhesion weakens after cooling
Fix:
- Pre-press garments for 3–5 seconds
- Remove moisture and wrinkles before application
This step is critical and often overlooked.
6. Cold Peel vs Hot Peel Confusion
Glitter flock HTV often requires a cold peel, not a hot peel.
Symptoms:
- Vinyl lifts immediately when carrier sheet is removed
- Adhesive stretches or detaches
Fix:
- Let the vinyl cool completely before peeling
- Read manufacturer peel instructions carefully (VISION’s glitter flock HTV is acceptable for hot peel and cold peel).
Peeling too early ruins otherwise perfect applications.
7. Worn or Uneven Heat Press Platen
An uneven or poorly heated platen causes inconsistent results.
Symptoms:
- One side sticks, the other doesn’t
- Repeated failures in the same area
Fix:
- Check platen temperature with a heat gun or thermometer
- Use a heat press pillow to compensate for seams
Consistent heat distribution is essential for glitter flock vinyl.
Step-by-Step Fix: How to Apply Glitter Flock HTV Correctly
- Pre-press garment for 3–5 seconds
- Set heat press to recommended temperature
- Increase pressure to medium-high or high
- Press for 12–20 seconds
- Allow design to cool fully
- Peel carrier sheet slowly
- Re-press for 5 seconds with parchment or Teflon
This process ensures maximum adhesive activation and durability.
Why Glitter Flock HTV Peels After Washing
If glitter flock HTV sticks initially but fails after washing, the cause is almost always incomplete bonding during pressing.
Prevent this by:
- Washing garments inside out
- Waiting 24 hours before washing
- Using cold water and gentle cycles
- Avoiding tumble drying on high heat
Proper care extends the life of flock designs significantly.
Iron vs Heat Press: Why It Matters
Using a household iron is one of the biggest reasons glitter flock HTV doesn’t stick.
Iron limitations:
- Inconsistent temperature
- Uneven pressure
- Smaller pressing surface
A heat press provides controlled heat, consistent pressure, and even coverage, which glitter flock vinyl requires.
Once you apply the correct settings and workflow, it delivers stunning, durable, high-end finishes that elevate any apparel project.
Related:
Glitter Flock vs Glitter HTV: What’s the Difference?
Is Glitter Flock HTV Safe for Kids’ Clothes?