Blog
Ensuring Adhesion: DTF Film Tips

DTF (Direct-to-Film) printing has become one of the most dynamic solutions in the garment customization world. It provides vibrant, durable prints that work across a variety of materials—without the need for pretreatment. However, the key to professional, long-lasting results lies in one vital element: DTF film adhesion. Poor adhesion can lead to peeling, cracking, or incomplete transfers. In this expert guide, we’ll share proven tips to help you maximize adhesion and minimize print flaws for every DTF project.
Why Adhesion Matters in DTF Printing
When using DTF film, the adhesion process ensures the printed ink and hot melt powder bond correctly to the fabric during the heat press stage. Poor adhesion results in:
- Faded or patchy designs
- Cracking after washing
- Corners lifting or peeling off
- Wasted materials and production time
Optimal adhesion guarantees that your prints not only look stunning but also withstand repeated washing, stretching, and wear.
1. Choose High-Quality DTF Film
Not all DTF films are created equal. A superior film ensures:
- Consistent ink absorption
- Minimal static or curling
- Smooth powder retention
- Clean release during hot or cold peel

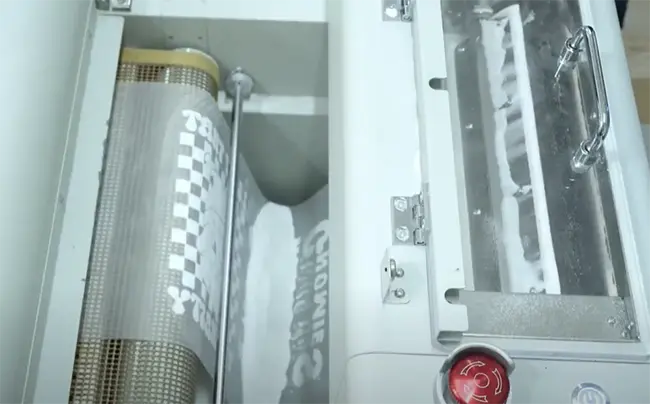
peel dtf film
We recommend using premium PET DTF films with matte coatings, anti-static properties, and a thickness of 75–100μm for best performance. This foundation ensures reliable results and flawless adhesion.
Related:
Unveiling High-Quality DTF Film
2. Ensure Uniform Powder Application
The DTF adhesive powder plays a crucial role in the bonding process.
Tips for Proper Application:
- Apply evenly: Whether using an automatic powder shaker or applying manually, ensure full coverage of the printed area. Uneven coating leads to inconsistent adhesion.
- Tap and shake off excess: Extra powder can result in thick, rough textures or reduced flexibility.
- Use the correct type: Use hot melt TPU powder designed for DTF. Fine or medium grades work best for garments.

powder shaker
3. Control the Curing Process Accurately
Curing is where the magic happens. If done incorrectly, even perfect printing and powdering won’t stick.
Curing Tips:
- Temperature: Cure the powder-coated film at 110°C–130°C (230°F–265°F)
- Time: 120–150 seconds in a DTF curing oven or heat tunnel
- Visual cues: Powder should melt uniformly and become glossy without bubbling
- Avoid over-curing, which can burn the adhesive, or under-curing, which results in weak bonding.
If using a heat press for curing, hover without pressure and avoid contact with the wet ink.

dtf curing oven
4. Use the Right Heat Press Settings
Pressing is the final stage where the print meets the fabric. Your press settings must be precise.
Ideal Settings:
- Temperature: 150°C–165°C (302°F–329°F)
- Time: 10–15 seconds
- Pressure: Medium to firm
- Peel type: Follow your film’s specific peel instruction—hot peel or cold peel
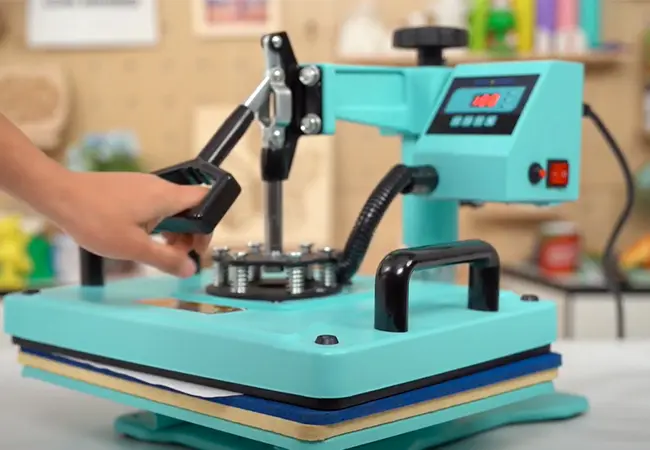
heat press transfer
Use even, consistent pressure to activate the adhesive and embed the ink deep into the fabric fibers. Check your heat press platen alignment and pressure distribution regularly.
5. Match Film and Fabric Compatibility
Different fabrics respond differently to heat and adhesive bonding.
- For cotton: Use standard hot-melt powder and normal pressure
- For polyester: Lower press temperatures reduce scorching
- For nylon or performance wear: Use special DTF powder adhesives and test adhesion beforehand
Pre-press garments for a few seconds to eliminate moisture and wrinkles. This ensures a smoother surface and better film contact.
6. Maintain Clean and Controlled Workflows
Dust, lint, or oil on any surface—film, powder, or fabric—can compromise adhesion.
- Store DTF films in dry, dust-free conditions
- Avoid touching the print side of the film with bare hands
- Keep adhesive powder sealed and moisture-free
- Clean your heat press regularly
Consistency and cleanliness are key to repeatable, professional results.
7. Test Regularly and Calibrate Often
Every DTF setup is slightly different, so continuous testing and calibration are essential.
- Print and press sample transfers before bulk production
- Adjust curing time, press temperature, and pressure as needed
- Monitor prints after washing to check for lifting or fading
Establish a quality control checklist for each production run.
8. Store and Handle Transfers Properly
If you’re printing in advance, proper storage ensures your transfers remain effective.
- Store in dry, flat folders or airtight containers
- Avoid exposure to humidity or direct sunlight
- Mark batches with curing date and temperature for traceability
Shelf life can vary, but well-cured DTF transfers can be stored for up to 3–6 months if conditions are optimal.
Achieving superior DTF film adhesion requires more than just the right equipment. It’s about choosing quality materials, maintaining precise conditions, and following a strict process. By applying these expert tips, you’ll ensure every transfer bonds perfectly—producing durable, professional-quality prints that exceed customer expectations.
Related:
Why Is My DTF Powder Not Sticking to the Film?
What kind of printer and supplies are needed for DTF transfers?
Why is my DTF transfer cracking?
Can you use DTF film without adhesive powder?