Blog
5 Essential Tools for Perfect Heat Transfer Vinyl Application
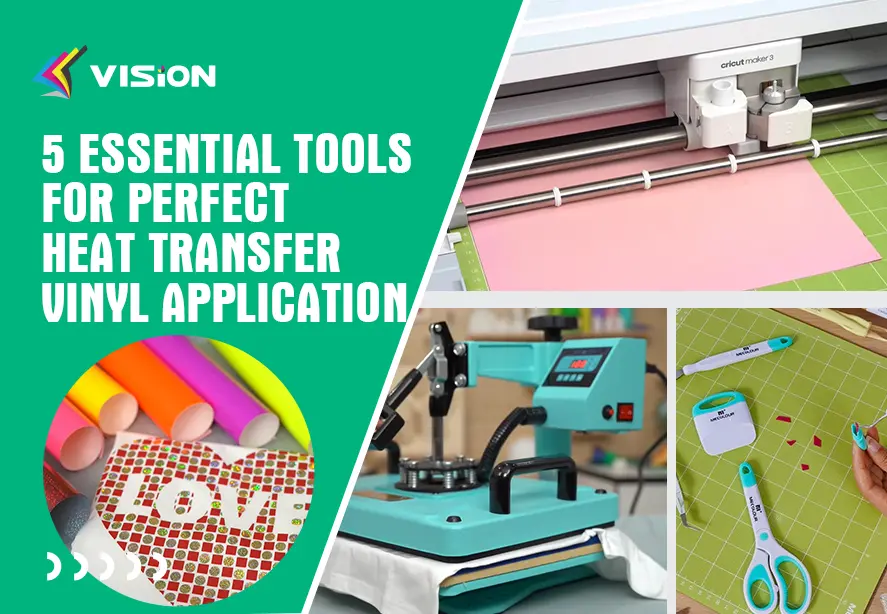
Applying heat transfer vinyl is both an art and a science. Whether you’re personalizing t-shirts, tote bags, or sportswear, achieving flawless results requires more than just creativity—it demands precision, the right tools, and a professional setup.
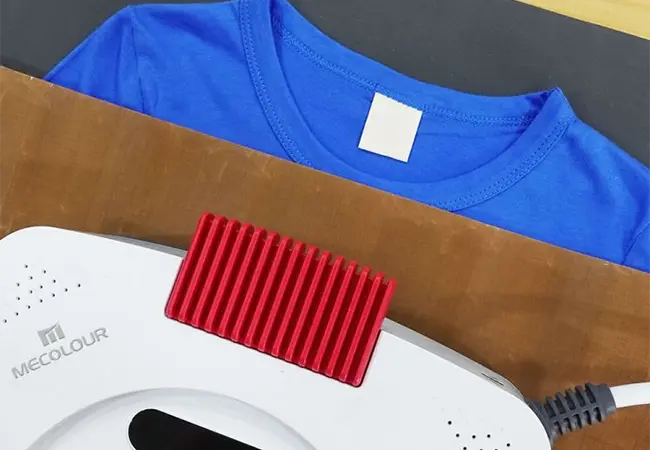
1. Heat Press Machine — The Foundation of Flawless Transfers
The heat press machine is the heart of every vinyl crafting operation. Unlike a household iron, a professional heat press ensures even pressure and consistent temperature, which are crucial for proper adhesion.
Why It Matters:
- Precise Temperature Control: Each type of heat transfer vinyl has its own ideal temperature range. A heat press maintains this accurately, ensuring your designs don’t peel or scorch.
- Even Pressure Distribution: Consistent pressure across the platen guarantees that every inch of your design adheres properly, even on thick fabrics.
- Time Efficiency: With programmable timers and automatic release functions, you can streamline production and avoid overexposure.
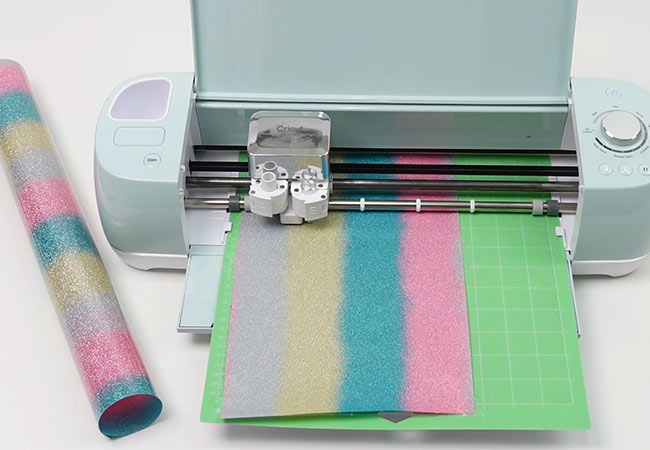
2. Vinyl Cutter — Precision Cutting for Professional Results
A vinyl cutter or plotter is essential for accurately cutting intricate designs and lettering. Even the best vinyl and press can’t compensate for imprecise cuts.
Key Features to Look For:
- Adjustable Blade Settings: Different vinyl types require different cutting depths. Always test cut before final production.
- High Cutting Speed and Accuracy: Especially important for complex designs or bulk production.
- Software Compatibility: Ensure your cutter works seamlessly with design software like Cricut Design Space, Silhouette Studio.
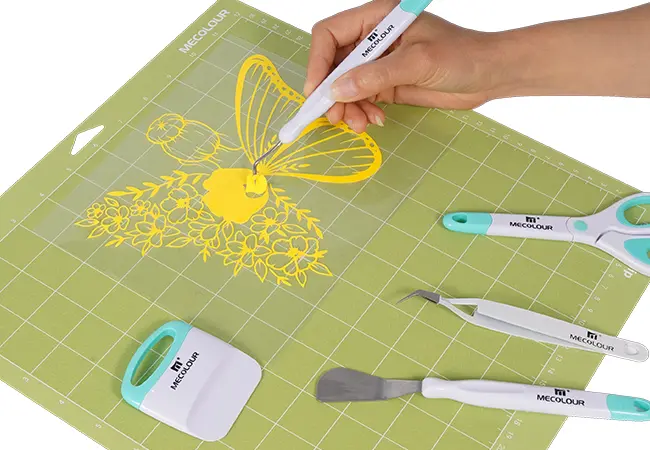
3. Weeding Tools — Precision in Every Detail
Once your design is cut, weeding tools help remove the excess vinyl around and within the design. This step determines how clean and professional your final transfer will look.
Essential Weeding Tools:
- Weeding Hook or Pick: Ideal for removing small vinyl pieces inside letters or complex patterns.
- Tweezers: Perfect for handling delicate or small details.
- Light Box or Weeding Mat: Enhances visibility of fine lines, especially on glitter or metallic vinyl.
Best Practices:
- Weed your designs under good lighting or with a light box to avoid missing small cuts.
- Start from the corner and move slowly to prevent lifting important parts of the design.
- For complex designs, warm the vinyl slightly before weeding—it makes the process smoother and faster.
Pro Tip: Always weed your design on a flat surface and keep a scrap collector nearby to maintain a tidy workspace.
4. Heat-Resistant Tape and Teflon Sheet — The Secret to Clean Transfers
When positioning your vinyl design on the garment, alignment and stability are key. Heat-resistant tape and Teflon sheets ensure your transfers stay in place and your garments remain protected during pressing.
Heat-Resistant Tape:
- Secures the design firmly to the garment before pressing.
- Withstands high temperatures without leaving residue.
- Especially useful for multi-color or layered vinyl applications.
Teflon or Non-Stick Sheets:
- Protects your garment and heat press platen from sticking vinyl or scorching.
- Provides a smooth, even heat surface for better transfer.
- Reusable and easy to clean, making it an eco-friendly tool.
Pro Tip: Always cover your vinyl design with a Teflon sheet before pressing—it prevents accidental melting, color bleeding, and ensures a glossy, professional finish.
5. Heat Transfer Vinyl Storage and Maintenance Tools — Keep Your Materials Fresh
Proper storage is often overlooked but essential for maintaining the quality and lifespan of your HTV rolls. Vinyl that’s exposed to dust, humidity, or sunlight can lose its adhesive power or warp, making application difficult.
Effective Storage Methods:
- Vinyl Racks or Roll Holders: Keep your vinyl organized and easily accessible.
- Climate-Controlled Environment: Store vinyl in a cool, dry space away from direct sunlight.
- Labeling System: Label each roll by color, type (PU, PVC, glitter, holographic), and size to improve workflow efficiency.
Additional Maintenance Tools:
- Lint Rollers: Remove dust or lint from garments before pressing to ensure a smooth adhesion.
- Moisture Absorbers: Keep your vinyl area humidity-free.
- Protective Sleeves: Ideal for long-term vinyl storage, especially for specialty films like metallic or reflective HTV.
Pro Tip: Always check your vinyl’s shelf life and store it upright to prevent curling or deformation.
Bonus: Measuring Tools and Alignment Guides for Perfect Positioning
For consistent, professional results, accurate placement of your vinyl design is essential. Use rulers, heat transfer alignment guides, or laser alignment tools to center your designs perfectly on garments.
Common Alignment Tools:
- T-shirt Alignment Rulers: Designed for chest prints, pocket logos, and back designs.
- Laser Guides: Project straight lines across the garment for quick and precise alignment.
- Grid Mats: Perfect for pre-press alignment when working on multiple designs.
Pro Tip: Always double-check positioning before pressing—especially on bulk orders—to ensure brand consistency and professional presentation.
Achieve Professional-Grade Results Every Time
Using the right tools makes all the difference in heat transfer vinyl success. From accurate cutting to precise pressing, every stage contributes to the final result. By investing in quality equipment and mastering their use, you’ll save time, reduce waste, and produce durable, eye-catching designs that stand out.
Related:
How to Prevent Peeling and Cracking with Heat Transfer Vinyl?
How to Make Reflective Designs with Heat Transfer Vinyl
10 Pro Tips for Perfect Heat Transfer Vinyl Application
Which Iron-On Vinyl is Best for Shirts?